
Smart glasses are no longer science fiction. They’ve evolved into powerful tools that blend digital information with real-world experiences—enhancing productivity, navigation, communication, and entertainment. At the heart of this evolution is the smart touch feature: a discreet yet highly functional interface embedded into the temple or frame of the glasses. While many users treat it as a simple tap-to-answer function, its capabilities go far beyond. When used strategically, the smart touch interface can become an intuitive extension of your daily workflow.
This guide explores how to unlock the full potential of smart glasses by mastering the smart touch feature. From gesture customization to contextual use cases, you’ll learn how to integrate this technology seamlessly into both professional and personal environments.
Understanding the Smart Touch Feature
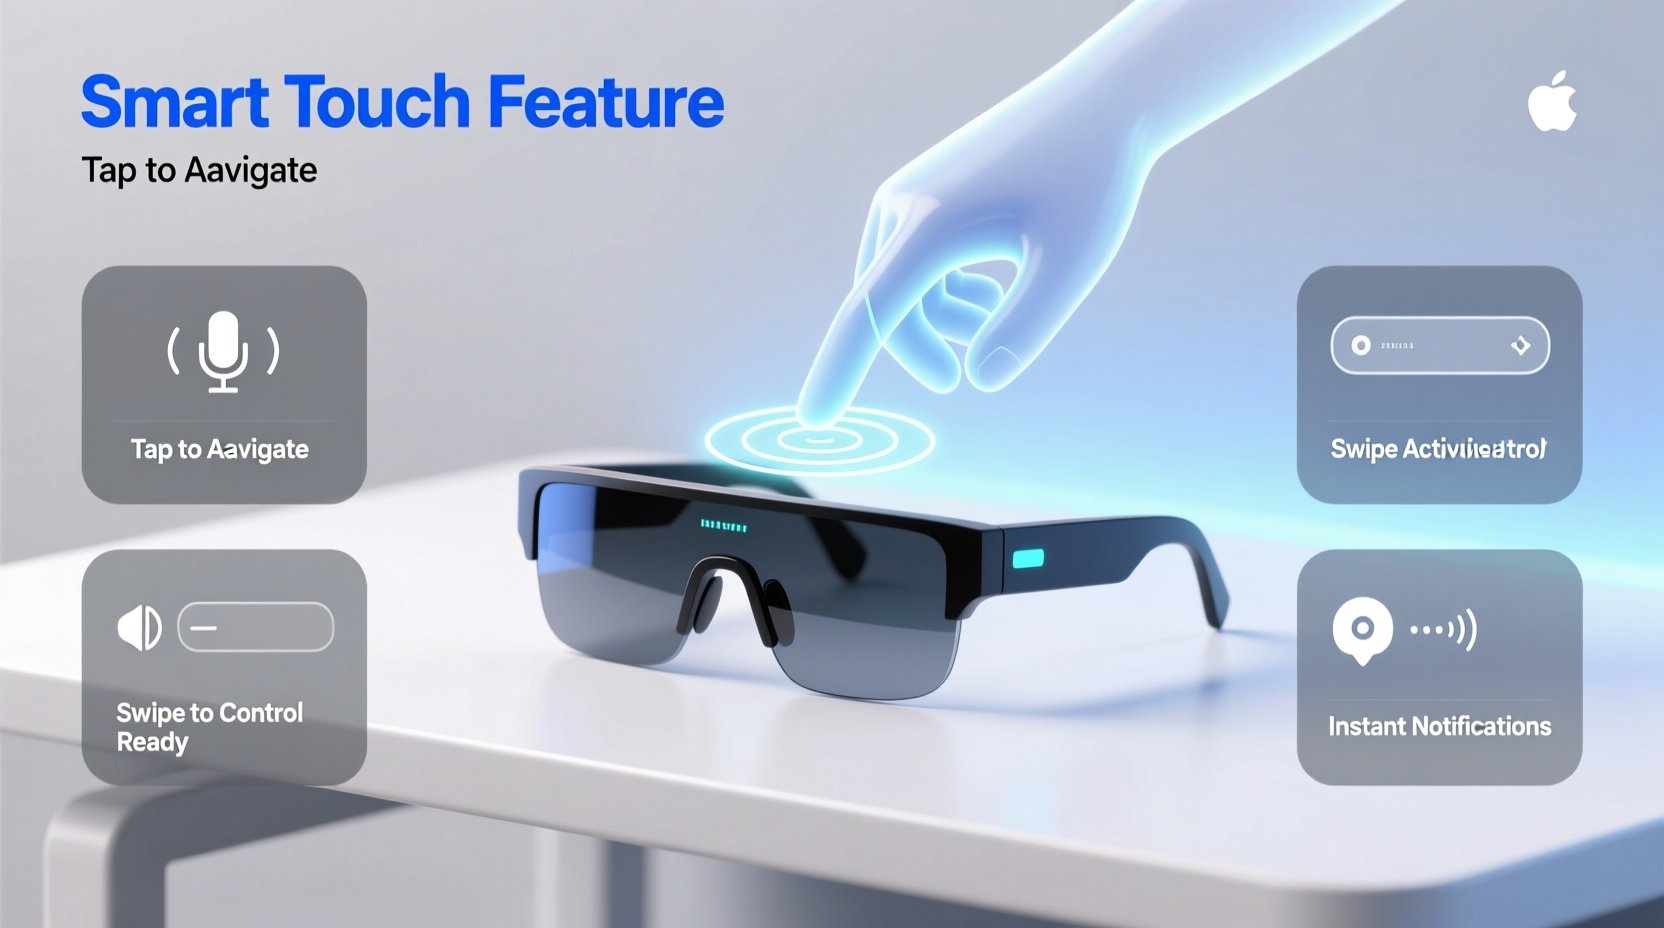
The smart touch feature refers to capacitive touch sensors built into select models of smart glasses, typically located on the side arm near the ear. These sensors detect finger swipes, taps, and holds, translating them into commands such as answering calls, launching apps, adjusting volume, or activating voice assistants.
Unlike voice commands, which may not be suitable in quiet or public settings, smart touch offers silent, precise control. Unlike companion smartphone apps, which require pulling out a device, smart touch enables immediate interaction without breaking focus from your surroundings.
Manufacturers like Ray-Ban Meta, XREAL, and Vuzix have implemented variations of this technology, each with unique gesture mappings. However, most follow a core set of interactions:
- Single Tap: Play/pause audio or answer/end calls
- Double Tap: Activate voice assistant (e.g., Alexa, Google Assistant)
- Swipe Forward/Backward: Skip tracks or navigate menus
- Long Press: Power on/off or initiate recording
Customizing Gestures for Maximum Efficiency
One of the most underutilized aspects of smart touch is customization. Many modern smart glasses allow users to reassign gestures via companion apps. This transforms the interface from generic to deeply personal.
For example, a field technician might remap a double-tap to launch an AR overlay for equipment diagnostics. A cyclist could assign a swipe-up gesture to activate live navigation. The key is aligning gestures with high-frequency tasks.
“Users who customize their input methods report 40% faster response times and higher satisfaction.” — Dr. Lena Torres, Human-Computer Interaction Researcher at MIT Media Lab
Step-by-Step Guide to Customizing Smart Touch Gestures
- Open the companion app for your smart glasses (e.g., Ray-Ban Stories app, Nreal Air Settings).
- Navigate to the “Controls” or “Touch Gestures” section.
- Select the gesture you want to modify (e.g., double tap).
- Choose a new action from the dropdown: voice assistant, camera capture, app shortcut, etc.
- Save and test the new mapping in a controlled environment.
- Repeat for other gestures, ensuring consistency across contexts.
Avoid assigning conflicting actions to similar gestures. For instance, don’t set both “end call” and “close app” to a long press if they’re frequently used together—this increases error rates.
Real-World Applications and Case Study
Consider Maria, a logistics manager at a warehouse distribution center. Her team adopted smart glasses equipped with smart touch controls to streamline inventory checks. Previously, workers had to carry handheld scanners, pause work, and manually log data—slowing throughput.
Maria’s team now uses swipe gestures to cycle through item lists, tap to confirm scans via integrated cameras, and double-tap to request supervisor approval through voice notes. The result? A 30% reduction in processing time and fewer input errors.
In her words: “The smart touch interface became second nature after two weeks. It’s like having a keyboard on your temple—quiet, fast, and always available.”
Best Practices and Common Pitfalls
To get the most out of the smart touch feature, adopt these proven strategies while avoiding frequent mistakes.
| Do’s | Don’ts |
|---|---|
| Calibrate touch sensitivity based on戴镜习惯 (wearing habits) | Use gloves unless they’re touchscreen-compatible |
| Create context-specific profiles (work vs. leisure) | Assign too many functions to one gesture |
| Practice muscle memory in low-stakes environments | Ignore firmware updates that improve gesture recognition |
| Use haptic feedback (if available) to confirm inputs | Operate with wet or sweaty hands without drying first |
Optimizing for Different Environments
Smart touch performance varies depending on environmental conditions:
- Outdoor Use: Bright sunlight may make visual feedback hard to see; rely on audio or haptic cues.
- Cold Weather: Bare fingers improve conductivity—consider lightweight touchscreen gloves.
- Noisy Areas: Use touch instead of voice commands to maintain discretion.
- Active Movement: Secure fit prevents false triggers caused by shifting frames.
Frequently Asked Questions
Can I disable the smart touch feature temporarily?
Yes. Most devices offer a lock mode in the settings menu or via a specific gesture (e.g., holding both temples). This prevents accidental inputs during storage or physical activity.
Are all gestures supported across apps?
Not universally. While core functions like play/pause are widely supported, app-specific gestures depend on developer integration. Check app documentation for compatibility.
What should I do if the touchpad becomes unresponsive?
First, clean the surface gently. Then restart the glasses and ensure the firmware is up to date. If issues persist, recalibrate through the companion app or contact support.
Checklist: Mastering Smart Touch in 7 Days
- Day 1: Review default gestures and test each one.
- Day 2: Customize 2–3 gestures to match your top daily tasks.
- Day 3: Practice in a distraction-free setting until responses feel natural.
- Day 4: Use in a real scenario (e.g., taking a call while walking).
- Day 5: Adjust sensitivity or re-map any problematic gestures.
- Day 6: Create a secondary profile for a different context (e.g., workout mode).
- Day 7: Evaluate efficiency gains and document improvements.
Conclusion: Make Technology Disappear
The ultimate goal of wearable tech isn’t to draw attention, but to fade into the background while amplifying your capabilities. The smart touch feature, when mastered, stops feeling like a gadget and starts feeling like instinct. It allows you to interact with digital layers without disengaging from the physical world—whether you're navigating a city, leading a meeting, or capturing a moment.
Start small. Customize one gesture. Use it consistently. Build from there. Over time, you'll find yourself relying less on screens and more on seamless, tactile control. That’s when smart glasses truly fulfill their promise—not as futuristic accessories, but as intelligent extensions of yourself.


 浙公网安备
33010002000092号
浙公网安备
33010002000092号 浙B2-20120091-4
Comments
No comments yet. Why don't you start the discussion?