
In today’s fast-paced digital environment, efficient multitasking isn’t just a convenience—it’s a necessity. Whether you're managing multiple projects, juggling communication tools, or switching between work and personal tasks, virtual desktops have become a cornerstone of modern productivity. Both Windows and macOS offer robust virtual desktop systems, but they differ significantly in design philosophy, execution, and user experience. Understanding these differences can help you determine which operating system better supports your workflow.
Understanding Virtual Desktops: The Basics
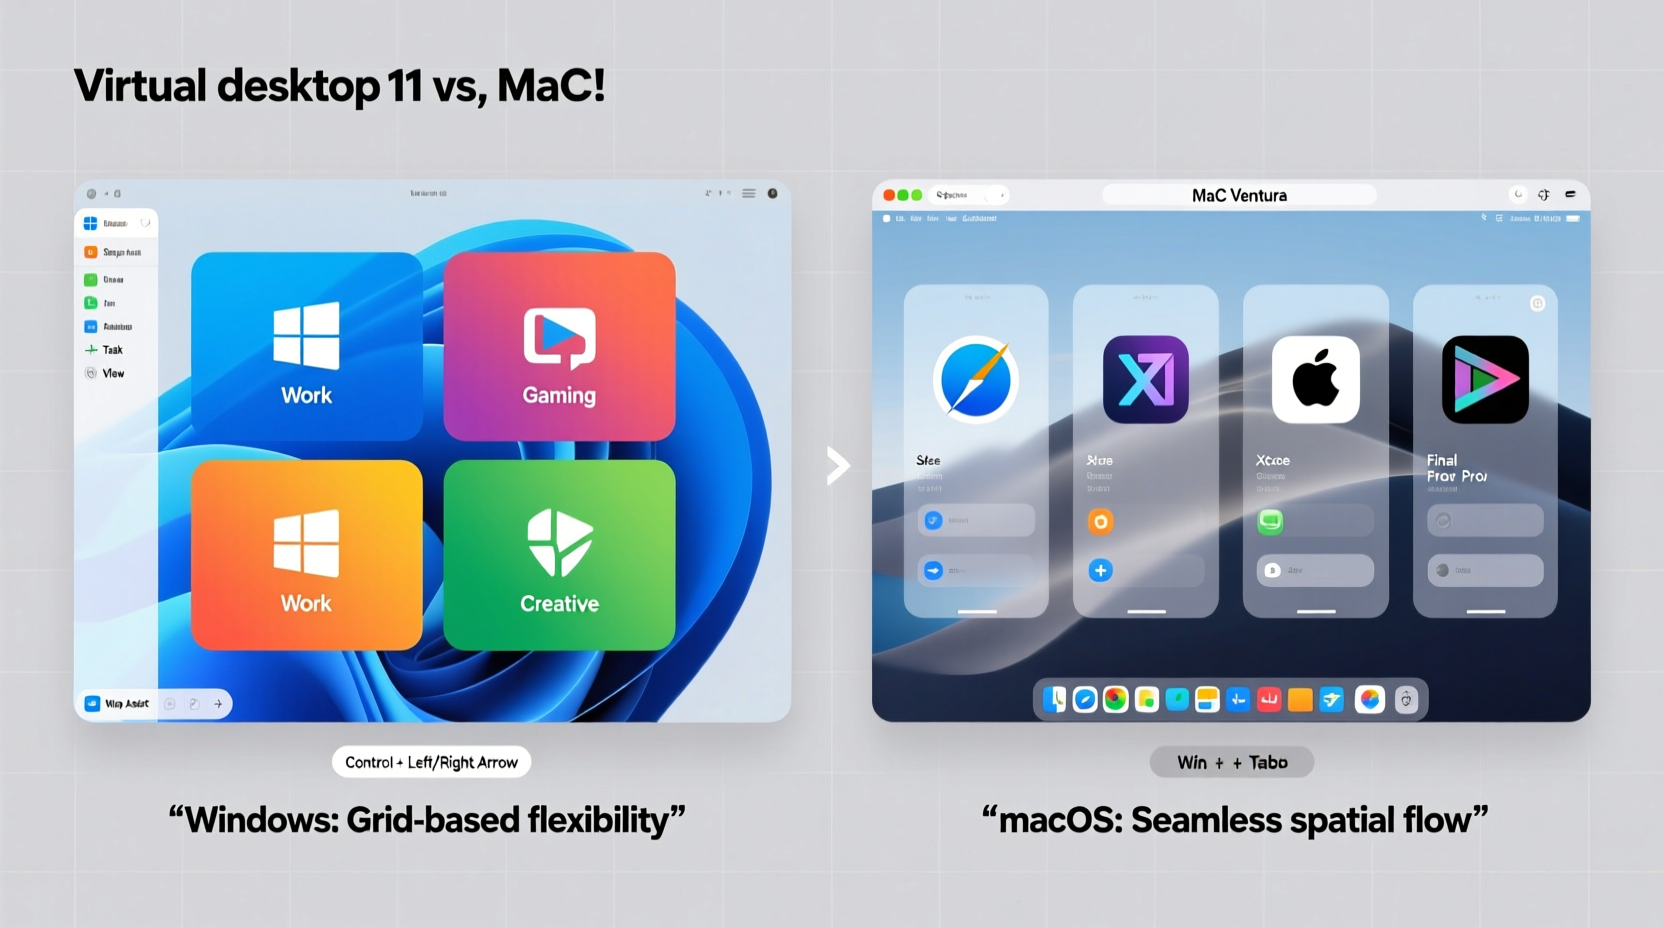
Virtual desktops allow users to create multiple independent screen environments, each capable of hosting different applications and windows. Instead of cluttering a single screen with overlapping apps, users can organize tasks into separate spaces—such as one for email and messaging, another for creative work, and a third for web browsing.
This approach reduces visual noise, improves focus, and streamlines context switching. While the concept is similar across platforms, implementation varies widely between Windows 10/11 and macOS, particularly in how desktops are created, navigated, and managed.
How Windows Handles Virtual Desktops
Windows introduced native virtual desktop support with Windows 10, branding it as “Task View.” Since then, it has evolved into a more integrated feature in Windows 11, offering both functionality and aesthetic refinement.
To access Task View, users press Win + Tab or click the dedicated Task View button on the taskbar. From there, they can view all open windows and existing desktops. Creating a new desktop is as simple as clicking the “+ New Desktop” button at the top of the Task View interface.
Each virtual desktop in Windows operates independently. You can assign specific apps to specific desktops—like having Slack and Outlook on Desktop 1, Photoshop on Desktop 2, and Chrome with research tabs on Desktop 3. Applications do not automatically appear across desktops unless manually moved.
Navigation is handled via keyboard shortcuts (Ctrl + Win + Left/Right Arrow) or through the Task View menu. One notable limitation: Windows does not allow users to assign different wallpapers or naming conventions to individual desktops natively—a feature many power users miss.
How macOS Handles Virtual Desktops
macOS has offered virtual desktops—called “Spaces”—since 2007, making it far more mature than Windows’ implementation. Integrated with Mission Control, Spaces provide a fluid, gesture-driven multitasking experience deeply embedded in Apple’s ecosystem.
Activating Mission Control is as easy as swiping up with three or four fingers on the trackpad (configurable), pressing F3, or using Control + Up Arrow. This reveals all active Spaces and open windows, arranged clearly at the top of the screen. Adding a new Space is done by hovering at the top-right corner and clicking the “+” icon.
One of macOS’s standout advantages is seamless integration with full-screen apps. When you enter full-screen mode with an app like Safari or Final Cut Pro, macOS automatically creates a new Space for it. This behavior encourages clean separation of tasks without requiring manual setup.
Additionally, macOS allows users to assign specific apps to specific Spaces—ensuring that certain applications follow you across desktops or remain confined to one. For example, you might set your calendar to appear on every Space so it’s always accessible.
“Apple’s spatial consistency in Spaces makes it feel less like switching desktops and more like moving through a thoughtfully organized workspace.” — David Lin, UX Designer at a Silicon Valley tech firm
Feature Comparison: Windows vs Mac
| Feature | Windows 11 | macOS Sonoma |
|---|---|---|
| Activation Method | Win + Tab or Task View button | Mission Control (trackpad swipe, F3, Ctrl+Up) |
| Desktop Creation | Manual only | Manual or automatic (via full-screen apps) |
| Navigation | Ctrl + Win + Left/Right | Ctrl + Left/Right or trackpad swipe |
| App Assignment | Limited; apps stay on current desktop | Advanced: Always on, This Desktop Only, or None |
| Wallpaper per Desktop | No (without third-party tools) | Yes |
| Touch/Gesture Support | Minimal (mouse/touchscreen) | Excellent (trackpad gestures) |
| Integration with Full-Screen Apps | Manual move required | Automatic Space creation |
| Custom Naming | No | No (but inferred by app layout) |
The table highlights a key distinction: macOS prioritizes automation and fluidity, while Windows emphasizes control and simplicity. Neither is objectively superior, but their philosophies cater to different user preferences.
Real-World Workflow Example: The Freelancer’s Setup
Consider Sarah, a freelance graphic designer who splits her time between client calls, design work, invoicing, and personal research. She uses two monitors and works across Windows and Mac depending on project needs.
On her MacBook Pro, she sets up four Spaces:
- Space 1: Communication (Slack, Mail, Zoom)
- Space 2: Design (Figma, Illustrator)
- Space 3: Web Research (Safari with curated tabs)
- Space 4: Finance & Admin (QuickBooks, Google Sheets)
Because full-screen apps auto-create Spaces, launching Figma immediately isolates her into a distraction-free zone. She uses a three-finger swipe up to check notifications across Spaces and relies on consistent muscle memory to switch contexts.
On her Windows machine, she finds herself manually creating desktops and remembering to drag apps into place. While functional, the lack of app assignment rules means she occasionally opens Outlook on the wrong desktop. She also misses being able to glance at her calendar across all desktops without switching back.
Sarah ultimately prefers the Mac setup—not because it offers more desktops, but because it reduces cognitive load. The system anticipates her needs rather than requiring explicit instructions.
Step-by-Step: Optimizing Virtual Desktops on Each Platform
For Windows Users
- Open Task View: Press Win + Tab to enter Task View.
- Create a New Desktop: Click “+ New Desktop” in the top-left corner.
- Assign Workflows: Move relevant apps (e.g., Teams, Word) to Desktop 1; design tools to Desktop 2.
- Use Keyboard Shortcuts: Memorize Ctrl + Win + Left/Right for quick navigation.
- Close Unused Desktops: Hover over a desktop thumbnail and click the “X” to remove it.
- Consider Third-Party Tools: Use tools like “PowerToys” to add custom wallpapers or naming.
For Mac Users
- Enter Mission Control: Swipe up with three/four fingers or press Control + Up Arrow.
- Add a Space: Move your cursor to the top-right and click the “+” button.
- Launch Full-Screen Apps: Open Safari or Notes in full-screen to auto-generate new Spaces.
- Assign Apps to Spaces: Right-click an app in Dock > Options > Assign To (e.g., “All Desktops”).
- Organize Visually: Drag windows between Spaces in Mission Control view.
- Customize Gestures: Go to System Settings > Trackpad > More Gestures to adjust swipe sensitivity.
Which OS Handles Multitasking Better?
The answer depends on what kind of multitasker you are.
If you value **precision, simplicity, and keyboard-driven efficiency**, Windows delivers a reliable, no-frills virtual desktop experience. It’s ideal for users who want clear separation of tasks without unnecessary automation. However, its lack of customization options and limited app management can feel restrictive over time.
If you prioritize **fluidity, gesture-based navigation, and intelligent automation**, macOS takes the lead. The deep integration between Spaces, full-screen apps, and Mission Control creates a cohesive multitasking environment that feels intuitive and responsive. The ability to assign apps across desktops and use natural trackpad gestures enhances productivity, especially on laptops.
Moreover, macOS benefits from years of refinement. Its virtual desktop system wasn’t added as an afterthought but evolved alongside user behavior. Windows, while catching up rapidly, still feels like it’s playing catch-up in terms of polish and ecosystem integration.
That said, Windows holds an edge in multi-monitor setups. In Windows, each monitor can display a different virtual desktop simultaneously—a feature macOS still lacks. If you work with three or more screens and need segmented workflows per display, this alone may tip the balance toward Windows.
Checklist: Getting the Most from Virtual Desktops
- ✅ Define clear purposes for each desktop (e.g., Work, Personal, Creative)
- ✅ Use consistent keyboard shortcuts or gestures for navigation
- ✅ Limit each desktop to 3–5 core apps to avoid clutter
- ✅ Close unused desktops regularly to maintain focus
- ✅ On Mac: Assign critical apps (like Calendar) to all Spaces
- ✅ On Windows: Use PowerToys to enhance functionality
- ✅ Test your setup during a full workday to refine workflow
Frequently Asked Questions
Can I use different wallpapers for each virtual desktop on Windows?
Not natively. Windows applies the same wallpaper across all desktops. However, third-party tools like Wallpaper Engine or Microsoft PowerToys can enable per-desktop wallpapers with some configuration.
Why does macOS create a new Space when I go full-screen?
This is by design. macOS treats full-screen apps as standalone environments, automatically placing them in their own Space to eliminate distractions and simplify window management. You can disable this in Mission Control settings if desired.
Which OS is better for gaming and streaming on separate desktops?
Windows has a clear advantage here. Gamers often run Steam, Discord, and a browser on different desktops while streaming. Windows’ straightforward desktop switching and better compatibility with gaming peripherals make it more suitable. Additionally, Game Bar and Xbox integration are exclusive to Windows.
Final Verdict: It’s About Workflow Fit, Not Just Features
When comparing virtual desktops on Windows versus Mac, the question isn’t just about which has more features—but which aligns better with how you think and work. macOS offers a refined, gesture-rich, and automated multitasking experience that shines on laptops and for creative professionals. Windows provides a more manual, structured, and monitor-flexible approach ideal for enterprise users and gamers.
Ultimately, macOS handles multitasking with greater elegance and consistency, especially for users invested in the Apple ecosystem. But Windows closes the gap with practical advantages in multi-monitor scenarios and growing support through PowerToys and UI improvements in Windows 11.
The best choice depends on your hardware, habits, and expectations. Try both setups for a week with intentional desktop organization. You’ll likely discover not just which system is more powerful—but which one feels more like an extension of your mind.


 浙公网安备
33010002000092号
浙公网安备
33010002000092号 浙B2-20120091-4
Comments
No comments yet. Why don't you start the discussion?