
For many, the holiday season is about warmth, tradition, and shared moments. But when it comes to decorating, especially with modern smart lighting, the promise of convenience can quickly give way to frustration. Voice controlled Christmas lights offer hands-free ambiance, scheduled twinkling, and festive automation—but only if they’re set up right. The good news: you don’t need a degree in electrical engineering or a home full of smart devices to make it work. With the right approach, even tech skeptics can enjoy a responsive, voice-activated light display that enhances the magic without the mess.
The key isn’t just buying smart bulbs—it’s choosing compatible gear, minimizing setup complexity, and planning for long-term ease. This guide walks through every step with real-world clarity, so you can spend less time troubleshooting and more time enjoying the glow.
Start with the Right Equipment
Not all smart lights are created equal, and compatibility is everything. Before purchasing, confirm which voice assistant ecosystem you already use—Amazon Alexa, Google Assistant, or Apple Siri (via HomeKit). Choosing lights that natively support your platform reduces configuration headaches significantly.
Most voice-controlled Christmas lights today fall into two categories:
- Smart string lights – Pre-built strings with built-in Wi-Fi or Bluetooth connectivity. These plug directly into an outlet and connect to your home network.
- Smart plugs with standard lights – A simpler, often cheaper option. You keep your existing Christmas lights and plug them into a smart outlet controlled by voice.
While smart bulbs offer color changing and scheduling, smart plugs are ideal if you just want on/off control and don’t need dynamic effects. They also avoid the fragility issues sometimes found in integrated smart strings.
“Simplicity wins during the holidays. A $15 smart plug paired with your favorite traditional lights can deliver 90% of the smart experience with 30% of the setup time.” — Jordan Lin, Smart Home Integration Consultant
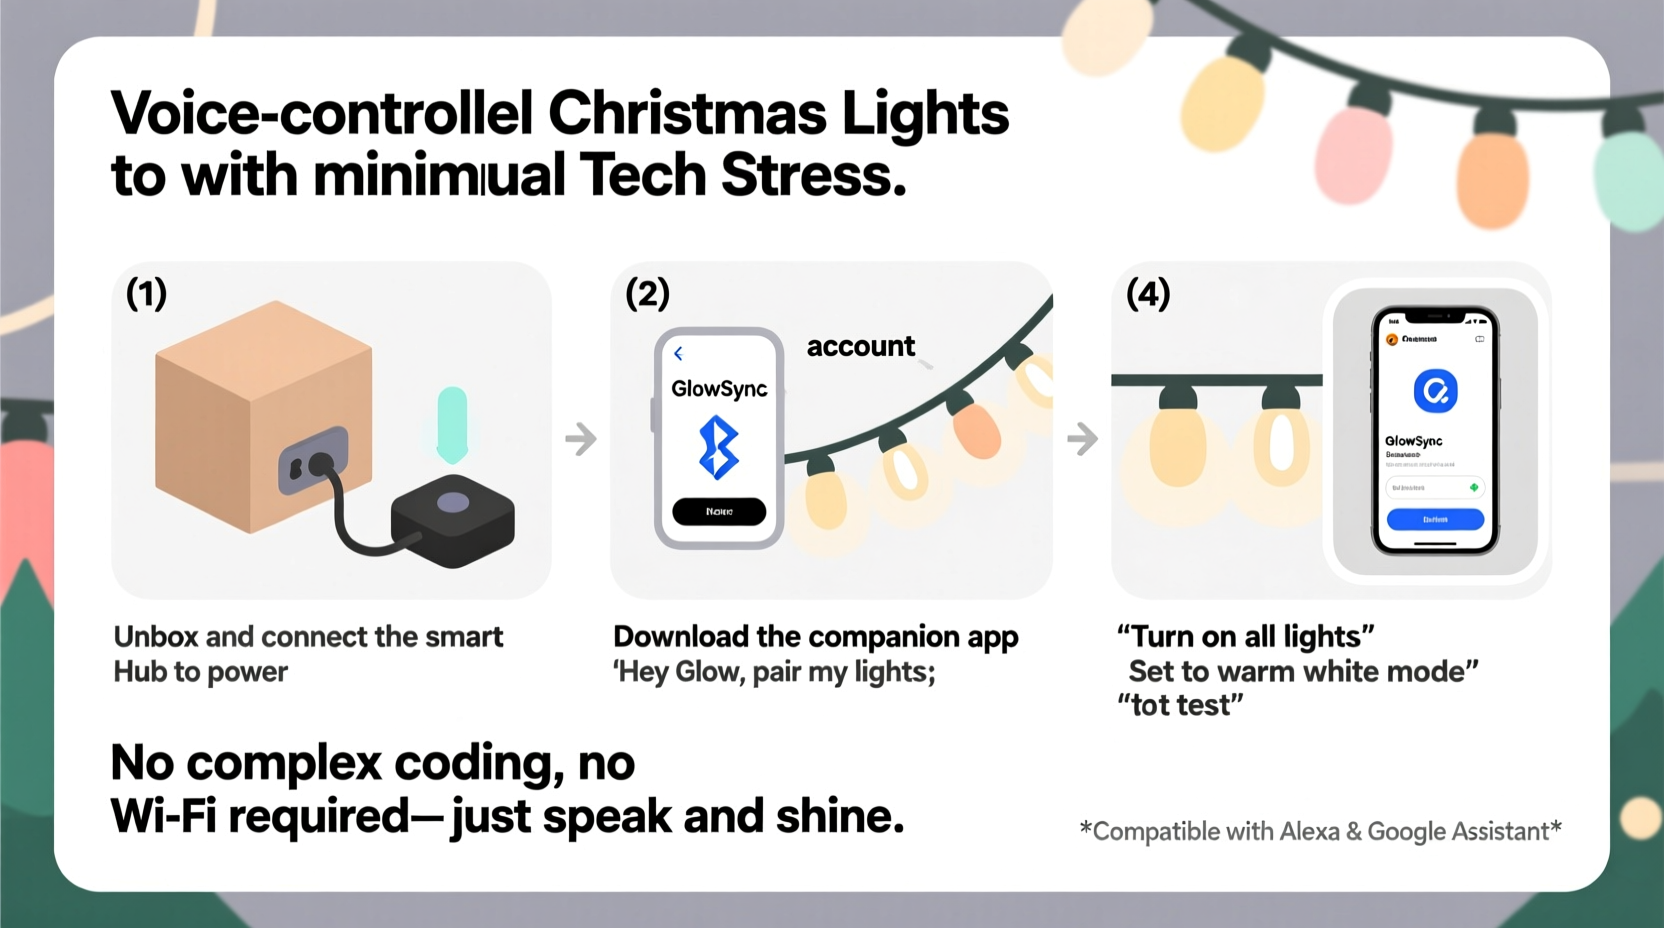
Step-by-Step Setup Process
A smooth installation starts with preparation. Follow this timeline-tested sequence to minimize hiccups:
- Inventory your tools: Smart lights or plug, smartphone, Wi-Fi network name and password, power source, and ladder (if needed).
- Install the companion app: Most smart lighting systems require a mobile app (e.g., Kasa, Philips Hue, or the main Alexa/Google app) for initial setup.
- Connect lights to power: Plug in your smart string or smart plug. Wait for indicator lights to blink, signaling pairing mode.
- Connect to Wi-Fi: Open the app and follow prompts to link the device to your 2.4 GHz network. Note: most smart lights don’t support 5 GHz bands.
- Name your device: Assign a clear label like “Front Porch Lights” or “Tree LEDs” for easier voice control.
- Link to your voice assistant: In the Alexa or Google Home app, enable the skill or discover new devices. Your lights should appear automatically.
- Test voice commands: Say, “Hey Google, turn on the tree lights” or “Alexa, dim the porch lights to 50%.”
If discovery fails, double-check that both your phone and smart device are on the same Wi-Fi network. Restarting your router or re-pairing the device often resolves connection glitches.
Minimize Tech Stress with Proven Strategies
The biggest barrier to enjoying smart holiday lighting isn’t functionality—it’s confidence. Many people abandon setups after one failed attempt. These strategies reduce friction before it starts:
- Stick to one ecosystem: Mixing brands across Alexa, Google, and HomeKit increases complexity. Choose one and build around it.
- Use strong Wi-Fi coverage: Outdoor lights may struggle if far from your router. Consider a Wi-Fi extender or mesh node nearby.
- Avoid overcomplicating scenes: Start with simple on/off or dimming before diving into color cycles or music sync.
- Label physical connections: Use colored tape or tags on plugs to match app names—especially helpful with multiple strands.
Battery-powered smart lights are rare but emerging. Most require constant power, so plan outlet access carefully. For outdoor use, ensure all connections are weather-rated and elevated off the ground.
Comparison: Smart Plugs vs. Smart String Lights
| Feature | Smart Plug + Regular Lights | Dedicated Smart String Lights |
|---|---|---|
| Cost | $10–$20 (plug only) | $25–$60 per string |
| Setup Time | 5–10 minutes | 10–20 minutes |
| Customization | On/off, scheduling | Color, brightness, effects, music sync |
| Compatibility | Universal (works with any light) | Brand-specific apps and limits |
| Outdoor Use | Yes (if plug is rated) | Varies—check IP rating |
| Best For | Simplicity, budget, existing decor | Dynamic displays, color themes, video sync |
For families who redecorate minimally each year, smart plugs offer lasting value. You can reuse them year-round for lamps, fans, or seasonal displays. Smart strings shine when you want synchronized rainbows or app-controlled holiday scenes.
Real Example: The First-Time Smart Decorator
Mark, a high school teacher in Portland, had avoided smart lights for years, convinced they’d be too complicated. Last November, his daughter challenged him to let her set up the tree using voice control. They bought a single strand of Alexa-compatible LED lights and a smart plug for the porch wreath.
Using the Luminave app, she connected both in under 15 minutes. They named them “Tree Magic” and “Front Wreath,” then linked them to Alexa. On launch day, Mark said, “Alexa, start the holidays,” and both lights turned on in sequence. Neighbors noticed. Kids cheered. By New Year’s, he’d added a timer to shut them off at midnight.
“I thought I’d hate the setup,” Mark said later. “But once it worked, it felt like real-life magic. And my daughter still feels proud she made it happen.”
This scenario isn’t rare. Simple, incremental adoption builds confidence. One functional device does more for long-term engagement than five broken ones.
Essential Checklist Before Going Live
Run through this checklist the night before activating your display:
- ✅ Confirm all lights are securely plugged in and powered.
- ✅ Test Wi-Fi signal strength near the installation area.
- ✅ Verify device names in your smart home app are clear and distinct.
- ✅ Program at least one schedule (e.g., “On at 5 PM, off at 11 PM”).
- ✅ Test basic voice commands from different rooms.
- ✅ Share control with family via the app (if desired).
- ✅ Check outdoor cords for water exposure or tripping hazards.
Crossing these off ahead of time prevents last-minute scrambles and ensures reliability throughout the season.
FAQ: Common Questions Answered
Can I use voice control without a smart speaker?
Yes. If you have a smartphone with Alexa, Google Assistant, or Siri, you can use the app to issue voice commands. Just tap the mic icon and speak. However, hands-free convenience requires a dedicated smart speaker or display.
What if my lights won’t connect to Wi-Fi?
First, ensure you’re using a 2.4 GHz network—most smart lights don’t support 5 GHz. Restart the device and router. Move closer to the router during setup. If problems persist, reset the light or plug (usually via a 10-second button hold) and retry pairing.
Can I group multiple lights under one command?
Absolutely. In the Alexa or Google Home app, create a “device group” called “Holiday Lights” or “Porch Display.” Add all relevant lights, then say, “Alexa, turn on Holiday Lights,” to activate them together.
Expert Tips for Long-Term Enjoyment
Setting up voice-controlled lights is just the beginning. To get lasting value, treat them as part of your home’s smart routine, not a one-off project.
Use routines to tie lighting to daily habits. For example: “When I say ‘Good morning,’ turn off the Christmas lights and open the blinds.” Or, “At 6 PM, turn on the tree and play holiday music.”
Store smart devices carefully after the season. Wrap cords neatly, keep plugs in labeled bags, and note which app they belong to. A quick photo of settings or device IDs can save hours next year.
“The best smart home tech disappears into your life. When your lights respond naturally to voice and habit, they stop being gadgets and start being part of the holiday feeling.” — Lena Patel, Smart Living Coach
Conclusion: Make Magic, Not Work
Voice controlled Christmas lights don’t have to mean tangled wires, confusing apps, or endless troubleshooting. By starting small, choosing compatible gear, and focusing on usability over features, you can bring responsive, joyful lighting into your home with minimal stress.
Whether it’s a single smart plug turning on your heirloom wreath or a full-color tree dancing to your voice commands, the goal is delight—not technical perfection. Let the technology serve the moment, not dominate it.


 浙公网安备
33010002000092号
浙公网安备
33010002000092号 浙B2-20120091-4
Comments
No comments yet. Why don't you start the discussion?