
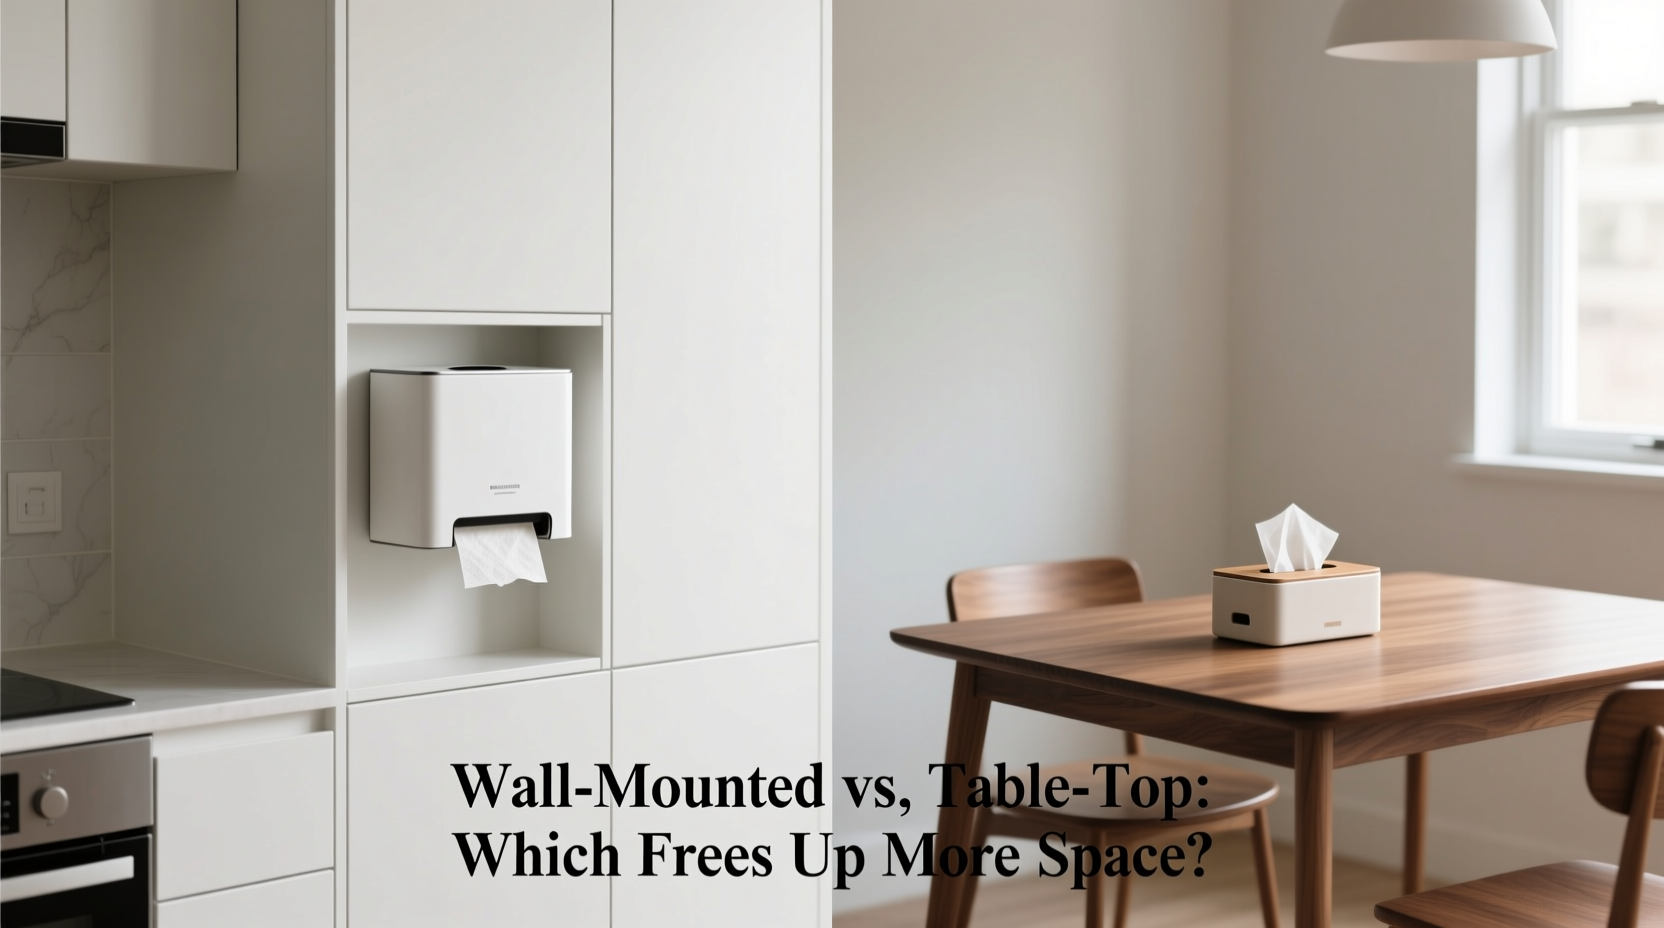
In the pursuit of a tidy, efficient home, even small items like tissue boxes play a surprisingly significant role. A cluttered dining table or countertop can disrupt the flow of a room, making it feel cramped and disorganized. One often-overlooked solution lies in how you store your tissues—specifically, whether to use a wall-mounted dispenser or keep a traditional box on the dining table. While both have their place, the real question is: which option actually frees up more usable space? The answer depends on layout, usage patterns, and household dynamics.
Understanding Space Utilization in Common Areas
The dining table isn’t just for meals—it’s often used for homework, remote work, bill paying, and socializing. Every inch counts. Placing a standard tissue box (typically 5” x 3” x 4”) on the table may seem harmless, but over time, that 60 cubic inches of occupied surface area adds up, especially in smaller homes or open-concept layouts where furniture serves multiple purposes.
Wall-mounted tissue dispensers, by contrast, transfer storage from horizontal surfaces to vertical walls. This shift aligns with modern minimalist design principles that prioritize decluttering flat spaces. According to interior designer Lena Torres, “Vertical solutions are essential in compact living. They preserve floor and table real estate without sacrificing accessibility.”
“Every object on a table competes for attention and function. Removing non-essential items instantly improves usability.” — Lena Torres, Interior Designer & Small-Space Specialist
Design and Placement: Practical Differences
Dining table tissue boxes are convenient but inherently space-consuming. They require a stable, flat surface and often get nudged around during daily use. In households with children or frequent guests, they can become displaced, knocked over, or buried under mail and dishes.
Wall-mounted dispensers, typically installed near seating areas or adjacent to dining zones, eliminate this issue. They’re fixed in place, reducing accidental movement and freeing up the entire tabletop. Most models accommodate standard full-size tissue boxes, ensuring no compromise on capacity.
Comparative Analysis: Key Factors at a Glance
| Feature | Wall-Mounted Tissue Box | Dining Table Tissue Box |
|---|---|---|
| Space Used | Vertical wall space (minimal footprint) | Horizontal surface area (5” x 3” average) |
| Accessibility | Moderate (requires reaching sideways/up) | High (within immediate reach) |
| Clutter Impact | Reduces visual and physical clutter | Adds to surface congestion |
| Installation Required | Yes (drilling/screws or adhesive) | No |
| Aesthetic Flexibility | Customizable finishes (metal, wood, plastic) | Limited to box design or decorative sleeve |
| Mobility | Fixed location | Portable, can be moved as needed |
The data clearly shows that wall-mounted options optimize space by relocating storage off functional surfaces. However, convenience and accessibility must also be weighed, particularly in multi-user environments.
Real-World Application: A Case Study
The Patel family lives in a 900-square-foot urban apartment with an open kitchen-dining-living layout. Their dining table doubles as a workspace and homework station. Initially, they kept a decorative tissue box on the table, but found it constantly in the way—especially when laptops and textbooks were out.
After installing a brushed nickel wall-mounted dispenser beside the breakfast nook, they removed the box entirely. The result? An additional 150 square inches of usable tabletop space. More importantly, family members reported feeling less crowded during shared activities. Mrs. Patel noted, “It’s a tiny change, but now there’s room for everyone’s water glass *and* a notebook without shoving things aside.”
This example illustrates how small spatial decisions compound into meaningful improvements in daily comfort and functionality.
Step-by-Step Guide to Transitioning to Wall-Mounted Tissues
If you're considering switching from a table-based to a wall-mounted system, follow this sequence for optimal results:
- Evaluate Usage Patterns: Observe how often tissues are used at the table. If only occasionally, wall mounting may suffice. For high-use scenarios, consider dual locations.
- Choose the Right Location: Pick a nearby wall within arm’s reach of seated diners. Avoid placing behind chairs or in tight corners.
- Select the Mount Type: Decide between screw-mounted (more durable) or heavy-duty adhesive strips (renter-friendly).
- Install at Ergonomic Height: Mount the dispenser so the pull tab is easily reachable while seated—usually between 42” and 48” from the floor.
- Test and Adjust: Use the dispenser for a few days. If users struggle to reach it, reposition slightly or keep a backup box nearby temporarily.
- Remove Table Box: Once confident in the new setup, clear the table completely. Enjoy the newly reclaimed space.
When a Table Box Still Makes Sense
Despite the space-saving benefits of wall-mounted dispensers, there are situations where keeping tissues on the table remains practical:
- Elderly or mobility-limited individuals who may find reaching sideways uncomfortable.
- Large family gatherings where quick, centralized access is more important than space conservation.
- Rental restrictions that prohibit drilling into walls.
- Temporary setups, such as holiday dinners or outdoor dining.
In these cases, consider using a compact, low-profile tissue holder or storing the box in a drawer for on-demand use, minimizing permanent surface occupation.
Frequently Asked Questions
Can wall-mounted tissue dispensers hold any brand of tissue?
Most standard wall-mounted models are designed to fit common full-size tissue boxes (approx. 5” x 3” x 4”). However, oversized or uniquely shaped boxes (like some eco-brands) may not fit. Always check dimensions before purchasing.
Are wall-mounted dispensers difficult to refill?
Refilling varies by model. Hinged or sliding covers make reloading easy, while some basic clips require lifting the box into place. Choose a user-friendly design, especially if children or older adults will use it regularly.
Do wall-mounted tissue holders look out of place in a dining area?
Not if chosen thoughtfully. Modern designs come in finishes like matte black, brass, wood grain, or minimalist white plastic that blend with decor. Positioning it discreetly beside a sideboard or near a lighting fixture helps integrate it naturally.
Final Verdict: Which Frees Up More Space?
The evidence is clear: wall-mounted tissue dispensers free up significantly more usable space than their table-based counterparts. By moving tissue storage to the wall, you reclaim valuable inches on tables that can then be used for dining, working, or socializing. The shift supports cleaner lines, reduced clutter, and improved functionality—especially in compact homes.
That said, the best choice depends on your household’s needs. For most people seeking a tidier, more efficient space, transitioning to a wall-mounted system offers measurable benefits with minimal trade-offs.


 浙公网安备
33010002000092号
浙公网安备
33010002000092号 浙B2-20120091-4
Comments
No comments yet. Why don't you start the discussion?