
Drawing beloved video game characters like those from Plants vs Zombies 2 can feel intimidating at first. The quirky sunflowers, determined peashooters, and mischievous zombies each have distinct shapes, expressions, and personalities. But the truth is, anyone can learn to draw them — regardless of skill level — by breaking down the process into manageable steps. With consistent practice and the right approach, you’ll be sketching your favorite plant warriors and undead invaders in no time.
The key isn’t natural talent; it’s technique, observation, and repetition. This guide walks you through a proven method that simplifies character drawing using basic shapes, reference materials, and structured progression. Whether you're a beginner or someone returning to drawing after years, these strategies will help you build confidence and skill efficiently.
Start with Basic Shapes and Proportions
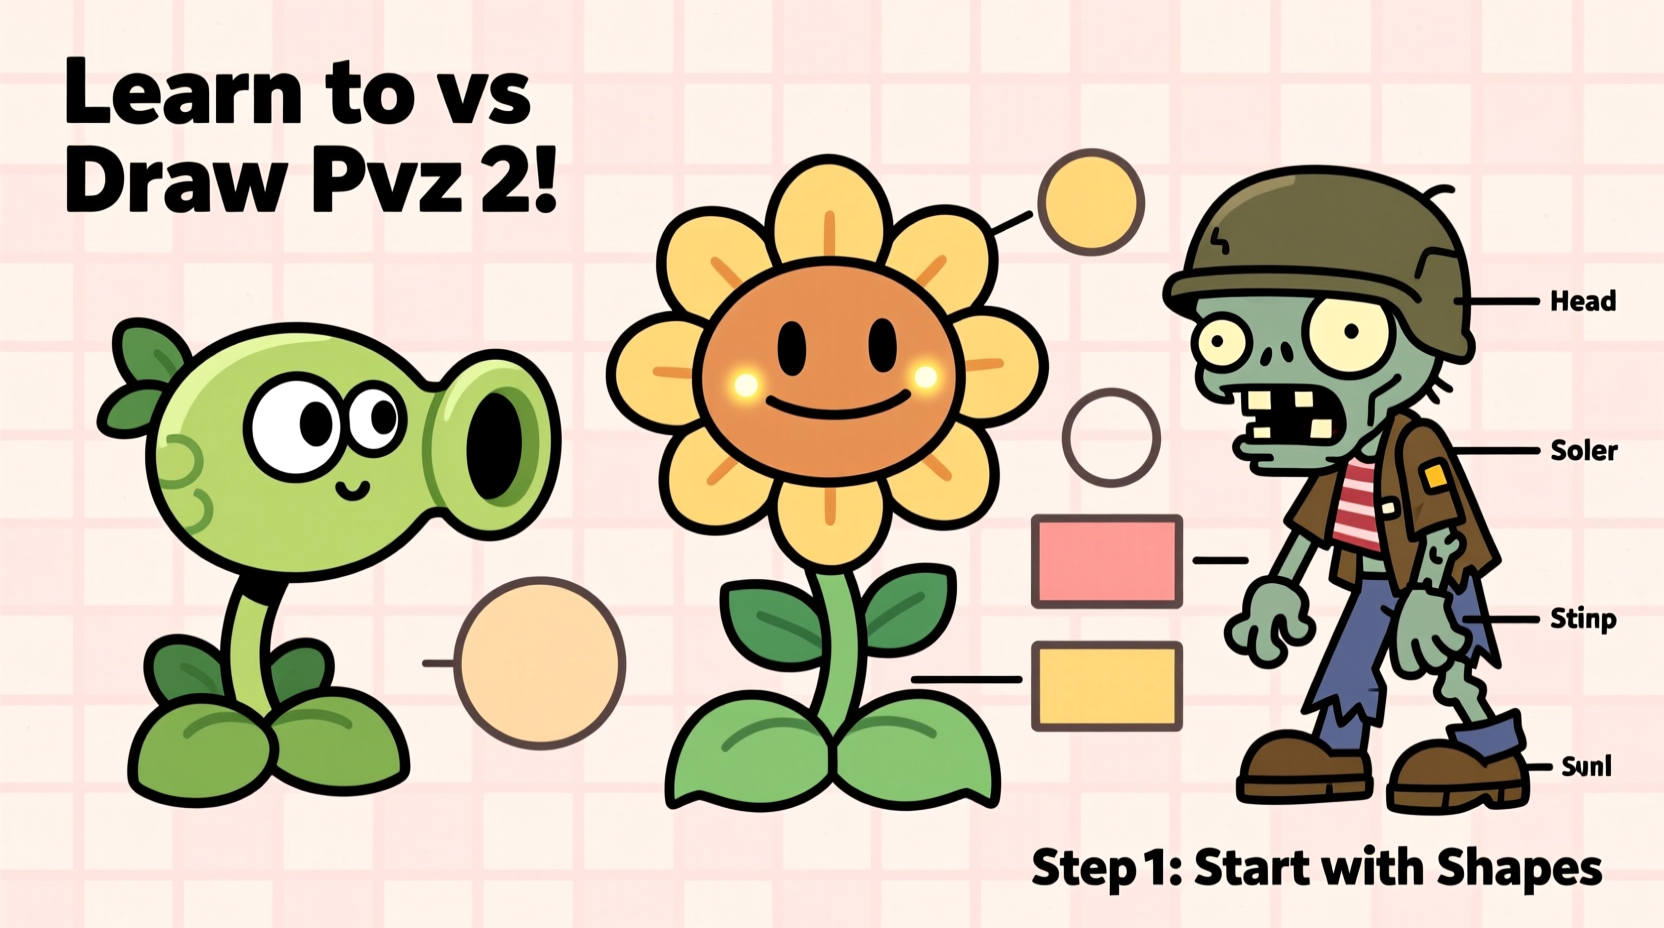
All complex drawings begin with simple geometric forms. Characters in Plants vs Zombies 2 are designed with exaggerated features, but their structure follows predictable patterns. Begin every sketch by laying out circles, ovals, rectangles, and lines to map out head size, body position, and limb placement.
For example, a Peashooter starts with a large circle for the head and a smaller one beneath for the body. A Sunflower uses overlapping circles for petals and a central dome shape for her face. Zombies often have elongated ovals for torsos and cylindrical limbs. These foundational shapes act as scaffolding, ensuring proportions stay accurate before adding details.
Step-by-Step Guide to Drawing a Classic Character
Let’s walk through drawing one of the most iconic characters: the Peashooter. Follow this timeline to develop muscle memory and understand form construction.
- Draw a medium-sized circle near the top of the page — this is the head.
- Add two small circles inside for eyes, slightly off-center to give him a forward-facing look.
- Sketch a vertical oval directly below the head for the stem/body.
- Outline the leaf arms using curved, teardrop-shaped lines extending from the sides of the stem.
- Refine facial features: Add pupils, a subtle mouth line, and texture lines on the leaves.
- Trace over final lines with a darker pencil or pen, then erase guidelines gently.
- Add color (optional): Use green for the body and leaves, black for eyes, and yellow accents if desired.
This sequence builds spatial awareness and trains your hand to replicate familiar forms. Repeat it five times in one session to reinforce learning. Over time, reduce reliance on measuring and rely more on visual estimation.
Use Reference Material Wisely
One of the most effective ways to improve accuracy is studying official artwork or in-game sprites. Open a second window on your device showing a clear image of the character you want to draw. Zoom in on key areas like facial expressions or joint connections.
Don’t copy blindly. Instead, analyze how shapes connect. Ask yourself: Where is the centerline of the face? How wide are the eyes compared to the head? What angles define the leaf positions? This analytical mindset turns passive copying into active learning.
| Character | Key Shape | Distinctive Feature | Best Practice Focus |
|---|---|---|---|
| Peashooter | Circle + Vertical Oval | Single barrel mouth | Symmetry & alignment |
| Sunflower | Layered Circles | Bright smile & petals | Radial symmetry |
| Zombie | Elongated Oval Head | Shambling posture | Gesture & tilt |
| Wall-nut | Perfect Circle | Circular cracks when damaged | Consistent roundness |
| Cherry Bomb | Sphere + Fuse Line | Fuse wiggling upward | Dynamic line energy |
Avoid Common Beginner Mistakes
New artists often rush to add details before nailing the foundation. This leads to distorted proportions and frustration. Recognizing pitfalls early accelerates progress.
- Starting with fine details: Resist drawing eyelashes or leaf veins too soon. Establish structure first.
- Pressing too hard: Heavy lines make corrections difficult. Keep initial strokes soft.
- Skipping warm-ups: Five minutes of doodling circles, lines, and curves primes hand-eye coordination.
- Comparing to professionals immediately: Even experts spent hundreds of hours mastering basics. Progress takes patience.
“Drawing isn’t about capturing perfection on the first try. It’s about training your brain to see relationships between shapes, lines, and spaces.” — Lena Reyes, Illustration Instructor at Digital Arts Academy
Create a Learning Checklist for Daily Practice
Consistency beats intensity when learning to draw. Dedicate just 15–20 minutes daily using this checklist to ensure steady improvement.
- ✅ Choose one character to focus on today
- ✅ Find a high-quality reference image
- ✅ Sketch basic shapes (3 attempts)
- ✅ Refine outline (2 clean versions)
- ✅ Trace final version onto fresh paper for clarity
- ✅ Note one thing to improve tomorrow (e.g., eye spacing, stem length)
After seven days, revisit your first sketches. You’ll likely notice improved control and confidence. Track progress by dating each sheet and storing them in a folder.
Real Example: From First Attempt to Confident Replication
Jess, a 14-year-old fan of the game, wanted to draw her favorite character, Kernel-pult. Her first attempt was lopsided — the corn cob launcher tilted awkwardly, and the face looked squashed. She followed the shape-based method outlined here, practicing Kernel-pult’s layered hat structure (cone + cylinder) and positioning the popcorn cannon at a consistent angle.
Over ten sessions, she repeated the same breakdown process. By day eight, her proportions were accurate, and she added personality through expression tweaks. By day twelve, she created an original scene with three different zombies dodging popcorn bursts. Her improvement wasn’t due to sudden talent — it came from deliberate, focused repetition.
FAQ
Can I use digital tools instead of pencil and paper?
Absolutely. Apps like Autodesk Sketchbook, Krita, or even Procreate offer layers, undo functions, and zoom features that enhance learning. Start with a stylus and tablet or iPad if available, but traditional methods work equally well.
How long does it take to get good at drawing these characters?
With daily 15-minute practice, most learners see noticeable improvement within 2–3 weeks. Mastery takes longer, but drawing recognizable, expressive versions of Peashooters or Gargantuars is achievable in under a month.
What if my drawings don’t look like the game sprites?
Variation is normal. Artists develop their own style over time. Focus on capturing the essence — a Sunflower should radiate cheerfulness, a Zombie menace. If the personality comes through, you’re succeeding.
Conclusion: Start Simple, Stay Consistent
Learning to draw Plants vs Zombies 2 characters doesn’t require special tools or innate ability. It requires a willingness to break complexity into simple parts, embrace mistakes as feedback, and show up consistently. Every expert artist started exactly where you are now — staring at a blank page, unsure where to begin.


 浙公网安备
33010002000092号
浙公网安备
33010002000092号 浙B2-20120091-4
Comments
No comments yet. Why don't you start the discussion?