
When working with digital imagery, resolution isn't just a number—it's the foundation of visual clarity and output fidelity. Whether you're preparing artwork for a gallery exhibition, designing a product brochure, or creating social media visuals, choosing the right resolution in Photoshop directly impacts how sharp, detailed, and professional your final image appears. But what exactly qualifies as \"best\"? The answer depends on context: print vs. screen, viewing distance, file size constraints, and intended use. Understanding these variables empowers you to make informed decisions that balance quality with practicality.
Understanding Resolution: PPI vs. DPI
Before determining the ideal resolution, it’s essential to distinguish between two commonly confused terms: pixels per inch (PPI) and dots per inch (DPI).
PPI refers to the number of pixels contained within one inch of a digital image. This value determines how large an image will appear when printed and how crisp it looks at that size. Higher PPI values mean more pixel data packed into each inch, resulting in finer detail.
DPI, on the other hand, describes how many ink dots a printer places on paper per inch. While related, DPI is a hardware-specific output measurement, not a setting you control directly in Photoshop. However, your image’s PPI should align with your target printer’s capabilities for optimal results.
A common misconception is that increasing DPI in Photoshop improves print quality. In reality, resampling an image to artificially increase PPI often leads to blurriness unless original data supports it. True quality comes from starting with sufficient pixel dimensions and setting appropriate PPI before printing.
“Resolution isn’t about making numbers bigger—it’s about matching pixel density to purpose.” — David Lin, Senior Imaging Technologist at PrintCraft Studios
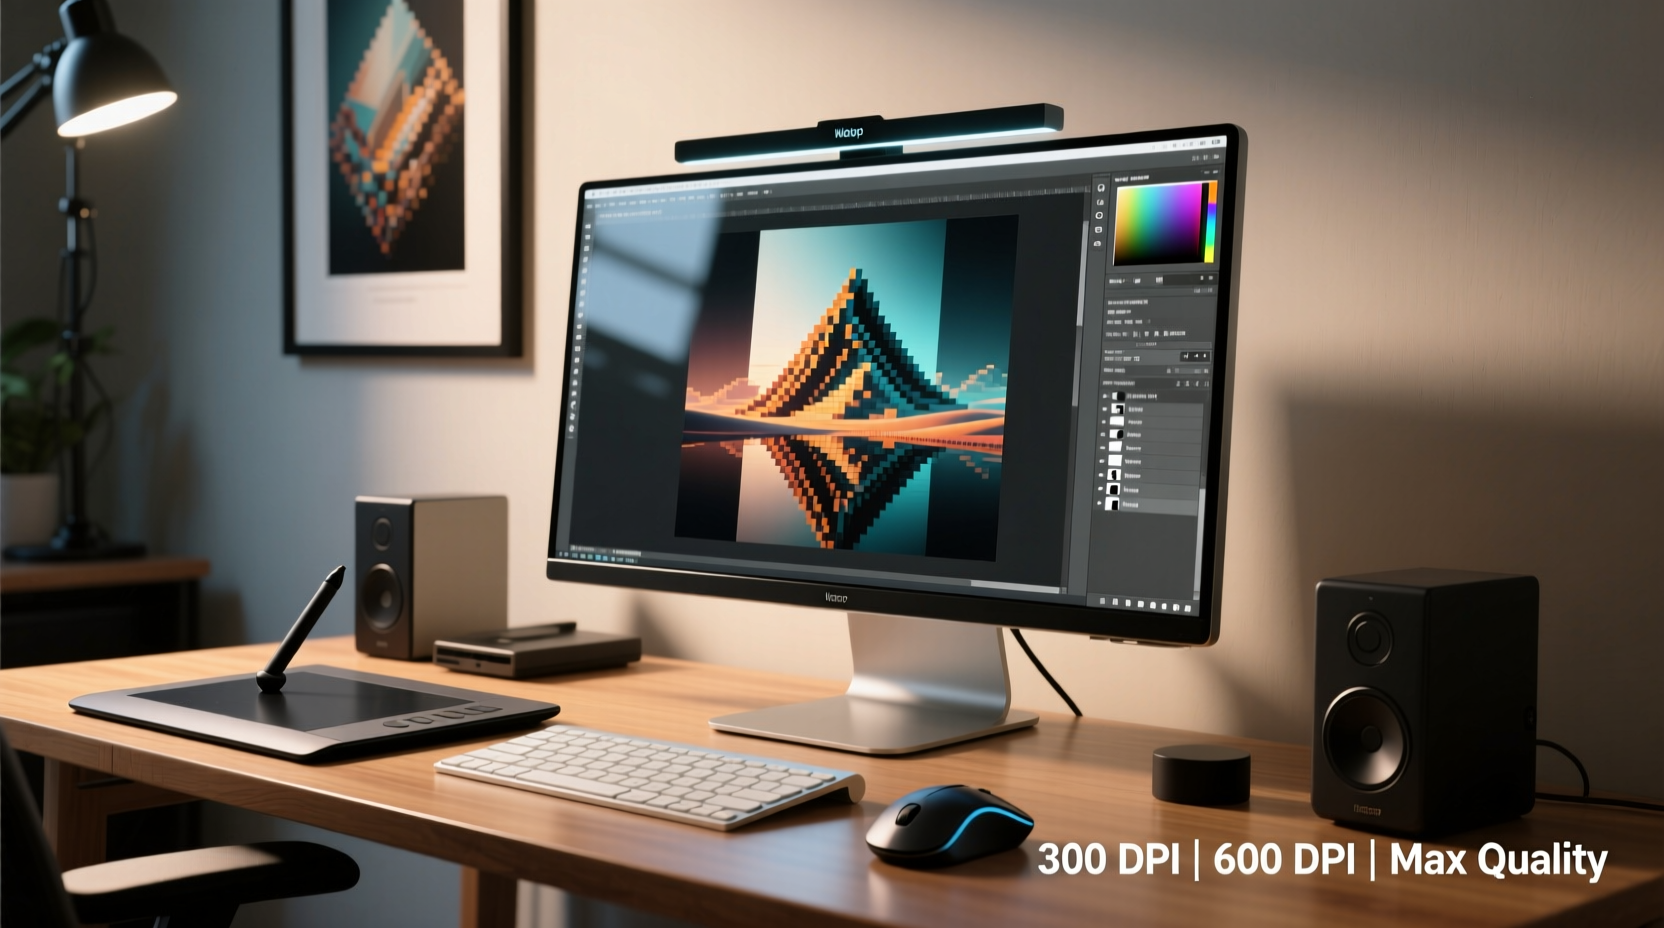
The Standard Benchmark: 300 PPI for Print
In professional print environments, 300 PPI is widely accepted as the standard resolution for high-quality output. At this density, the human eye cannot easily discern individual pixels at normal viewing distances (about 10–12 inches), producing smooth gradients, sharp text, and fine detail.
This benchmark applies to materials such as:
- Magazine photography
- Art prints and canvas reproductions
- Brochures and business cards
- Book covers and packaging design
For example, if you’re designing a 5×7 inch photo print, your image should be at least 1500×2100 pixels (5 × 300 = 1500; 7 × 300 = 2100). Anything less risks visible pixelation or softness when printed.
When Lower Resolutions Are Acceptable
Not every project demands 300 PPI. In fact, using unnecessarily high resolution can lead to bloated file sizes, slower performance, and wasted storage space. Context matters.
Consider these scenarios where lower resolutions are both acceptable and recommended:
Web and Digital Displays
Screens typically display images at 72–96 PPI. Since most monitors have fixed pixel grids, a 1920×1080 image will occupy the same physical space regardless of its embedded PPI. Therefore, saving web graphics at 72 PPI with appropriate pixel dimensions is sufficient—and efficient.
Large Format Prints
Banners, billboards, and trade show displays are viewed from several feet away. At such distances, the eye perceives blended details even at lower PPI. A billboard might only require 15–50 PPI depending on size and viewing range. What matters more is total pixel count—ensuring the image doesn’t stretch beyond its native resolution.
Early Design Drafts
During concept stages, working at 150 PPI allows faster editing while preserving enough quality for client previews. You can scale up to 300 PPI before final delivery, provided the base image has adequate pixel dimensions.
| Use Case | Recommended PPI | Rationale |
|---|---|---|
| Print (standard) | 300 | Optimal sharpness at close viewing |
| Web / Social Media | 72 | Matches typical screen density |
| Billboard / Banner | 15–50 | Viewed from distance; avoids oversized files |
| Photo Retouching Prep | 150–200 | Balances detail and performance |
| Fine Art Giclée Print | 300–360 | Maximum archival quality |
Step-by-Step: Setting Up High-Quality Images in Photoshop
Creating a high-resolution image starts long before export. Follow this workflow to ensure consistent quality:
- Define the Output Purpose – Is it for print, web, or mixed use? This guides all subsequent decisions.
- Determine Physical Dimensions – Know the exact size (in inches or cm) the image will occupy when printed.
- Create a New Document with Correct Settings – In Photoshop, go to File > New. Enter width, height, and set resolution to 300 PPI for print.
- Use High-Quality Source Material – If importing photos, ensure they were captured at high resolution (e.g., full-frame DSLR or mirrorless camera).
- Avoid Upsampling Whenever Possible – Enlarging small images degrades quality. Use Preserve Details 2.0 upsampling only when necessary, under Image > Image Size.
- Work in 16-bit Mode for Editing – Provides smoother tonal transitions during adjustments, especially important for high-end prints.
- Export Appropriately – For print, save as TIFF or PSD with layers intact. For clients, provide a flattened high-res JPEG at sRGB or CMYK, depending on press requirements.
Real-World Example: Gallery Print Preparation
Jessica, a freelance photographer, was commissioned to produce a series of 16×20 inch prints for a local gallery exhibition. She shot her images with a 45-megapixel camera, ensuring each file had over 8000 pixels on the long side.
She opened Photoshop and created a new document at 16×20 inches with 300 PPI. Using Image > Image Size, she confirmed her original files exceeded the required pixel dimensions (4800×6000 pixels). After color grading in 16-bit ProPhoto RGB, she converted to Adobe RGB for printing and exported 300 PPI TIFFs.
The result: gallery visitors praised the depth and clarity, with no visible artifacts even under bright lighting. Jessica avoided last-minute scaling issues because she planned resolution from the start.
Common Mistakes That Compromise Image Quality
- Starting Too Small: Creating a tiny canvas and trying to enlarge it later leads to blurry results.
- Ignoring Color Space: Working in sRGB for print may limit color accuracy compared to Adobe RGB or ProPhoto RGB.
- Resampling Without Purpose: Letting Photoshop interpolate pixels without understanding the algorithm can introduce halos or noise.
- Overlooking Sharpening: Even high-PPI images benefit from output sharpening tailored to print type (glossy vs. matte paper).
Checklist: Ensuring High-Quality Output in Photoshop
- Document resolution set to 300 PPI (for print)
- Pixel dimensions match or exceed output needs
- No warning triangles in Image Size dialog (indicating potential quality loss)
- Color mode correct (CMYK for commercial print, RGB for digital/light-based output)
- Sharpening applied last, after resizing
- File saved in appropriate format (TIFF, PSD, or high-quality JPEG)
- Proof colors checked (View > Proof Setup > Working CMYK)
Frequently Asked Questions
Can I change an image from 72 PPI to 300 PPI without losing quality?
Only if the pixel dimensions are already large enough. Simply changing the PPI metadata does not add detail. If you resample to increase pixel count, the image may become blurry unless advanced algorithms like Preserve Details 2.0 are used carefully.
Is 300 PPI always better than 240 PPI?
Not necessarily. Some high-end printers perform optimally at 240 or 360 PPI due to their internal dot patterns. For most general purposes, 300 PPI remains the safest choice, but consult your print service provider for specific recommendations.
Do I need high resolution for Instagram posts?
No. Instagram displays images at fixed pixel widths (typically 1080 pixels wide). Saving at 72 PPI with 1080px on the longest side is sufficient. Higher resolutions are scaled down and offer no visual benefit.
Conclusion: Match Resolution to Purpose
The “best” resolution in Photoshop isn’t a universal number—it’s a strategic decision based on how and where your image will be seen. For high-quality print work, 300 PPI remains the gold standard, delivering crisp, professional results. But blindly applying this rule to every project wastes resources and complicates workflows. By understanding PPI, planning for output, and respecting the limits of source material, you maintain control over quality without unnecessary overhead.


 浙公网安备
33010002000092号
浙公网安备
33010002000092号 浙B2-20120091-4
Comments
No comments yet. Why don't you start the discussion?