
A dash cam is more than just a gadget—it's a critical tool for documenting road incidents, protecting against false insurance claims, and improving driving awareness. But even the most advanced dash cam is only as effective as its placement. Mounting it in the wrong spot can result in obstructed views, poor footage quality, or even violations of local laws. The ideal position balances visibility, legality, and functionality. Understanding where to install your dash cam ensures you capture every important detail without compromising safety or compliance.
Why Dash Cam Placement Matters
The location of your dash cam directly affects the quality and usefulness of the footage. A poorly mounted camera may miss crucial details like license plates, traffic signals, or pedestrian movements. It can also create blind spots or distort the field of view due to improper angles. Beyond performance, placement impacts safety—placing the camera too high or wide can obstruct your line of sight, increasing accident risk. Additionally, many jurisdictions have strict rules about what portion of the windshield can be covered by devices.
According to the National Highway Traffic Safety Administration (NHTSA), any object placed on the windshield must not impair the driver’s forward or side vision. Violating these regulations can lead to fines or failed vehicle inspections in some states. Therefore, choosing the right spot isn’t just about getting better video—it’s about staying safe and legal on the road.
Optimal Mounting Position: The Sweet Spot
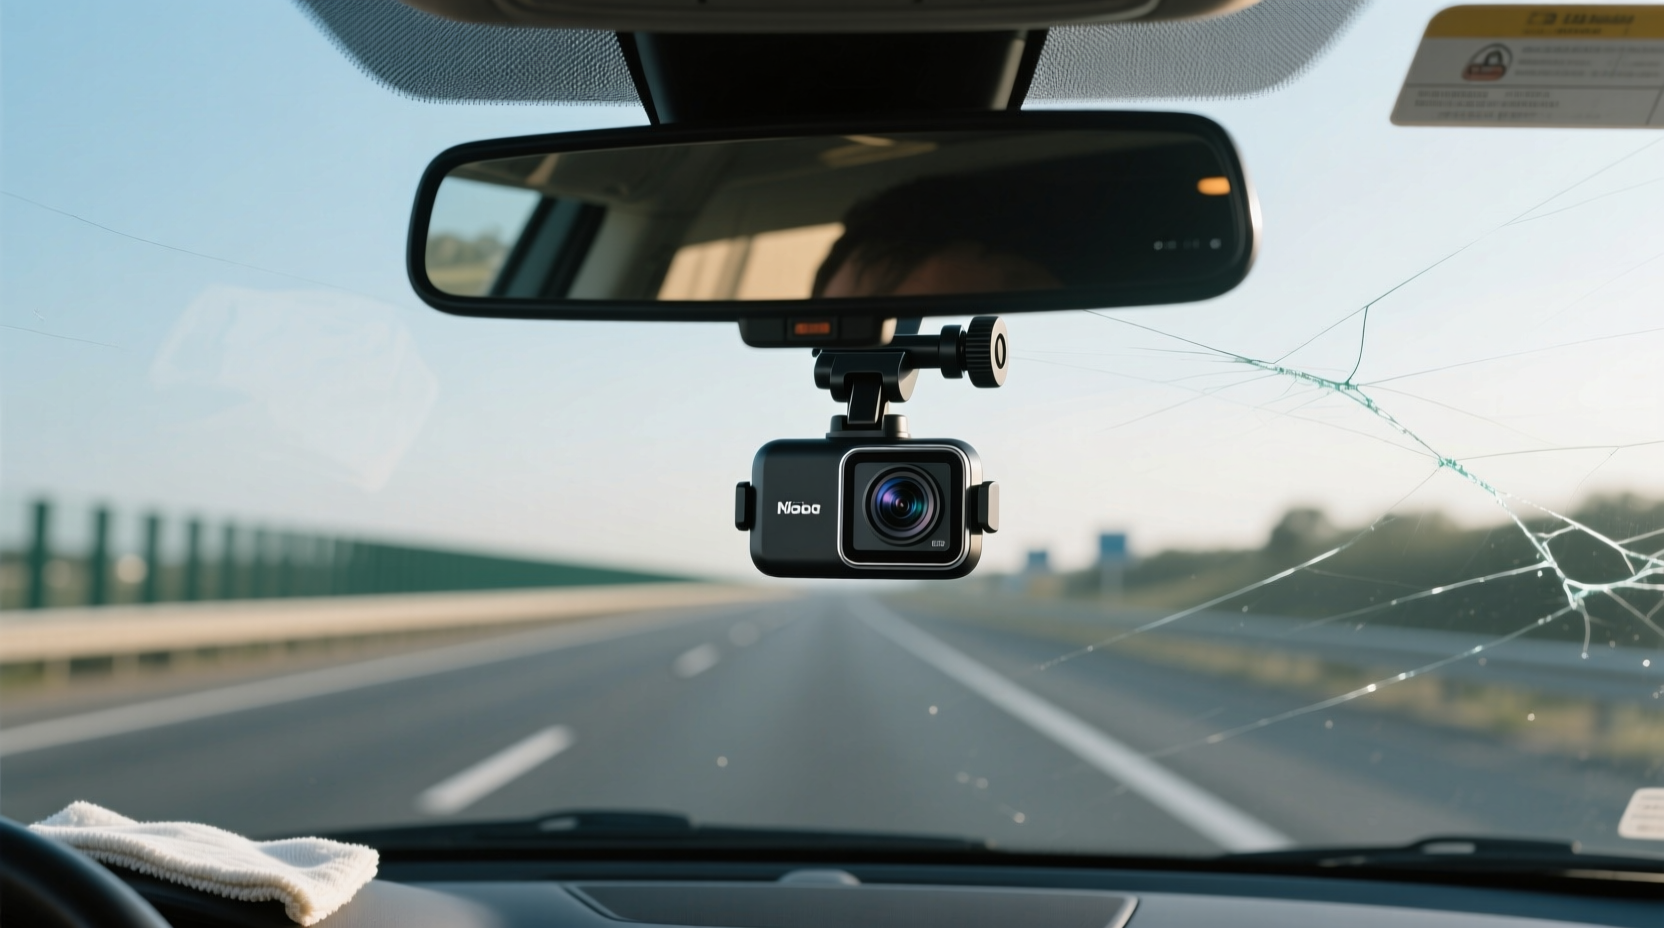
The best place to mount a dash cam is at the top center of the windshield, just below the rearview mirror. This location offers several advantages:
- Unobstructed View: Centered above the dashboard, this spot provides a clear, central perspective of the road ahead.
- Minimal Visual Interference: When installed correctly, the camera blends into the upper edge of your vision, avoiding distraction.
- Full Coverage: Most modern dash cams have wide-angle lenses (typically 120°–150°), which, when centered, capture both lanes and roadside activity effectively.
- Legal Compliance: In the U.S., FMVSS Standard No. 205 limits obstructions in the driver’s primary field of view. Mounting near the mirror keeps the device within allowable zones in most states.
Step-by-Step Guide to Finding the Ideal Position
- Position the car in daylight on a flat surface to test visibility under real driving conditions.
- Hold the dash cam temporarily behind the rearview mirror and look through the windshield. Ensure you can still see the road clearly.
- Adjust vertically so the bottom edge of the camera sits just above the highest point obscured by the mirror’s housing.
- Check horizontal alignment—center the camera with the car’s longitudinal axis to avoid skewed angles.
- Power on and review live feed (if available) or record a short clip and playback to confirm full lane coverage and readable license plates at 50+ feet.
- Secure the mount using the adhesive pad or suction cup, ensuring it bonds fully before driving.
Common Mistakes to Avoid
Even experienced drivers make errors when installing dash cams. These missteps reduce effectiveness and can pose risks:
| Mistake | Why It’s Problematic | Better Alternative |
|---|---|---|
| Mounting too low | Limited field of view; misses overhead signs and distant vehicles | Raise to top third of windshield, aligned with mirror base |
| Placing off-center | Skewed footage; may miss adjacent lane incidents | Center exactly between driver and passenger sides |
| Blocking wiper path | Camera or mount interferes with cleaning, risking damage | Ensure full wiper sweep clearance above and below |
| Using degraded adhesive | Mount detaches during temperature changes or bumps | Clean surface thoroughly before application; reapply if needed |
“Proper dash cam placement is foundational. A well-positioned camera captures evidence that can protect drivers in disputes. Misalignment renders even 4K resolution useless.” — Mark Delaney, Automotive Safety Analyst, ConsumerTech Review
Real-World Example: How Correct Placement Made a Difference
In suburban Chicago, Sarah M., a rideshare driver, was involved in a minor collision when another vehicle suddenly changed lanes. Her dash cam, mounted just above the rearview mirror, captured the entire event—including the other driver crossing the double yellow line. Insurance adjusters used the footage to assign full fault, preventing an unjust rate increase. Had the camera been mounted lower or angled toward the passenger side, the lane violation might not have been visible. The clarity and framing provided by correct positioning were decisive in resolving the claim fairly.
Dash Cam Mounting Checklist
Before finalizing installation, verify each item below:
- ✅ Camera is centered horizontally on the windshield
- ✅ Lens is level and facing straight ahead
- ✅ No part of the camera blocks the driver’s forward view
- ✅ Mount is outside the wiper sweep area
- ✅ Adhesive or suction cup has bonded securely (wait 24 hours if using new adhesive)
- ✅ Cables are routed neatly along the headliner and door trim to prevent interference
- ✅ Test recording includes clear images of license plates at typical city driving distances
Frequently Asked Questions
Can I mount my dash cam on the passenger side?
No, mounting on the passenger side significantly reduces the camera’s ability to capture events in your lane and may violate state laws regarding windshield obstructions. Always keep the device centered or slightly driver-side biased if necessary.
Will tinted strips at the top of the windshield affect recording?
Most factory-installed tint bands (often called “dot matrices”) are non-reflective and don’t interfere with image quality. However, aftermarket metallic tints can cause glare or signal distortion. If your footage appears hazy at night, consider adjusting the angle or disabling IR filters.
What if my rearview mirror blocks part of the view?
This is common. The solution is to position the camera immediately above the mirror housing, ensuring only the mounting bracket—not the lens—is partially hidden. As long as the lens has a direct line of sight, obstruction from the mirror frame won’t impact video quality.
Final Recommendations for Long-Term Performance
Once installed, periodically inspect your dash cam’s position, especially after extreme weather. Temperature fluctuations can weaken adhesives over time. Clean the windshield and lens monthly to prevent smudges from degrading night vision. For vehicles parked outdoors, consider parking in shaded areas or using a windshield cover to minimize heat buildup, which can shorten the camera’s lifespan.
If you frequently drive at night or in low-light conditions, ensure your model supports HDR or low-light enhancement—and verify that the chosen position doesn’t expose the lens to excessive interior light leakage from consoles or phones.
Conclusion
Mounting your dash cam correctly transforms it from a passive recorder into a powerful witness. The top center of the windshield—just above the rearview mirror—is consistently the best location for capturing comprehensive, legally admissible footage. By following precise alignment guidelines, avoiding common errors, and maintaining the setup over time, you maximize protection and peace of mind every time you drive.


 浙公网安备
33010002000092号
浙公网安备
33010002000092号 浙B2-20120091-4
Comments
No comments yet. Why don't you start the discussion?