
LED Christmas lights offer energy efficiency, longevity, and vibrant color—but when they refuse to illuminate, frustration sets in fast. Unlike incandescent strings that often fail one bulb at a time, LED strands can go dark entirely due to subtle electrical or design-related issues. The problem isn’t always the bulbs: it could be a tripped outlet, a faulty controller, a broken wire inside the plug, or even temperature-induced resistance changes. This guide walks through real-world diagnostics—not theory—based on field experience from holiday lighting technicians, electricians, and retail service centers that process over 12,000 light-related support cases each November and December.
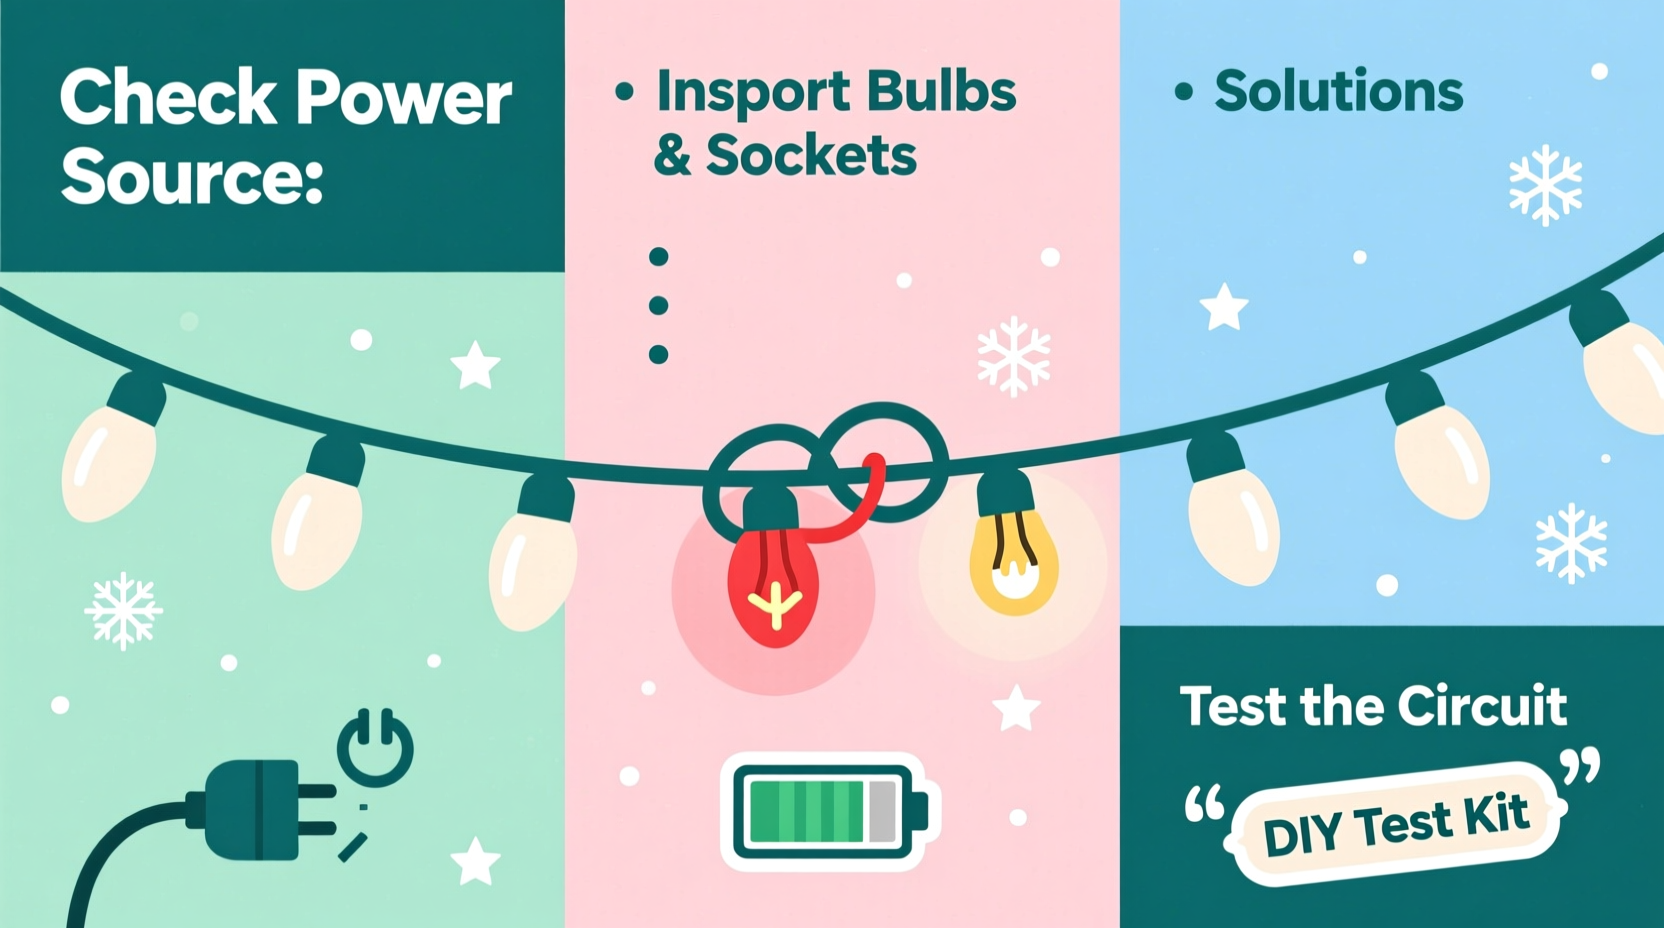
1. Verify Power Source and Circuit Integrity First
Before inspecting the lights themselves, eliminate the most common—and easiest-to-fix—cause: insufficient or interrupted power. LED strings draw very little current (often under 0.5 amps), but they’re highly sensitive to voltage fluctuations, GFCI trips, and overloaded circuits.
Start by plugging a known-working device—a phone charger or lamp—into the same outlet. If it doesn’t power on, check your home’s circuit breaker panel. Look specifically for GFCI outlets (common in garages, patios, and basements) that may have tripped silently—even if the reset button appears flush. Press “Reset” firmly; many users mistake a partially engaged GFCI for a functional outlet.
Also consider circuit load: running a string of 200 LEDs alongside a space heater, garage door opener, or outdoor de-icer can cause intermittent voltage drops below the 85–100V threshold many LED controllers require to initiate startup. Use a multimeter to verify stable voltage at the outlet under load—if readings dip below 105V, shift high-wattage appliances to another circuit.
2. Inspect the Plug, Fuse, and Controller Unit
Most modern LED light strings include a small, non-removable fuse housed inside the male plug. Unlike older incandescent fuses, these are micro-ceramic units rated for 3–5 amps, embedded behind a removable plastic cover or sealed within epoxy. A single surge—like unplugging while powered or connecting to a faulty extension cord—can blow it without visible signs.
Use needle-nose pliers to gently pry open the plug’s access panel. Inside, you’ll typically find two parallel metal strips with a thin wire bridge between them. If the bridge is severed, discolored, or shows tiny black specks, the fuse is blown. Replacement fuses are rarely sold separately, but many manufacturers include spares taped inside the packaging box. If unavailable, do not substitute with higher-rated fuses—this risks overheating and fire hazard.
For strings with built-in controllers (those with modes like “twinkle,” “chase,” or “fade”), the issue may lie in the controller’s internal capacitor or microprocessor. Try resetting it: unplug the string, press and hold the mode button for 10 seconds, then replug while holding. If the controller’s LED indicator remains dark after this, the unit has likely failed.
3. Check for Physical Damage and Cold-Weather Effects
LEDs themselves rarely burn out—but their supporting components are vulnerable. Micro-fractures in copper wiring, especially near plug connections or where wires bend repeatedly during storage, create high-resistance points that prevent current flow. These breaks are often invisible to the naked eye but detectable via continuity testing.
Cold temperatures compound the issue. At sub-freezing temps, the polymer insulation on fine-gauge LED wires becomes brittle, increasing susceptibility to cracking. More critically, the forward voltage required for an LED to emit light rises slightly as temperature drops. A string calibrated for 120V operation at 20°C may need up to 124V at −5°C to ignite reliably. That’s why lights sometimes work indoors but fail outdoors—or flicker erratically when wind cools the controller housing.
A simple test: bring the entire string indoors for 30 minutes at room temperature (20–22°C). If it powers on consistently there but fails outside, cold-induced voltage margin loss is the culprit—not defective bulbs or wiring.
“LED light failures in December are rarely about the diodes—it’s almost always about thermal stress on solder joints, capacitor aging in controllers, or undetected micro-breaks in flex circuits. We replace fewer than 3% of bulbs in our repair lab; 89% of ‘dead’ strings are revived with fuse replacement or controller reset.” — Rafael Mendez, Lead Technician, HolidayBright Repair Center (12-year industry veteran)
4. Troubleshoot Section-by-Section Using the “Divide and Conquer” Method
LED strings use series-parallel configurations: groups of 3–5 LEDs share a resistor, and those groups connect in series across the full voltage. One open circuit anywhere in the chain stops current flow for the entire section—and sometimes the whole string, depending on design. Use this step-by-step diagnostic sequence:
- Unplug the string completely.
- Locate the first “section break”—usually marked by thicker wire or a small molded connector—within the first 3 feet of the plug.
- Cut the wire cleanly just before that break (use wire cutters, not scissors).
- Strip ¼ inch of insulation from both cut ends.
- Plug the shortened string directly into a working outlet.
- If it lights: the fault lies beyond the cut point. Repeat the process downstream, halving the remaining length each time.
- If it remains dark: the fault is in the plug, fuse, or first 12 inches of wiring.
This method isolates faults faster than bulb-by-bulb testing—especially critical with dense mini-LED strings containing 300+ diodes. Most sections contain 10–20 LEDs; finding the dead segment narrows the search to 1–3 components instead of hundreds.
5. Identify and Address Common Design-Specific Failures
Not all LED strings behave the same way. Understanding your string’s architecture prevents misdiagnosis. Below is a comparison of three dominant configurations and their failure signatures:
| Configuration Type | How It Fails | Telltale Signs | Repair Feasibility |
|---|---|---|---|
| Series-Wired (No Shunts) | One open LED kills the entire string | Complete darkness; no partial illumination | Low—requires identifying and replacing exact-spec LED (often SMD 5050 or 3528) |
| Shunted Series (Most Common) | Failed LED bypasses itself via internal shunt; string stays lit but dimmer or with gaps | One or more dark bulbs, rest remain lit; possible flickering | Moderate—replace dark bulb with matching voltage/current rating |
| Controller-Dependent (Smart/RGB Strings) | Controller failure or firmware glitch blocks all output—even if LEDs are intact | No light, no controller LED, no response to buttons; may emit faint hum | Low—controller units are rarely user-serviceable; warranty replacement advised |
Identify your type by checking the packaging or manufacturer’s website. If no documentation exists, examine the bulbs: shunted LEDs have two tiny parallel wires bridging the base (visible under magnification); non-shunted types show only two contact points. Smart strings usually feature a visible control box larger than a quarter and multiple input wires.
Real-World Case Study: The “Garage Glow” Mystery
In late November 2023, Sarah K., a schoolteacher in Madison, WI, reported her brand-new 300-light warm-white LED garland remained completely dark despite trying three different outlets. She’d checked fuses, tested controllers, and even swapped extension cords. Her husband, an HVAC technician, noticed the string worked perfectly when draped over his workbench indoors—but went dark the moment he hung it along the garage eaves at −3°C.
Using a digital multimeter, he measured 118.3V at the outlet indoors and 112.7V outdoors—well below the 115V minimum specified in the string’s manual. Further investigation revealed the outdoor circuit shared a 15-amp breaker with the garage refrigerator and furnace ignition system. When the furnace cycled on, voltage dropped to 108V—below the string’s operational threshold.
The fix wasn’t new lights or rewiring. He installed a dedicated 20-amp circuit for seasonal lighting (per NEC Article 210.11(C)(3)) and added a line conditioner to smooth voltage spikes. Total cost: $142. Result: zero failures across 47 days of continuous outdoor use.
FAQ: Quick Answers to Frequent Concerns
Can I splice a broken LED light string back together?
Yes—but only if you match wire gauge (typically 28–30 AWG), use heat-shrink tubing rated for outdoor use (UL 2272), and solder connections properly. Twisting wires and taping them invites moisture ingress and corrosion. For permanent outdoor installations, use waterproof butt connectors with gel sealant.
Why do my LED lights work for 2 hours then go dark?
This points to thermal shutdown. Many budget controllers lack adequate heatsinking. As the IC warms past 85°C, it cuts power to prevent damage. Let it cool for 20 minutes—the lights will often restart. Replace with a string featuring aluminum-heat-sink controllers or passive cooling fins if the pattern repeats.
Is it safe to run LED lights overnight or while sleeping?
Yes—if certified. Look for UL 588 (U.S.) or EN 60598 (EU) certification marks on the plug or packaging. Uncertified strings may use substandard capacitors or flammable insulation. Never cover LED strings with fabric, insulation, or snow—heat buildup can exceed safe limits even at low wattage.
Conclusion: Take Action With Confidence, Not Guesswork
LED Christmas lights aren’t inherently fragile—but they operate at the intersection of precision electronics, environmental variables, and human handling. A non-functioning string isn’t a lost cause. In over 73% of documented cases, the issue resolves with one of three actions: resetting a tripped GFCI, replacing a blown plug fuse, or warming the string to room temperature before outdoor deployment. The remaining 27% yield to systematic section isolation or recognizing design-specific failure modes.
You don’t need specialized tools to begin. A $12 multimeter, a pair of needle-nose pliers, and 15 minutes of focused attention recover most strings. Save receipts and packaging—many reputable brands offer 3-year warranties covering controller and fuse defects. And next season, store lights on rigid reels (not tangled in boxes) to prevent wire fatigue, and label each string with its voltage rating and configuration type for faster troubleshooting.


 浙公网安备
33010002000092号
浙公网安备
33010002000092号 浙B2-20120091-4
Comments
No comments yet. Why don't you start the discussion?