
There’s nothing more frustrating than capturing a perfect moment on your iPhone, only to find the photo appears soft, out of focus, or outright blurry. Whether you're using an older model or the latest flagship device, image clarity issues can happen for a variety of reasons—some technical, some environmental, and others entirely preventable. The good news is that most causes of blurry iPhone photos have straightforward solutions. Understanding what went wrong is the first step toward consistently sharp, high-quality images.
Common Causes of Blurry iPhone Photos
Before jumping into fixes, it's essential to identify the root cause. iPhones use advanced computational photography, but they’re still subject to physical limitations and user error. Here are the most frequent culprits behind blurry photos:
- Motion blur: Caused by hand movement during exposure, especially in low light.
- Dirty lens: Smudges, dust, or fingerprints on the camera glass reduce clarity.
- Out-of-focus shots: The camera fails to lock focus on the intended subject.
- Low lighting: Dim environments force longer exposures and higher ISO, increasing noise and blur.
- Software glitches: Bugs in iOS or the Camera app can interfere with image processing.
- Hardware damage: A cracked lens or internal misalignment affects image quality.
Understanding these factors helps narrow down whether the issue is fixable through settings, cleaning, or requires professional repair.
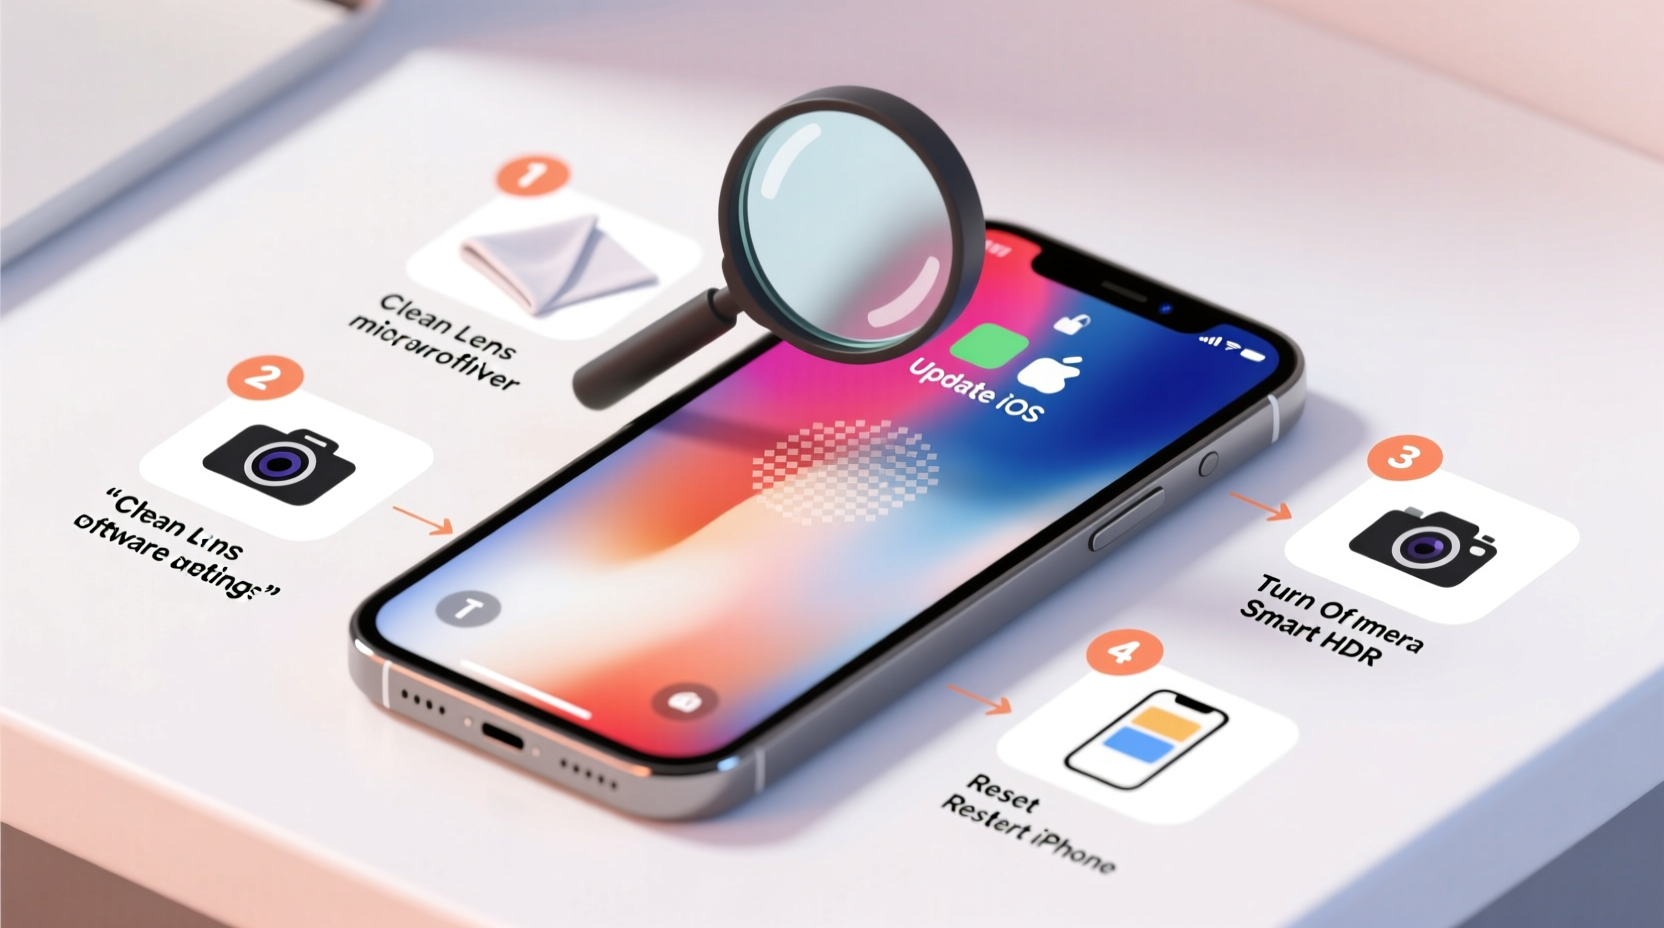
Troubleshooting Steps to Fix Blurry Photos
Follow this systematic approach to diagnose and resolve blurriness. Start with the simplest solutions and work toward more involved fixes.
- Clean the camera lens thoroughly. Use a microfiber cloth to gently wipe the rear and front lenses. Avoid paper towels or rough fabrics that may scratch the surface.
- Check for obstructions. Ensure your finger isn’t covering the lens and that no case is blocking the camera module.
- Stabilize your hands. Hold the phone with both hands, elbows tucked in, and press the shutter button gently—or use the volume buttons or a Bluetooth remote.
- Tap to focus. On the screen, tap directly on your subject to force the iPhone to focus and adjust exposure.
- Use adequate lighting. Move closer to natural light or use artificial sources. Avoid relying solely on flash, which often produces harsh shadows and reduced detail.
- Disable Zoom (especially digital zoom). Digital zoom degrades image quality. Get physically closer instead.
- Restart the iPhone. A quick reboot clears temporary software hiccups affecting the camera.
When Software Updates Might Help
Apple regularly releases iOS updates that include camera performance improvements and bug fixes. If blurry photos started appearing after a recent update, it could be a temporary glitch. Conversely, if you haven’t updated in months, you might be missing critical optimizations.
Navigate to Settings > General > Software Update to check for available patches. Installing the latest version often resolves unexplained camera behavior.
Do’s and Don’ts for Clearer iPhone Photography
| Do’s | Don’ts |
|---|---|
| Wipe the lens before shooting in dusty or humid conditions | Use digital zoom beyond 2x |
| Tap to focus and expose on your main subject | Shoot in very low light without stabilization |
| Use Night mode when available in dark environments | Ignore persistent fogging under the lens (may indicate moisture) |
| Enable Grid in Camera Settings for better composition | Store your phone in pockets with keys or coins that can scratch the lens |
| Keep iOS and apps updated | Assume hardware failure without testing basic fixes first |
Real-World Example: Fixing a Consistently Blurry Camera
Sarah, a travel blogger using an iPhone 13, noticed her landscape shots from a recent trip were consistently soft, even though they looked fine on the phone’s screen. Upon reviewing them on her laptop, she realized details were missing and edges lacked crispness.
She began troubleshooting: first cleaning the lens, then disabling any third-party camera apps. She discovered her case had a raised bezel that slightly obscured the ultra-wide lens. After removing the case and wiping the lens, her photos immediately improved. She also enabled the grid and started using AE/AF Lock by long-pressing the screen, which stabilized exposure in changing light.
The fix wasn’t a setting or software update—it was a combination of physical obstruction and improper focusing technique. Within days, her photo quality returned to normal.
“Over 70% of reported camera issues on iPhones are resolved with lens cleaning and proper handling. True hardware failures are rare.” — Jordan Lee, Apple Support Technician with 8 years of field experience
Advanced Fixes and When to Seek Help
If basic troubleshooting doesn’t resolve the issue, consider these deeper solutions:
- Reset Camera Settings: Go to Settings > Camera > Preserve Settings and toggle off options like “Camera Mode” and “Filter” to ensure defaults aren’t interfering.
- Reset All Settings: If camera behavior remains erratic, go to Settings > General > Transfer or Reset iPhone > Reset > Reset All Settings. This won’t erase data but will restore system settings to default.
- Test in Safe Mode Equivalent: Restart in DFU or recovery mode isn’t possible on iOS, but booting in minimal state (no third-party apps) via a clean restart helps isolate conflicts.
- Check for Hardware Damage: Inspect the lens for scratches, cloudiness, or internal debris. If the lens appears cracked or misaligned, contact Apple Support or visit an authorized service provider.
If your iPhone has been dropped recently or exposed to water—even if it’s rated IP68—internal sensor damage could be affecting autofocus or stabilization mechanisms. In such cases, professional diagnostics are necessary.
Frequently Asked Questions
Why are my iPhone photos blurry only at night?
Nighttime photos require longer exposure times and higher ISO sensitivity. Without sufficient light, even slight hand movement causes motion blur. Use Night mode (available on iPhone 11 and later), keep the phone steady, or prop it against a surface. Avoid turning on the flash unless absolutely necessary, as it often overexposes close subjects while leaving backgrounds dark and noisy.
Can a software update cause blurry photos?
Rarely, yes. Major iOS updates occasionally introduce bugs affecting camera processing, particularly with HDR or portrait modes. If blurriness began right after an update, check Apple’s support forums or wait for a patch. In the meantime, avoid using new camera features until stability returns.
Is it worth repairing the camera if it’s blurry?
It depends on the phone’s age and value. For models two years old or newer, Apple offers camera repairs for a fraction of replacement cost. Older models may not justify the expense unless sentimental value is high. Always get a diagnostic before committing to a repair.
Conclusion: Take Control of Your iPhone’s Photo Quality
Blurry iPhone photos are rarely permanent. Most issues stem from simple oversights—dirty lenses, shaky hands, or incorrect settings—that can be fixed in minutes. By understanding how iPhone cameras work and applying consistent best practices, you can dramatically improve image sharpness and reliability.
Start with cleaning, stabilize your shooting technique, and leverage built-in tools like tap-to-focus and Night mode. When problems persist, methodically rule out software glitches before considering hardware failure. With care and attention, your iPhone can continue delivering gallery-worthy photos for years.


 浙公网安备
33010002000092号
浙公网安备
33010002000092号 浙B2-20120091-4
Comments
No comments yet. Why don't you start the discussion?