
Nothing is more frustrating than snapping what you think is the perfect photo on your iPhone, only to zoom in and find it’s disappointingly blurry. While the iPhone camera is one of the best in the smartphone market, even the most advanced hardware can’t compensate for certain technical issues or user errors. Blurry photos often stem from a mix of environmental factors, software glitches, hardware problems, or simple technique missteps. The good news? Most of these issues are fixable—sometimes with just a few taps or adjustments.
Understanding the root cause of blurry images is the first step toward consistently capturing crisp, high-resolution photos. Whether you're using an older model or the latest iPhone, this guide breaks down the most common reasons behind blurry pictures and offers practical, tested solutions to restore clarity to your shots.
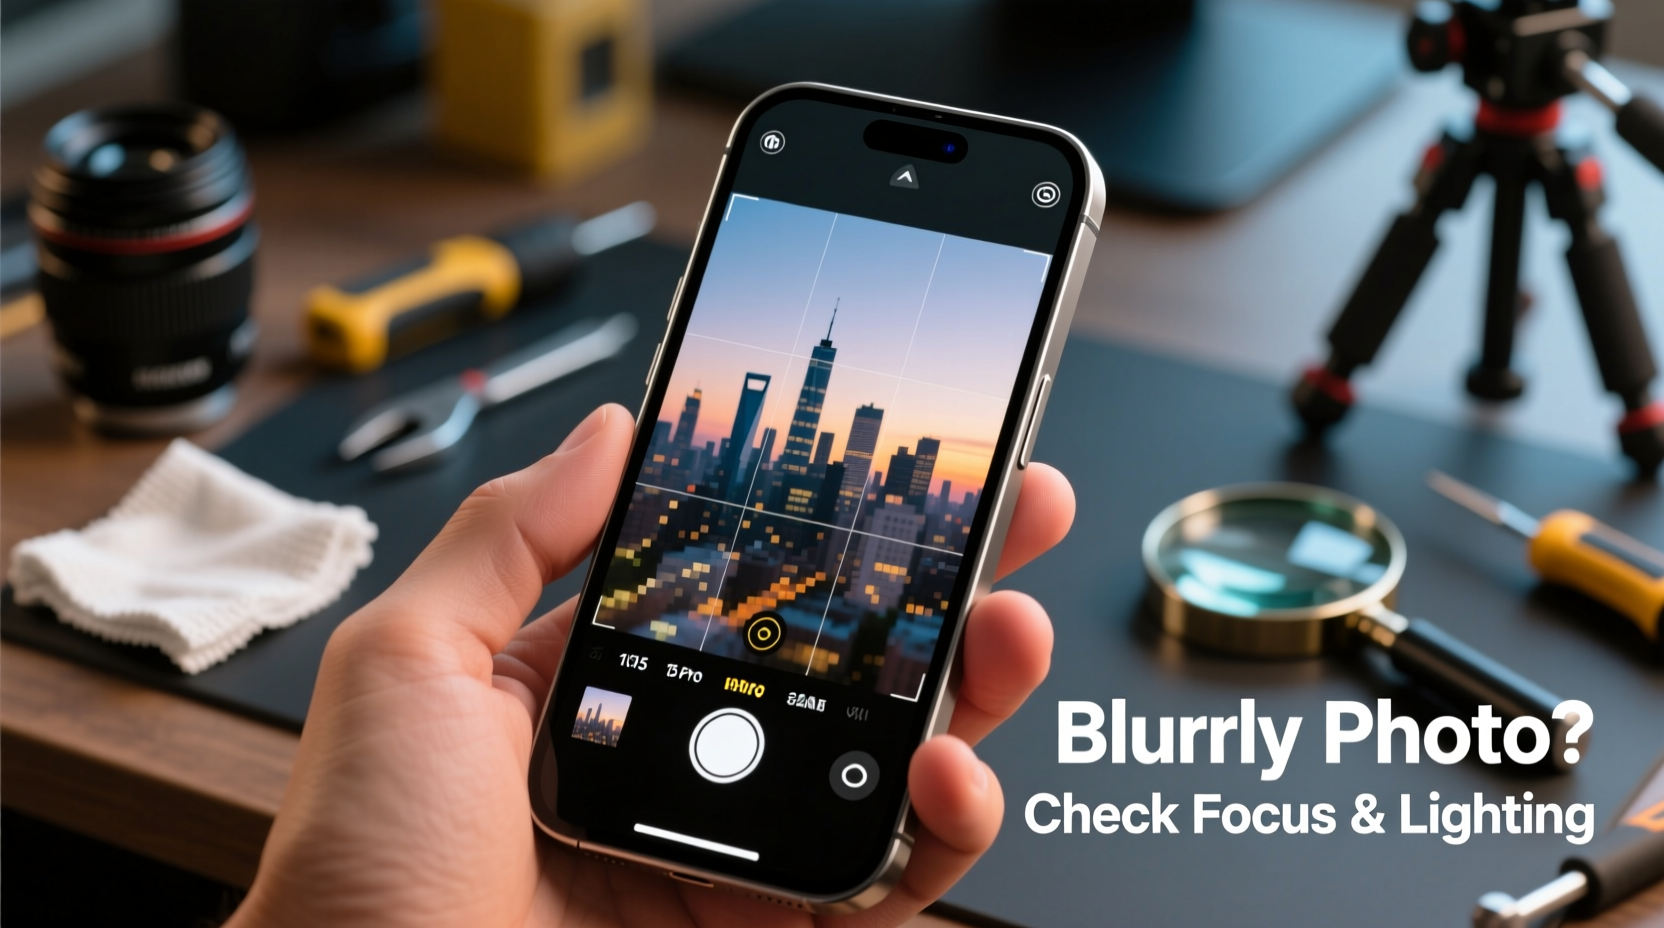
Common Causes of Blurry iPhone Photos
Before jumping into fixes, it's essential to identify what might be causing the blur. Unlike DSLR cameras, iPhones rely heavily on computational photography, meaning both hardware and software must work in harmony. When one element fails, image quality suffers.
- Motion blur: Caused by hand movement during capture, especially in low light.
- Dirty lens: Smudges, dust, or pocket lint on the camera lens distort incoming light.
- Out-of-focus subjects: Autofocus may lock onto the wrong part of the scene.
- Low lighting: Insufficient light forces longer exposure times, increasing shake risk.
- Software bugs: iOS updates or app glitches can interfere with camera processing.
- Hardware damage: Cracked lenses, water damage, or internal sensor issues.
- Digital zoom abuse: Overuse of digital (not optical) zoom degrades image quality.
Step-by-Step Fixes for Clearer iPhone Photos
Addressing blurry photos doesn’t always require professional help. Start with these systematic troubleshooting steps to pinpoint and resolve the issue.
- Clean the camera lens thoroughly. Use a microfiber cloth to gently wipe the lens. Avoid paper towels or rough fabrics that could scratch the surface.
- Check for obstructions. If you use a phone case, ensure it doesn’t cover the lens. Some thick cases extend above the lens ring, causing shadows or smears.
- Tap to focus. Before pressing the shutter, tap the main subject on the screen to force the iPhone to focus there.
- Use HDR mode. In high-contrast scenes, enable Smart HDR (Settings > Camera) to improve detail retention and reduce blur from overexposure corrections.
- Stabilize your hands. Hold the phone with both hands, elbows tucked in, and press the volume button or use a headset to trigger the shutter without touching the screen.
- Avoid digital zoom. Zooming in beyond 2x on most models uses digital cropping. Instead, get physically closer to your subject.
- Restart the Camera app. Swipe up from the bottom (or down from top-right on newer models) to access the app switcher and close the Camera app. Reopen it to refresh the process.
- Reboot your iPhone. A full restart clears temporary memory glitches that may affect camera performance.
Do’s and Don’ts: Camera Care Best Practices
| Do’s | Don’ts |
|---|---|
| Wipe the lens regularly with a soft cloth | Use abrasive cleaners like alcohol wipes directly on the lens |
| Enable Grid in Camera Settings for better composition | Overuse third-party camera apps with poor optimization |
| Keep iOS updated for camera improvements | Ignore persistent fogging inside the lens (sign of water damage) |
| Use Night mode in dark environments | Shoot while charging if heat buildup occurs |
| Use a tripod or stable surface for long exposures | Store phone in humid or dusty environments |
When Software Isn't the Problem: Hardware Considerations
Sometimes, no amount of cleaning or settings adjustment will fix blurry photos because the issue lies within the hardware. Signs of physical damage include visible scratches on the lens, inconsistent focus across multiple shots, or a hazy film under the glass—often indicating moisture intrusion.
If your iPhone has recently been dropped or exposed to liquid, internal components like the OIS (Optical Image Stabilization) module may be compromised. OIS helps counteract hand tremors, but if damaged, even slight movements result in motion blur.
“Modern iPhone cameras depend on precision alignment between the lens, sensor, and stabilization systems. Even minor misalignment from impact can degrade image sharpness.” — David Lin, Mobile Repair Technician with 12+ years of experience
In such cases, Apple Support or an authorized service provider should inspect the device. Attempting DIY repairs risks further damage and voids warranty coverage.
Real-World Example: Fixing Blurry Photos After a Beach Trip
Samantha, a travel blogger, returned from a coastal getaway frustrated with her iPhone 14 Pro photos. Despite golden-hour lighting, many shots appeared soft and lacked detail. She initially assumed sand had scratched the lens.
After reviewing her habits, she realized she’d been using a waterproof case that slightly overlapped the camera bump. Combined with ocean mist residue, this created a double layer of obstruction. She cleaned the lens with a microfiber cloth, removed the case, and recalibrated by restarting the phone. Subsequent test shots showed immediate improvement. For future trips, she now carries a small lens pen and avoids bulky protective cases during photo sessions.
Expert Checklist: Sharper iPhone Photos in 7 Steps
- ✅ Clean front and rear lenses weekly
- ✅ Disable digital zoom or limit to 1.5x max
- ✅ Enable Grid Lines in Settings > Camera
- ✅ Tap screen to focus before capturing
- ✅ Use volume buttons to take photos
- ✅ Update iOS to the latest version
- ✅ Test camera in different lighting conditions monthly
Frequently Asked Questions
Why are my iPhone photos blurry only at night?
Night mode uses longer exposure times to gather more light. Any movement—either from your hands or the subject—can cause blur. For best results, keep the phone completely still, ideally on a flat surface or tripod. Also, ensure Night mode is enabled (you’ll see a moon icon that brightens as exposure lengthens).
Can a software update cause blurry photos?
Rarely, but yes. Major iOS updates occasionally introduce camera bugs due to changes in image processing algorithms. If blurriness started immediately after an update, check Apple’s support forums. Often, a follow-up patch resolves the issue. As a temporary workaround, try using third-party apps like Halide or ProCamera, which bypass some system-level processing.
How do I know if my iPhone’s camera sensor is damaged?
Signs include persistent blur across all lighting conditions, colored spots in photos, flickering viewfinder, or error messages when opening the Camera app. If cleaning and rebooting don’t help, run Apple Diagnostics by connecting to a Mac and using Apple Configurator 2. Alternatively, visit an Apple Store for a free hardware test.
Conclusion: Take Control of Your iPhone Photography
Blurry iPhone photos are rarely inevitable. Most issues stem from preventable causes—dirty lenses, shaky hands, incorrect settings, or outdated software. By adopting a routine of lens maintenance, mindful shooting techniques, and timely updates, you can dramatically improve photo clarity. When problems persist, knowing whether the culprit is hardware or software empowers you to seek the right solution quickly.


 浙公网安备
33010002000092号
浙公网安备
33010002000092号 浙B2-20120091-4
Comments
No comments yet. Why don't you start the discussion?