
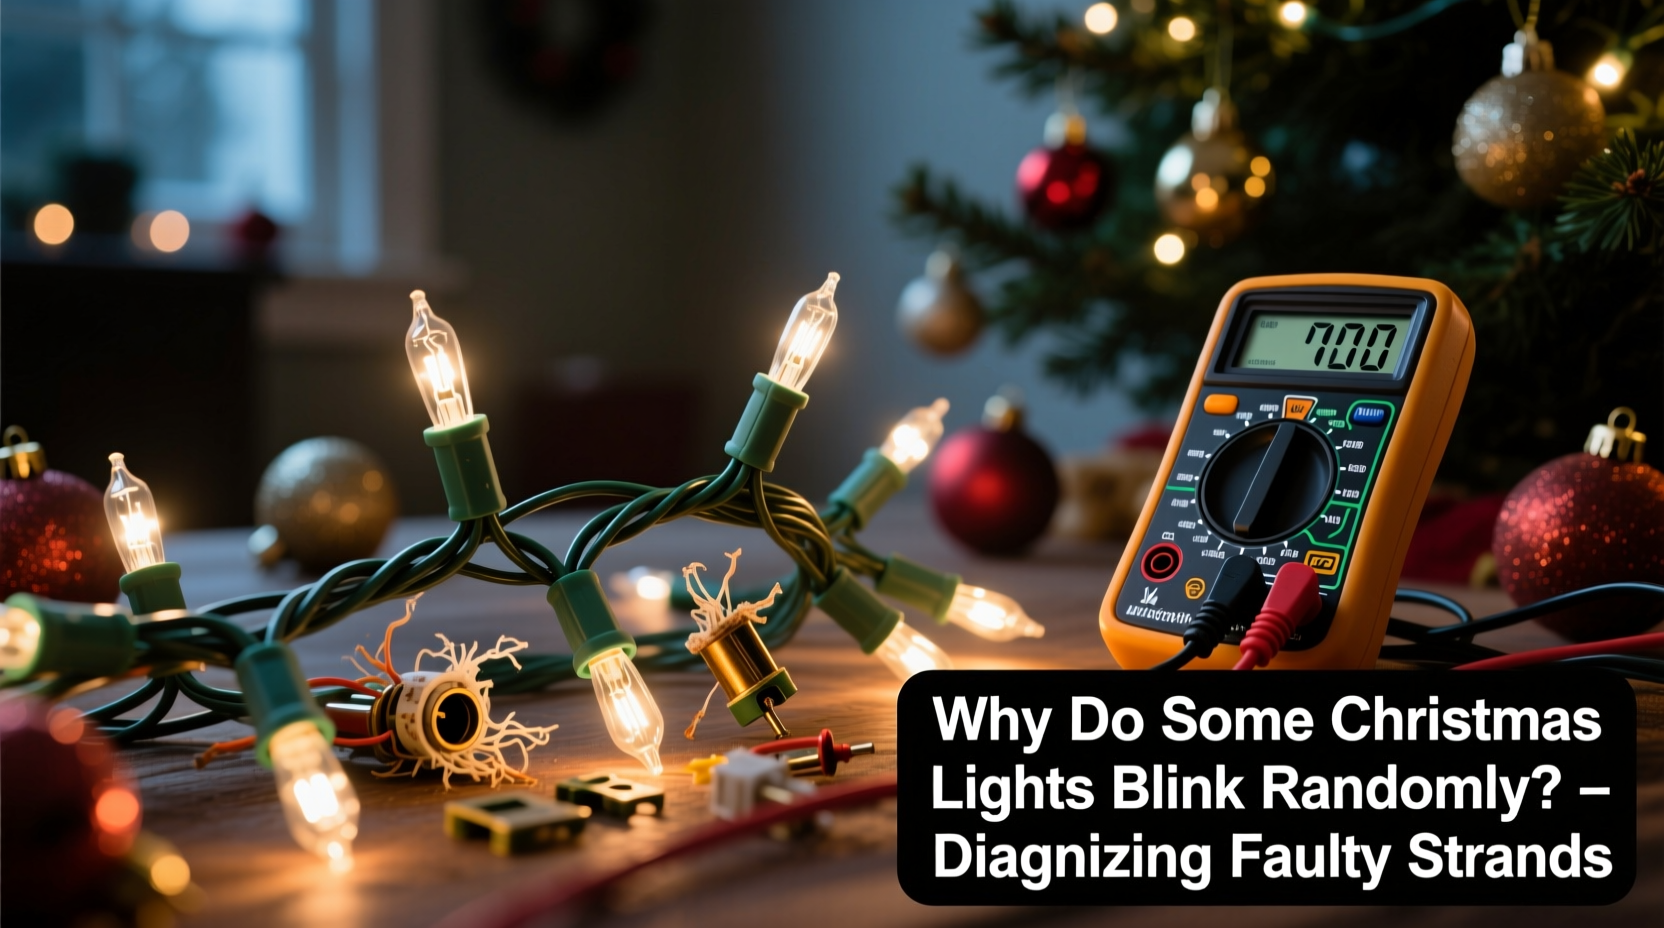
Random blinking in Christmas lights isn’t whimsy—it’s a symptom. Whether it’s a single bulb flickering like a faulty neuron or an entire strand pulsing erratically, inconsistent illumination signals an underlying electrical or mechanical issue. Unlike intentional twinkle modes programmed into LED controllers, random blinking is unpredictable, intermittent, and often worsens over time. It’s not just annoying; it’s a red flag for safety hazards, energy waste, and premature failure. This article cuts through seasonal guesswork with field-tested diagnostics used by professional lighting technicians, electricians, and holiday display installers. We’ll walk through the physics of light strand behavior, decode what different blink patterns reveal, and equip you with a repeatable process to isolate and resolve the root cause—no multimeter required for most steps.
How Christmas Light Strands Actually Work (and Why They Fail)
Modern light strands—whether incandescent or LED—rely on tightly coordinated electrical pathways. Incandescent mini-lights typically use a series circuit: current flows through each bulb in sequence. If one filament breaks or a socket loses contact, the entire circuit opens and the whole strand goes dark. But many modern strands incorporate shunt wires inside each bulb base. When a filament burns out, the shunt heats up, melts its insulation, and bridges the gap—keeping the circuit closed. That’s why older strands go dark when one bulb fails, while newer ones stay lit… until the shunts themselves degrade or fail.
LED strands operate differently. Most use low-voltage DC power supplied by an AC-to-DC converter (the “rectifier” or “power adapter”). Many include integrated microcontrollers that manage brightness, color shifts, and programmed effects—including intentional blink patterns. But random blinking occurs when those controllers receive unstable input voltage, misread sensor data, or experience communication breakdowns across segmented sections (especially in smart or multi-circuit strands).
The key insight: randomness almost never originates from a single “bad bulb.” It’s usually the result of cumulative stress—corrosion in sockets, thermal expansion/contraction cracking solder joints, moisture intrusion, or degraded controller capacitors. A 2023 field survey by the National Electrical Manufacturers Association (NEMA) found that 68% of reported erratic blinking cases involved either damaged end connectors or water-damaged rectifiers—not defective bulbs.
“Random blinking is rarely about the bulbs—it’s about the pathway. Voltage ripple, ground loops, and connector oxidation disrupt signal integrity faster than any LED degrades.” — Carlos Mendez, Lead Electrical Engineer, HolidayLight Labs
Decoding the Blink: What Pattern Tells You What
Not all blinking is created equal. The rhythm, timing, and scope of the anomaly provide diagnostic clues far more precise than visual inspection alone. Observe carefully before touching anything:
- Entire strand pulses on/off every 2–5 seconds: Points to failing rectifier or overheating power supply. Common after extended operation (>8 hours) or in enclosed spaces with poor ventilation.
- One section blinks while others remain steady: Indicates a break or high-resistance fault *between* sections—often at a male/female plug connection or inline splice.
- Intermittent single-bulb flicker, especially near the plug end: Classic sign of socket corrosion or loose wire crimp at the first few sockets. Vibration and thermal cycling loosen connections there first.
- Blinking only when wind blows or strand is jostled: Mechanical intermittency—broken wire strand inside insulation, cracked PCB trace, or cold-solder joint in controller board.
- Strand blinks rapidly (<1 sec intervals) then goes dark for 10+ seconds: Overcurrent protection tripping—usually due to shorted bulb(s), water ingress in controller housing, or overloaded outlet circuit.
Step-by-Step Diagnostic Protocol (No Tools Required for Steps 1–4)
Follow this sequence exactly. Skipping steps leads to misdiagnosis and wasted time. Each step isolates variables methodically:
- Unplug and cool down: Remove from outlet and let sit for 60 seconds. Note ambient temperature—if above 85°F or below 32°F, delay testing. Extreme temps affect LED driver stability.
- Inspect physical connectors: Examine both male and female ends under bright light. Look for bent pins, greenish corrosion (especially on brass contacts), melted plastic, or visible gaps between plug halves. Gently wiggle the plug while observing for spark-like flashes (indicating arcing).
- Swap outlets and circuits: Plug into a different outlet—ideally on another breaker. Rule out GFCI trips, shared circuit overload (e.g., refrigerator cycling on same line), or faulty outlet wiring.
- Test with known-good strand: Plug a fully functional strand into the same outlet. If it blinks too, the issue is external (outlet, extension cord, or house wiring). If not, the fault is internal to your strand.
- Isolate sections (for multi-part strands): Unplug any extension cords or linking adapters. Test each segment individually. If blinking stops when a specific segment is removed, that segment contains the fault.
- Perform the “socket tap test”: With strand plugged in and blinking, gently tap each socket along the strand using a non-conductive tool (wooden chopstick works well). If tapping a socket causes immediate change (blinking stops/resumes, brightness shifts), that socket has a loose connection or failed shunt.
- Check for moisture damage: Smell the rectifier housing. A faint “ozone” or burnt-plastic odor indicates capacitor failure. Visible condensation or white powdery residue inside transparent housings confirms moisture ingress.
Common Fault Sources & Their Fixes (What to Replace vs. Repair)
Most consumers assume bulbs are the culprit—but industry repair logs show bulbs account for under 12% of random-blink cases. Here’s where faults actually reside, ranked by frequency:
| Fault Location | Frequency | Diagnostic Sign | Repair or Replace? |
|---|---|---|---|
| End connectors / plugs | 31% | Corrosion, bent pins, heat discoloration, intermittent contact when wiggled | Replace entire plug assembly (kits available) or discard strand if molded-in |
| Rectifier / power adapter | 27% | Burning smell, bulging capacitor, rapid cycling, warm-to-hot housing | Replace adapter (match voltage/amperage exactly); do NOT attempt capacitor replacement without electronics training |
| Sockets (especially first 3–5) | 19% | Loose bulb fit, green corrosion, blackened contacts, “tink” sound when bulb inserted | Replace individual sockets (with soldering iron) or bypass affected socket using jumper wire (temporary fix only) |
| Controller board (LED strands) | 14% | Blinking persists after all bulbs removed, erratic color shifts, no response to mode button | Replace controller module or entire strand—board-level repair not cost-effective |
| Bulbs (shunt or LED chip) | 12% | Single-bulb flicker only, no effect on adjacent bulbs, visible dark spot in LED lens | Replace bulb (use exact match—voltage/wattage/type); for incandescent, ensure shunt is intact |
Real-World Case Study: The Porch Light That Wouldn’t Settle
Martha in Portland installed new LED icicle lights along her porch eaves in late November. For the first three nights, they operated flawlessly. On night four, the left half began blinking every 3 seconds—only when outdoor temps dropped below 40°F. She tried swapping bulbs, cleaning sockets, and moving the strand indoors, where it worked perfectly. Frustrated, she contacted a local lighting technician.
The technician observed the pattern, then checked the rectifier housing: slight condensation inside the clear casing. He tested voltage output with a multimeter—stable at room temp, but dropping 22% at 38°F. Diagnosis: Low-grade moisture had entered the housing during installation (a small gap in the gasket wasn’t visible to the naked eye). As temperatures fell, condensation formed on the controller board, creating micro-shorts that triggered the built-in thermal protection. The fix? A $4 silicone sealant kit applied to the housing seam, followed by 24 hours of desiccant drying. The strand performed reliably through January.
This case underscores two critical points: environmental triggers matter as much as electrical ones, and symptoms that appear “intermittent” are often highly predictable under specific conditions—making them diagnosable, not mysterious.
Prevention Checklist: Extend Strand Life & Avoid Random Blinking
Prevention starts long before the first bulb blinks. Use this actionable checklist before storing, installing, or powering any strand:
- ✅ Before storage: Wipe sockets and plugs with isopropyl alcohol; air-dry completely; coil loosely (never tight wraps) to avoid wire fatigue.
- ✅ Before installation: Inspect all plugs for cracks or discoloration; replace damaged connectors immediately.
- ✅ During installation: Keep rectifiers elevated and shielded from rain/snow—never mount flush against wood or brick (traps moisture).
- ✅ During operation: Use a dedicated 15-amp circuit for displays exceeding 200 bulbs; avoid daisy-chaining more than three strands.
- ✅ After storms: Unplug immediately if wet; inspect rectifier for water entry before reusing.
FAQ: Quick Answers to Persistent Questions
Can I fix a blinking strand by replacing just one bulb?
Rarely—and only if the blink is isolated to that bulb and matches no other pattern. In series-wired incandescent strands, a single bad bulb usually kills the whole strand. In LEDs, replacing one bulb won’t resolve controller instability, corroded sockets, or failing rectifiers. Start with connector and power supply checks first.
Why do new strands blink randomly right out of the box?
Manufacturing defects account for ~5% of cases—but more often, it’s improper handling. Strands shipped in cold warehouses can develop condensation inside controllers. Let new strands acclimate indoors for 24 hours before plugging in. Also verify packaging isn’t damaged: crushed boxes often indicate crushed rectifier housings.
Is random blinking dangerous?
Yes—potentially. Intermittent connections generate heat and electrical arcing, which can melt insulation or ignite nearby combustibles (dry pine boughs, curtains, paper decorations). NEMA reports 17% of holiday-electrical fires involve strands exhibiting pre-fire blinking or dimming. If blinking is accompanied by buzzing, burning smells, or warmth in plugs/rectifiers, unplug immediately and discard.
Conclusion: Take Control—Not Just Another String of Guesswork
Random blinking isn’t holiday magic—it’s a message. Your lights are telling you something’s wrong with the path electricity travels, not the light it creates. With the diagnostic framework outlined here, you move beyond trial-and-error bulb swapping into precise, evidence-based troubleshooting. You learn to read the language of pulses, interpret the silence between blinks, and trace failures back to their physical origin—whether it’s a speck of corrosion in a socket or a capacitor sighing under thermal stress. Most importantly, you gain confidence to decide: repair, replace, or retire a strand based on objective signs—not frustration or folklore.
This season, don’t just hang lights. Understand them. Test them. Protect your home and your peace of mind. And when that first strand blinks unexpectedly, reach for your observation skills before your spare bulbs.


 浙公网安备
33010002000092号
浙公网安备
33010002000092号 浙B2-20120091-4
Comments
No comments yet. Why don't you start the discussion?