
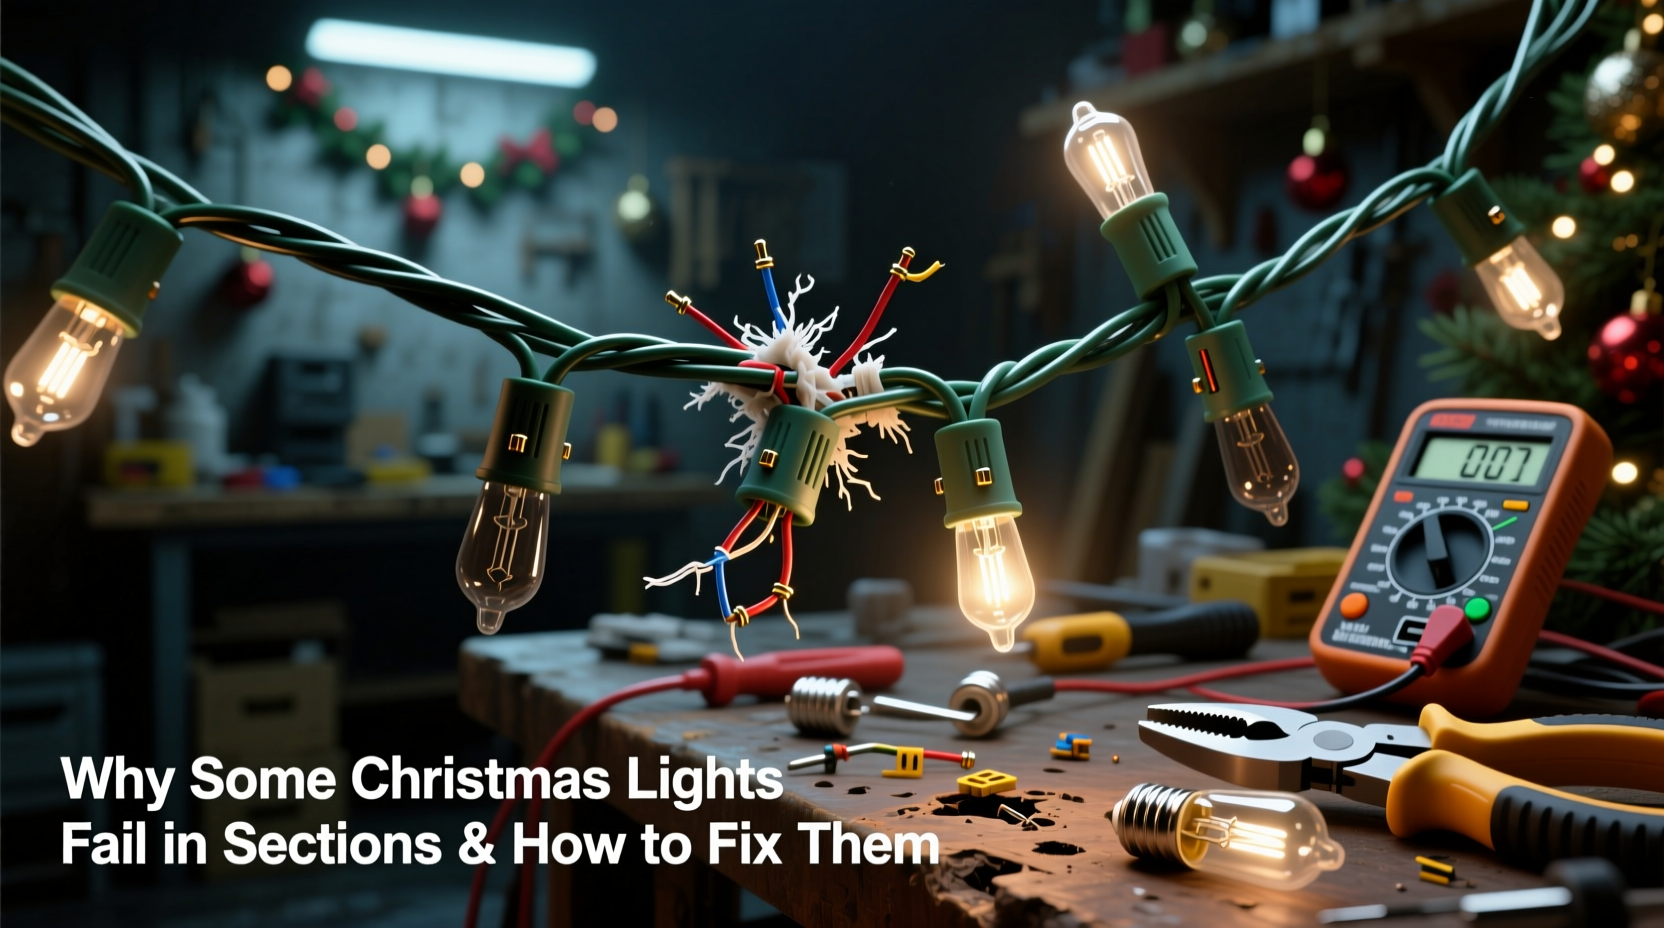
It’s a familiar holiday frustration: you string up your favorite set of mini lights, plug them in—and only the first 24 bulbs glow while the rest stay dark. Or perhaps three consecutive sections flicker weakly before going out entirely. Unlike a single bulb failure, this “sectional blackout” points to an underlying electrical or design issue unique to series-wired incandescent and many LED Christmas light strings. Understanding why sections fail—not just which bulbs are dead—is essential for safe, lasting repairs. This isn’t about guesswork or replacing entire sets unnecessarily. It’s about recognizing the physics of low-voltage series circuits, identifying subtle fault patterns, and applying targeted fixes that preserve both function and safety.
How Christmas Light Strings Are Wired: The Root of Sectional Failure
Most traditional mini light strings (especially pre-2015 incandescent and many budget LED sets) use a series circuit design. In this configuration, electricity flows through each bulb in sequence—like beads on a single thread. If one bulb’s filament breaks *and* its internal shunt fails to activate, current stops flowing past that point, blacking out every subsequent bulb downstream. That’s why you’ll often see the first 35 bulbs lit and the next 42 dark: the break occurred at position #36.
Modern “sectional” LED strings take this further: they’re divided into electrically isolated segments—typically 20–50 LEDs per section—each with its own built-in current regulator or resistor network. These sections are wired in series *with each other*, but internally parallel or constant-current regulated. A fault in one section (e.g., a shorted LED chip or failed driver IC) can cut power to all downstream sections—even if upstream bulbs remain bright.
This architecture explains why “half the string is out” isn’t random—it reflects the physical and electrical segmentation baked into the design. Ignoring this structure leads to wasted time checking bulbs in the dark section when the real problem lies upstream at the boundary between lit and unlit zones.
Top 5 Causes of Sectional Failure (and How to Confirm Each)
Sectional blackouts rarely stem from a single cause. Below are the five most frequent culprits—ranked by prevalence—along with field-test methods you can perform without a multimeter (though one helps significantly).
- Shunt Failure in Incandescent Bulbs: Older mini lights rely on tiny wire shunts inside each bulb’s base. When the filament burns out, heat should melt the shunt’s solder, creating a bypass path. If the shunt fails to close (due to corrosion, age, or poor manufacturing), the circuit opens. Test: Gently wiggle each bulb in the last-lit section while powered. A flicker or momentary restoration of downstream lights indicates a loose or high-resistance shunt connection.
- Voltage Drop Across Long Runs: Many users daisy-chain multiple light sets. Each connection adds resistance. After 3–4 sets, voltage at the far end may fall below the minimum required (often 105V for 120V-rated LEDs). Result: the final 1–2 sections glow dimly or not at all. Test: Unplug all downstream sets. If the first set works perfectly alone, voltage drop is confirmed.
- Corroded or Bent Plug/Receptacle Contacts: Moisture, seasonal storage, and repeated plugging cause oxidation on male prongs and female sockets. Even slight discoloration increases resistance, dropping voltage enough to disable sensitive LED drivers in the next section. Test: Inspect contacts under bright light. Silver-gray tarnish or visible bending = suspect contact.
- Failed Inline Fuse or Current-Limiting Resistor: Most light strings contain a small thermal fuse (often hidden in the plug housing) or a surface-mount resistor near the first bulb. A single surge or overheating event can open it permanently. Unlike a blown household fuse, this one won’t be visibly obvious. Test: With power off, use a multimeter on continuity mode across the fuse terminals. No beep = open fuse.
- Water Intrusion in Outdoor Sections: Even “weather-resistant” lights suffer if moisture seeps into non-sealed connectors or cracked bulb casings. Water creates micro-shorts that trip protection circuits or corrode traces. Sections closest to ground level or under eaves are most vulnerable. Test: Run lights overnight during dry weather. If sections stabilize after warming, moisture was likely condensing internally.
Step-by-Step Diagnostic & Repair Protocol
Follow this sequence methodically. Skipping steps leads to misdiagnosis and repeated failures.
- Unplug everything. Safety first—no exceptions.
- Inspect the plug and first 3 feet of cord. Look for cuts, kinks, melted insulation, or bent prongs. Check the strain relief where cord enters the plug.
- Identify the exact transition point. Note the last fully lit bulb and the first completely dark bulb. Mark both with tape.
- Test the first dark bulb. Remove it. Using needle-nose pliers, gently press the bulb’s metal base against the socket contacts while powered (briefly—1–2 seconds max). If downstream lights ignite, the bulb is faulty *and* its shunt failed. Replace it with an identical voltage-rated bulb.
- Check continuity at the transition. Set multimeter to continuity or lowest ohms setting. Place one probe on the metal shell of the last-lit bulb’s socket. Place the other on the center contact of the first-dark bulb’s socket. A reading under 2Ω confirms the socket wiring is intact. Over 50Ω means broken wire or cold solder joint inside the socket.
- Examine the connector between sections. Many LED strings have molded inter-segment connectors. Wiggle it firmly while observing lights. Intermittent restoration = internal break or cracked PCB trace.
- Verify power delivery. Measure voltage at the input pins of the first dark section (with lights plugged in and operating). Should read within ±5% of labeled input (e.g., 12.0V ±0.6V for a 12V section). Less than 11.0V indicates upstream voltage loss or regulator failure.
Do’s and Don’ts When Troubleshooting Sectional Failures
| Action | Do | Don’t |
|---|---|---|
| Bulb Replacement | Use bulbs rated for the exact same voltage and wattage; match LED color temperature (2700K vs. 5000K) for consistent appearance | Insert bulbs from different brands or voltage ratings—even “compatible” ones can overload drivers |
| Cleaning Contacts | Use 91% isopropyl alcohol and a soft brass brush; dry thoroughly before reassembly | Scrape with steel wool or sandpaper—removes plating and accelerates future corrosion |
| Fuse Replacement | Replace thermal fuses only with identical amperage and temperature rating (e.g., 3A/115°C); never bypass | “Fix” with foil, wire, or higher-rated fuse—creates fire hazard and voids UL listing |
| Daisy-Chaining | Limit to manufacturer’s stated maximum (usually 3–5 sets); use heavy-duty outdoor-rated extension cords | Chain more than 100 feet of lights on one circuit—exceeds NEC 20A capacity and risks overheating |
| Storage | Wind loosely around a cardboard tube; store in climate-controlled, low-humidity space | Wrap tightly in plastic bags—traps moisture and degrades PVC insulation over winter |
Real-World Case Study: The Porch Light Cascade Failure
Mark, a homeowner in Portland, OR, installed 8 identical 100-light LED strings along his front porch railing before Thanksgiving. By early December, sections 5–8 (the furthest from the outlet) began dimming at dusk, then went dark entirely after a rainstorm. He replaced bulbs in the dark sections—no change. He checked fuses—both were intact. Frustrated, he called an electrician.
The technician began not with the dark lights, but with the outlet. Voltage measured 118V at the source—but dropped to 102V at the input of section 5. Further inspection revealed two issues: First, Mark had used a 100-foot 16-gauge extension cord (rated for only 10A at 100ft) to reach the far end of the porch. Second, the connector between sections 4 and 5 showed green oxidation on its copper contacts—likely from mist exposure combined with salt air.
The fix was surgical: replace the extension cord with a 50-foot 12-gauge outdoor-rated cord, clean the oxidized connector with alcohol and a contact cleaner pen, and apply dielectric grease before reassembly. Sections 5–8 restored full brightness immediately. Total time: 22 minutes. Cost: $18 for new cord and $5 for contact cleaner. No bulbs or strings replaced.
“Sectional failures are rarely about ‘bad bulbs’—they’re almost always about compromised connections, inadequate power delivery, or environmental stress on marginal components.” — Carlos Mendez, Lighting Systems Engineer, UL Certified Product Safety Lab
FAQ: Quick Answers to Common Sectional Failure Questions
Can I cut and splice a section out of a broken LED light string?
No—unless the string is explicitly designed for modular replacement (rare outside commercial-grade systems). Most consumer LED strings integrate drivers, resistors, and controllers into non-replaceable PCB segments. Cutting disrupts constant-current regulation and risks overvoltage damage to remaining sections. Replacement is safer and more reliable.
Why do my lights work fine indoors but fail outdoors?
Indoor operation masks two critical issues: temperature-dependent shunt behavior (cold makes shunts less responsive) and moisture-induced leakage currents. Outdoor-rated lights undergo stricter UL 588 testing for wet-location performance, but even those degrade if connectors aren’t sealed or if storage exposes them to humidity cycles. Always test new outdoor strings in situ before full installation.
Is it safe to leave lights with sectional failures plugged in?
Not long-term. A partial open circuit can cause upstream sections to draw excess current as regulators compensate, leading to overheating at connection points or within drivers. UL standards require thermal cutoffs, but repeated tripping degrades them. Unplug faulty strings until repaired—especially if you detect warmth near plugs or connectors.
Prevention Strategies That Actually Work
Fixing failures is necessary—but preventing them saves time, money, and holiday cheer. Focus on these evidence-backed practices:
- Buy smarter, not cheaper. Look for UL-listed strings with “end-to-end” voltage ratings (e.g., “120V Input, 120V Output”)—these maintain stable voltage across daisy chains. Avoid “multi-function” strings with complex controllers if reliability is your priority.
- Install a dedicated GFCI-protected outlet for outdoor lighting. Voltage sags and surges are the top cause of premature driver failure. A quality GFCI with surge suppression (look for UL 1449 Type 2 rating) absorbs spikes before they reach your lights.
- Use a “light tester” tool—not just a bulb checker. Tools like the LightKeeper Pro send a controlled pulse down the wire, clearing stuck shunts and detecting opens invisible to visual inspection. They cost $25 but pay for themselves in one season.
- Label your cords. Use waterproof tape to mark which string goes where and its maximum daisy-chain count. Prevents accidental overloading year after year.
- Perform a pre-season check. One week before decorating, plug in each string individually for 10 minutes. Feel for warm spots, listen for buzzing, and verify full-section illumination. Catch issues early—when replacements are still in stock.
Conclusion: Restore Reliability, Not Just Light
Sectional Christmas light failure isn’t a mystery—it’s a predictable symptom of electrical design meeting real-world conditions. Whether it’s a corroded contact in your garage, a voltage drop across your patio, or a decades-old shunt that finally gave up, each cause has a precise, actionable solution. You don’t need an electrician’s license to diagnose these issues—just systematic observation, basic tools, and respect for the circuit’s architecture. The goal isn’t just to get the lights back on. It’s to understand why they failed, so you can prevent recurrence, extend the life of your investment, and spend less time troubleshooting and more time enjoying the glow.


 浙公网安备
33010002000092号
浙公网安备
33010002000092号 浙B2-20120091-4
Comments
No comments yet. Why don't you start the discussion?