
Essential oil diffusers are a staple in many homes for promoting relaxation, improving air quality, and adding natural fragrance. But when your diffuser starts leaking oil—either onto your furniture, floor, or inside the unit itself—it can be more than just messy. It’s a sign that something has gone wrong, and if left unaddressed, it could lead to permanent damage, electrical hazards, or wasted oils. The good news is that most leaks are preventable and often easy to fix with the right knowledge.
Leaking isn’t usually a random occurrence. It stems from specific causes—some related to user error, others due to design flaws or wear over time. Understanding these root causes empowers you to not only stop current leaks but also prevent future ones. This guide dives deep into the common reasons behind diffuser leakage, provides step-by-step solutions, and shares expert-backed tips to keep your device running smoothly and safely.
Common Causes of Diffuser Leakage
A leaking diffuser doesn’t always mean the unit is defective. In fact, many issues arise from simple mistakes during use or maintenance. Below are the most frequent culprits behind essential oil leaks:
- Overfilling the water tank: Exceeding the maximum fill line reduces space for vaporization and increases internal pressure, which can force liquid out through vents or seams.
- Using too much essential oil: While tempting for stronger scent, excessive oil can clog the nebulizer or float on top of water, interfering with mist production and causing overflow.
- Improper assembly: If the lid, nozzle, or base isn’t securely attached, gaps can form, allowing liquid to escape during operation.
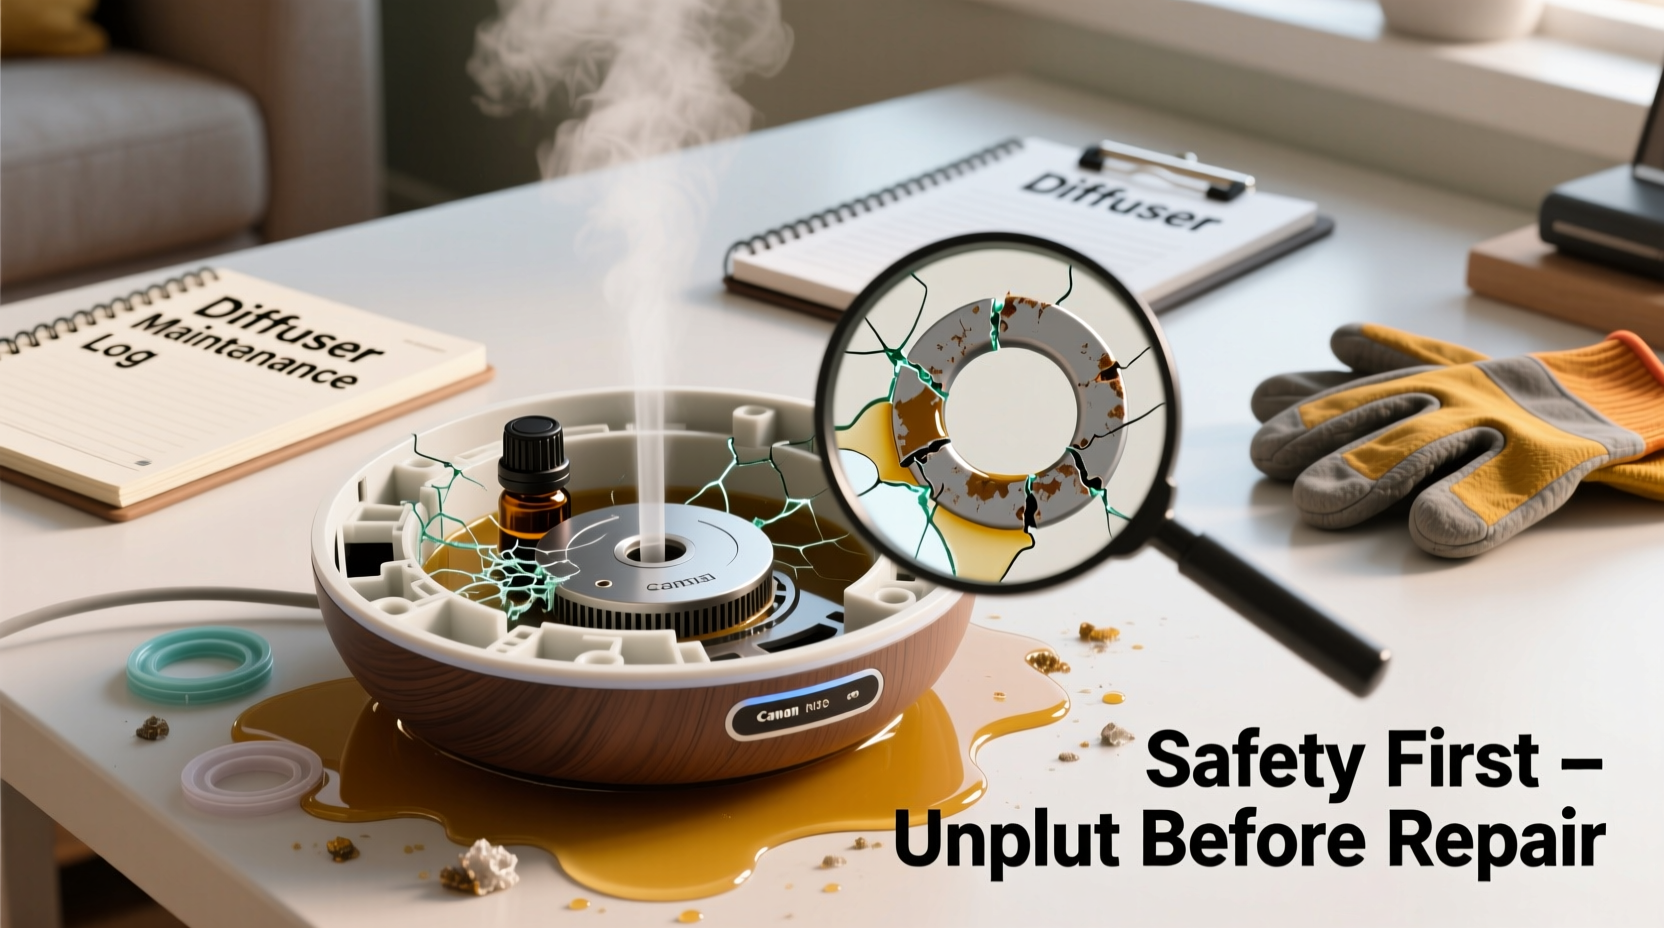
- Worn or damaged seals: Over time, rubber gaskets and O-rings degrade, especially when exposed to concentrated oils, leading to seepage.
- Tilting or moving the diffuser while running: Even slight shifts can cause water-oil mixture to spill into sensitive components or out of the reservoir.
- Low-quality or incompatible essential oils: Some oils contain additives or solvents that corrode plastic parts or leave residue that disrupts normal function.
- Manufacturing defects: Though less common, faulty welding, misaligned parts, or poor sealing in budget models may lead to chronic leakage.
Step-by-Step Guide to Fix a Leaking Diffuser Safely
If your diffuser is already leaking, follow this methodical approach to diagnose and resolve the issue without risking further damage or exposure to concentrated oils.
- Turn off and unplug the unit immediately. Safety first—never attempt repairs on a powered device, especially one containing liquids near electrical components.
- Remove all remaining liquid. Carefully pour out any water and essential oil from the reservoir. Use a soft cloth or cotton swab to absorb residual moisture in crevices.
- Disassemble the diffuser completely. Take apart the lid, nozzle, ultrasonic plate (if accessible), and base according to the manufacturer's instructions. Avoid forcing parts that seem stuck.
- Inspect for visible damage. Look for cracks, warped plastic, swollen seals, or mineral buildup around the mist outlet. Pay special attention to the rubber gasket—if it’s brittle, cracked, or missing, it needs replacement.
- Clean each component thoroughly. Wash removable parts with warm water and mild dish soap. For oily residue, use a 50/50 white vinegar and water solution. Do not submerge the base if it houses electronics.
- Dry all pieces completely. Moisture trapped in joints or circuits can cause short-circuiting later. Air-dry components on a clean towel for at least 2–3 hours; avoid using heat sources like hair dryers.
- Reassemble carefully. Ensure every part clicks or screws into place securely. Double-check alignment of the mist vent and confirm the seal sits flush against the reservoir rim.
- Test with plain water first. Before adding oils, run the diffuser with only water to verify no leaks occur. Monitor for 15–20 minutes in an elevated, protected location (e.g., on a tray).
If the leak persists after cleaning and reassembly, the problem may lie in internal components such as the transducer disc or housing welds. At that point, contacting customer support or considering replacement is advisable.
Do’s and Don’ts: Preventing Future Leaks
Prevention is far more effective—and safer—than dealing with a leak after it happens. Follow these best practices to maintain your diffuser’s integrity over time.
| Do | Don't |
|---|---|
| Fill water up to the max line only. | Overfill the reservoir beyond the indicated level. |
| Use 3–6 drops of high-quality essential oil per 100ml water. | Add more than 10 drops, especially with thick oils like patchouli or vetiver. |
| Place the diffuser on a flat, stable surface away from edges. | Set it on uneven surfaces or near foot traffic where it might get bumped. |
| Clean the unit weekly with vinegar or citric acid solution. | Let oils and minerals build up inside the tank over weeks. |
| Replace worn seals every 6–12 months with manufacturer-approved parts. | Continue using a diffuser with visibly damaged or missing gaskets. |
| Unplug and let cool before moving or refilling. | Carry or tilt the diffuser while it’s operating or still wet inside. |
Expert Insight: What Manufacturers Want You to Know
Misuse accounts for a significant portion of warranty claims related to diffuser leaks. Industry professionals emphasize that proper handling drastically extends device lifespan.
“Over 70% of ‘defective’ diffusers we receive for inspection were actually damaged by improper cleaning or overuse of essential oils. These devices are precision instruments—not just humidifiers.” — Dr. Lena Park, Product Engineer at AromaPure Technologies
Park notes that many users treat diffusers like standard humidifiers, adding large quantities of oil for a stronger aroma. However, ultrasonic diffusers rely on delicate vibrations to create mist. Too much oil dampens this process, coats internal parts, and eventually leads to clogging and leakage.
“The key is consistency, not intensity. Run your diffuser for shorter intervals—30 to 60 minutes—with adequate rest periods. That preserves performance and prevents stress on seals and electronics.” — Marcus Reed, Home Wellness Specialist
Real Example: How One User Fixed a Chronic Leak
Sarah, a yoga instructor from Portland, noticed her popular ceramic diffuser began leaving oily spots on her wooden nightstand after just three months of daily use. She initially assumed it was defective and considered returning it. Instead, she decided to troubleshoot.
She followed online guidance to disassemble the unit and discovered a hardened ring of oil residue had formed beneath the silicone seal. The gasket itself had become stiff and no longer created a tight closure. After soaking the seal in warm soapy water, replacing it with a spare (included in the original packaging), and recalibrating her oil usage to four drops per session, the leak stopped entirely.
“I realized I’d been using twice as much oil thinking it would help me sleep better,” she said. “But all it did was ruin the machine. Now I use less and enjoy longer, cleaner runs.”
This case highlights how small oversights compound into larger problems—and how simple maintenance can restore full functionality.
Checklist: Quick Actions to Stop and Prevent Leaks
Keep this checklist handy for routine maintenance and emergency response:
- ✅ Unplug the diffuser at the first sign of leakage
- ✅ Empty all liquid safely (avoid skin contact with concentrated mix)
- ✅ Disassemble and inspect for cracks, warping, or degraded seals
- ✅ Clean reservoir and parts with vinegar solution (never bleach)
- ✅ Dry all components fully before reassembling
- ✅ Re-test with water only before resuming regular use
- ✅ Limit essential oil to 5–6 drops per 100ml of water
- ✅ Store replacement seals and consult manufacturer guides for part numbers
- ✅ Schedule monthly deep cleans and quarterly seal inspections
Frequently Asked Questions
Can I use rubbing alcohol to clean a leaking diffuser?
No. Isopropyl alcohol can degrade plastic components and dissolve certain adhesives used in seals and wiring. Stick to white vinegar, citric acid, or manufacturer-recommended cleaners. Always rinse thoroughly afterward.
Is a leaking diffuser dangerous?
Yes, if ignored. Essential oils are flammable and conductive when pooled near electrical circuits. Persistent leaks increase the risk of short-circuiting, overheating, or fire. Additionally, some oils can stain or damage wood, laminate, or fabric surfaces.
Why does my diffuser leak only when turned on?
This typically indicates pressure-related failure. Possible causes include overfilling, blocked mist outlets, or failing seals that give way under operational vibration. It may also suggest a compromised transducer diaphragm that allows water to seep into non-watertight compartments.
Final Thoughts and Call to Action
A leaking essential oil diffuser doesn’t have to spell the end of its life. With careful diagnosis and proper care, most units can be restored to full function. More importantly, adopting disciplined usage habits—measured oil drops, regular cleaning, correct placement—can prevent leaks before they start.
Your diffuser is designed to enhance your well-being, not create hazards or messes. By treating it with the attention it deserves, you’ll enjoy consistent performance, longer longevity, and peace of mind.


 浙公网安备
33010002000092号
浙公网安备
33010002000092号 浙B2-20120091-4
Comments
No comments yet. Why don't you start the discussion?