
As the holiday season approaches, few things are more frustrating than reaching for your Christmas light remote—only to find it unresponsive. You press buttons repeatedly, hoping for a flicker of color or a change in pattern, but nothing happens. The lights remain dark or stuck on one mode. This common issue affects millions of households each year, often due to preventable causes like battery failure, signal interference, or water damage. Understanding why these remotes fail—and how to fix them—is essential for maintaining seamless holiday displays. From troubleshooting steps to long-term prevention, this guide delivers actionable insights backed by electrical experts and real-world experience.
Common Causes of Remote Failure
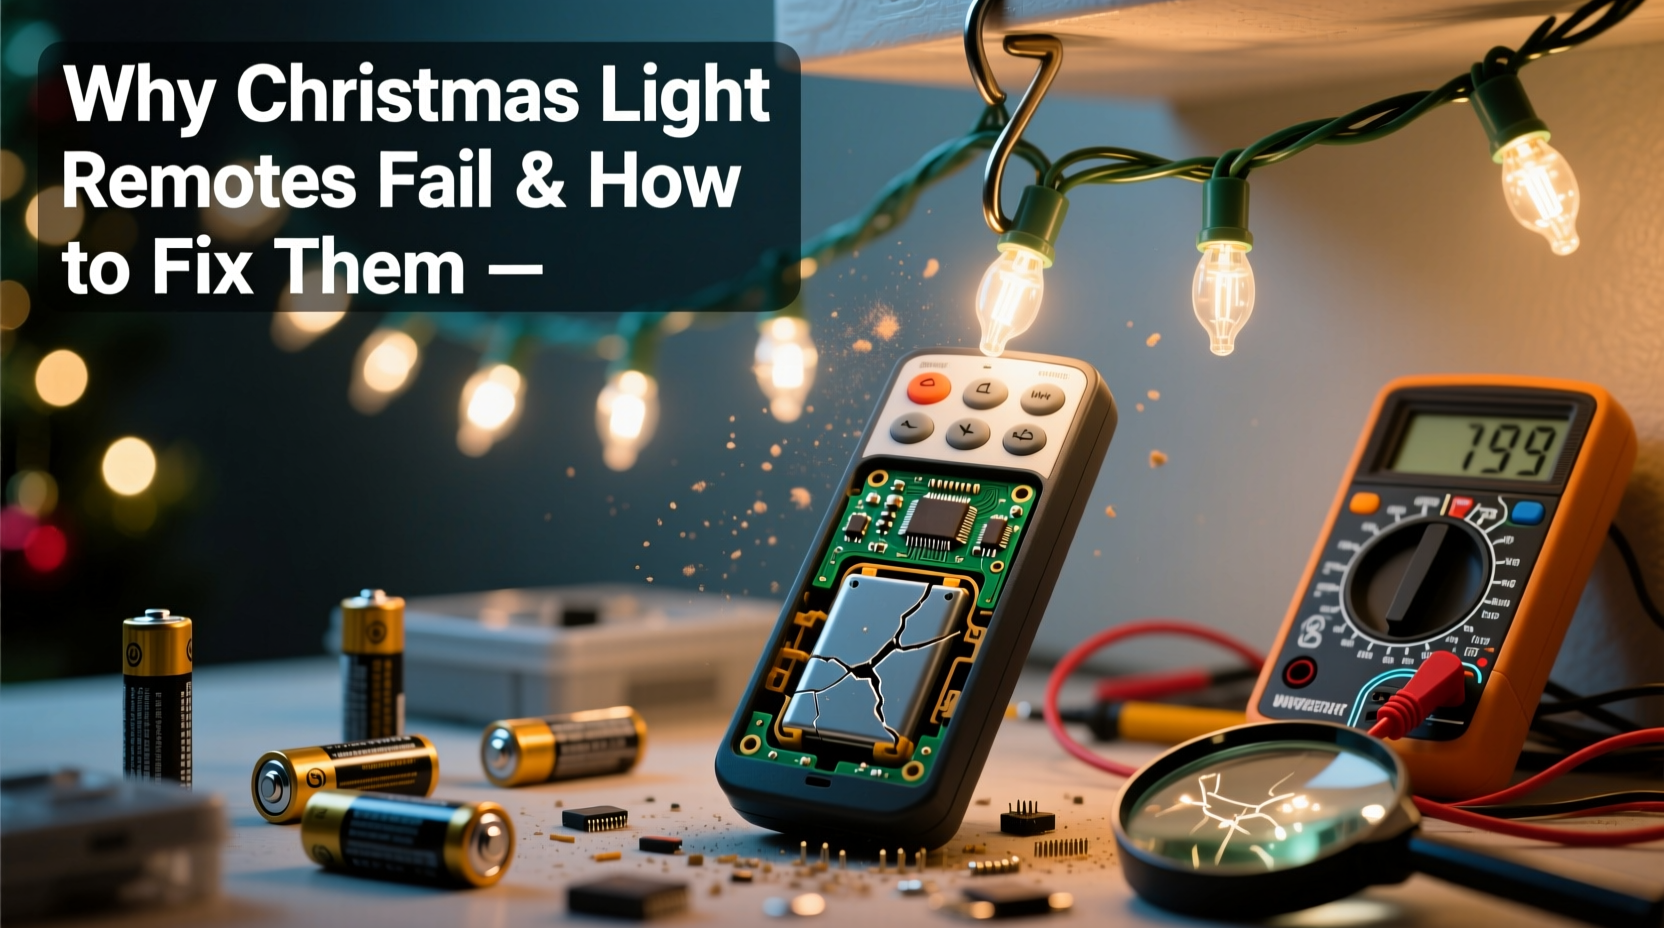
Christmas light remotes rely on infrared (IR) or radio frequency (RF) signals to communicate with light controllers. When communication breaks down, the result is a non-functional remote. Several factors contribute to this breakdown, most of which are easily diagnosable and repairable.
- Battery depletion: The most frequent culprit. Even if batteries appear functional, weak voltage can prevent proper signal transmission.
- Signal interference: Nearby electronics, metal structures, or thick walls may block IR or RF signals, especially in larger displays.
- Water or moisture damage: Outdoor use exposes remotes to rain, snow, and condensation, leading to corroded circuits or shorted components.
- Physical damage: Dropping the remote or storing it improperly can crack internal circuitry or dislodge critical connections.
- Mismatched pairing: Some remotes require synchronization with the receiver unit. Power surges or resets can break this link.
- Dirt and debris buildup: Dust, pet hair, or food particles can jam button contacts, preventing input registration.
Each of these issues has distinct symptoms. For example, if the remote works intermittently, battery contact corrosion might be the cause. If no lights respond at all—even when wired directly—the problem may lie beyond the remote, such as a faulty controller box.
Step-by-Step Troubleshooting Guide
Before replacing a remote, follow a systematic approach to identify and resolve the root cause. Many problems can be fixed in under ten minutes with basic tools and household items.
- Replace the batteries: Use fresh, high-quality alkaline batteries. Even if existing ones show voltage, they may not deliver sufficient current under load.
- Check battery polarity and contacts: Ensure terminals are aligned correctly. Clean corroded springs or plates with rubbing alcohol and a cotton swab.
- Test line of sight (for IR remotes): Point the remote directly at the receiver, within three feet, with no obstructions. IR signals require direct visibility.
- Verify receiver power: Confirm the light string is plugged in and receiving electricity. A tripped GFCI outlet or blown fuse could mimic remote failure.
- Reset the system: Unplug the lights for 30 seconds, then reconnect. This resets the internal microcontroller and may re-establish pairing.
- Clean the remote: Open the battery compartment and gently clean around buttons using compressed air or a soft brush. For sticky residues, use a slightly damp cloth (power off first).
- Re-pair the remote (if applicable): Some RF systems require manual syncing. Press and hold the “Sync” button on both remote and receiver until an indicator blinks.
If the remote still fails after these steps, further diagnostics are needed. A smartphone camera can help verify IR signal output: point the remote at your phone’s rear camera and press any button. If you see a faint purple glow on screen, the IR LED is functioning. No glow indicates a hardware fault in the remote itself.
Do’s and Don’ts: Maintaining Your Remote Over Time
Prevention is far more effective than repair when it comes to electronic holiday gear. Simple habits can extend a remote’s lifespan for years. The table below outlines best practices versus common mistakes.
| Do | Don’t |
|---|---|
| Store the remote in a sealed plastic bag with desiccant packs | Leave the remote outdoors or in damp basements |
| Remove batteries during off-season storage | Leave dead batteries inside—they can leak and corrode contacts |
| Label remotes clearly to avoid confusion across multiple sets | Use multiple remotes near each other without checking compatibility—can cause cross-signaling |
| Wrap cords neatly and store remotes with their corresponding light strings | Toss everything into a single bin where crushing and tangling occur |
| Inspect annually for wear, discoloration, or stiffness | Assume functionality without testing until December 23rd |
Real Example: How One Family Fixed Their Holiday Display
The Rivera family in Portland, Oregon, had relied on the same set of programmable icicle lights for five consecutive Christmases. In December 2023, their remote suddenly stopped responding. They tried new batteries and repositioning the receiver, but the lights remained frozen on a strobe pattern.
After ruling out power issues, they inspected the remote and noticed slight swelling near the base—a sign of past moisture exposure. Using a small screwdriver, they opened the casing and found white crust around the battery terminals. After cleaning with isopropyl alcohol and allowing it to dry overnight, the remote powered on but still failed to sync.
They consulted the manufacturer’s website and discovered that their model required a 10-second sync process: holding both the “Mode” and “Speed+” buttons while plugging in the lights. Following these instructions restored full functionality. Since then, they’ve stored the remote in a labeled waterproof case with silica gel packets, avoiding recurrence.
“Many consumers don’t realize that seasonal electronics need the same care as permanent fixtures. Moisture and temperature swings are silent killers.” — David Lin, Electrical Systems Technician at Holiday Bright Co.
When Replacement Is the Only Option
Sometimes, repairs aren’t feasible. Internal circuit boards can degrade beyond recovery, especially in low-cost remotes made with thin conductive traces. In such cases, replacement becomes necessary. However, you’re not limited to buying an identical model.
Universal remotes compatible with most major brands (like GE, Mr. Light, and Home Accents) are widely available online and in retail stores. These typically support multiple channels, allowing control over different light zones independently. To ensure compatibility:
- Match the frequency: Most RF remotes operate at 433MHz or 315MHz. Check your original receiver’s label.
- Confirm protocol type: Some systems use rolling codes; others use fixed addressing. Universal models usually default to fixed.
- Look for learning-mode capabilities: Advanced remotes can \"learn\" signals from originals via IR capture.
Alternatively, consider upgrading to Wi-Fi-enabled smart light strips. While requiring initial setup through a mobile app, these eliminate physical remotes entirely and offer scheduling, voice control, and integration with Alexa or Google Assistant. Though more expensive upfront, they reduce long-term maintenance.
Frequently Asked Questions
Can I use a universal remote for my Christmas lights?
Yes, provided it matches the signal type (IR or RF) and frequency of your existing system. Most universal remotes come with code lists or auto-scan features to simplify setup. Always verify compatibility before purchase.
Why does my remote work only when I’m close to the lights?
This suggests weak signal strength, often due to low batteries, poor antenna connection in RF units, or obstruction in IR paths. Replace batteries first, then check for physical barriers like trees or gutters blocking line of sight.
Is it safe to open and clean the inside of a Christmas light remote?
Yes, as long as the device is completely disconnected from power and batteries are removed. Use minimal liquid, avoid submerging components, and allow full drying time before reuse. Never attempt repairs on plugged-in systems.
Final Checklist: Restore and Protect Your Remote
Follow this concise checklist annually to keep your Christmas light remote operational:
- Test remote function early in the season
- Install fresh batteries before display setup
- Inspect for physical damage or corrosion
- Clean button pads and contacts gently
- Ensure clear line of sight or proximity to receiver
- Perform reset or re-pairing if needed
- Store properly after use: dry, labeled, and protected
Conclusion: Take Control of Your Holiday Lights
A malfunctioning Christmas light remote doesn’t have to derail your festive plans. With a methodical approach, most issues can be diagnosed and resolved quickly. Whether it's a simple battery swap, a thorough cleaning, or a strategic upgrade to a universal controller, the solutions are accessible and cost-effective. More importantly, adopting consistent care habits ensures reliability year after year. As holiday technology evolves, so should our maintenance routines. Don’t wait until next November to address today’s vulnerabilities. Inspect your remotes now, implement protective storage, and enjoy a brighter, smoother season ahead.


 浙公网安备
33010002000092号
浙公网安备
33010002000092号 浙B2-20120091-4
Comments
No comments yet. Why don't you start the discussion?