
Every holiday season, millions of homes come alive with the warm glow of Christmas lights. Behind that festive display is often a small but critical device: the timer. It’s supposed to turn your lights on at dusk and off at dawn—or at a preset time—saving energy and effort. Yet all too often, homeowners return from work or wake up to find their display dark, flickering, or stuck in the “on” position. The culprit? A failed or poorly configured timer.
While Christmas light timers seem simple, they are subject to environmental stress, electrical issues, and user error. Understanding why they fail—and how to set them correctly—is key to maintaining a flawless lighting display from early December through New Year’s Day.
Common Reasons Why Christmas Light Timers Fail
Timers are among the weakest links in an otherwise robust holiday lighting setup. Even high-quality LED strings can’t compensate for a malfunctioning timer. Several factors contribute to premature failure:
- Exposure to moisture: Outdoor timers not rated for wet conditions can short-circuit when exposed to rain, snow, or condensation.
- Power surges: Sudden voltage spikes during storms or grid fluctuations can fry internal circuitry.
- Overloading: Plugging in more lights than the timer’s rated capacity (usually 1875 watts for standard models) causes overheating and component burnout.
- Poor ventilation: Enclosing a timer in a sealed outlet box or covering it with insulation traps heat and accelerates wear.
- Low-quality components: Budget timers often use inferior capacitors, relays, and PCBs that degrade quickly under repeated cycling.
- Battery backup failure: Digital timers with memory rely on small backup batteries. If these die or corrode, settings reset unexpectedly.
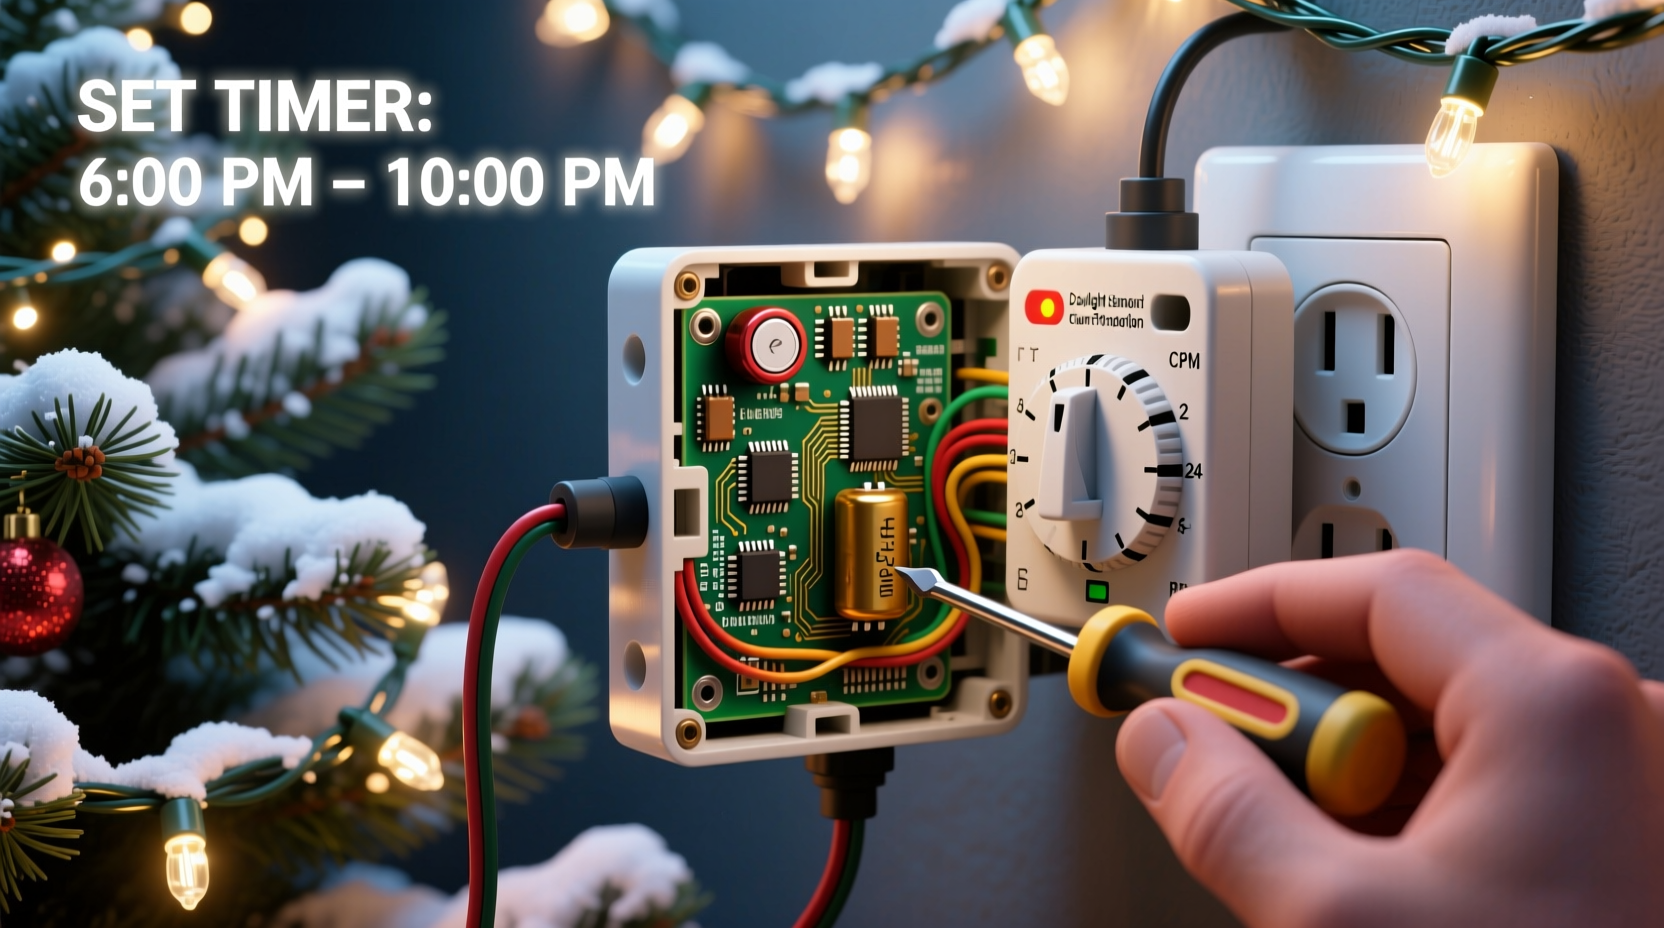
How to Set Your Timer for Consistent Operation
A properly set timer ensures your lights enhance your home’s curb appeal without manual intervention. However, setting it isn’t just about pressing buttons—it’s about choosing the right mode, load, and location.
Step-by-Step Guide to Setting a Digital Timer
- Unplug the timer and connect it to a protected indoor outlet first. This allows safe programming without exposure to the elements.
- Set the current time and date accurately. Most digital timers lose settings if the backup battery is dead or missing.
- Select the desired mode: Choose between “On/Off,” “Sunrise/Sunset,” or “Random” if available. For consistent results, “On/Off” with fixed times is most reliable.
- Program start and end times. For example, set lights to turn on at 5:00 PM and off at 11:00 PM.
- Test the cycle indoors for 24 hours. Confirm it turns on and off as expected before installing outdoors.
- Install in a weatherproof enclosure. Use a NEMA-rated outdoor box if mounting outside, and ensure the timer isn’t submerged or directly sprayed.
- Connect lights and verify operation. Monitor for the first few days, especially after sunset.
For mechanical (dial-style) timers, rotate the dial to match the current time, then press down the trippers for on/off periods. These lack precision but are less prone to digital glitches.
Do’s and Don’ts of Christmas Light Timer Use
| Do’s | Don’ts |
|---|---|
| Use a GFCI-protected outlet for outdoor installations | Plug non-weatherproof timers directly into outdoor sockets |
| Check wattage limits and stay below 80% capacity | Daisy-chain multiple heavy-duty incandescent strings on one timer |
| Replace backup batteries annually | Ignore corrosion in the battery compartment |
| Use smart plugs with app control for remote monitoring | Leave timers running year-round without inspection |
| Inspect cords and connections for damage before each season | Use indoor-rated timers outdoors, even under eaves |
“Most timer failures I see are preventable. It’s not the brand—it’s the installation. A $30 timer in a dry, ventilated, properly loaded circuit will outlast a $50 one buried in a damp junction box.” — Mark Reynolds, Electrical Systems Technician with 18 years in residential holiday lighting
Real Example: The Case of the Midnight Blackouts
In suburban Denver, Sarah K. installed a new set of LED icicle lights along her roofline, controlled by a digital outdoor timer. The display worked perfectly for three nights, then began turning off randomly around 9 PM—two hours earlier than programmed.
She reset the timer multiple times, replaced the backup battery, and even tried a different outlet. The issue persisted. A local electrician diagnosed the problem: while the timer was labeled “outdoor-rated,” it was tucked behind a metal soffit where snowmelt pooled during the day and froze at night. Moisture seeped into the casing, intermittently triggering a safety shutoff.
The fix? Relocating the timer to a covered porch outlet inside a NEMA 3R enclosure and using a wireless smart plug to control the original circuit remotely. After the adjustment, the lights ran flawlessly for the rest of the season.
This case illustrates that even “weatherproof” doesn’t always mean “fail-proof.” Environmental context matters as much as product specs.
Smart Timers vs. Mechanical Timers: Which Lasts Longer?
With advancements in home automation, many homeowners now opt for Wi-Fi-enabled smart plugs instead of traditional timers. Each has strengths and weaknesses:
- Mechanical timers use physical gears and spring-loaded switches. They’re immune to software bugs and don’t require internet, but can wear out after 1–3 seasons due to motor fatigue.
- Digital programmable timers offer precise scheduling and sunrise/sunset tracking via built-in photocells. However, they depend on stable power and functioning batteries. A single power surge can wipe memory.
- Smart plugs (Wi-Fi/Zigbee) allow remote control, voice commands, and integration with smart home systems. They often include usage monitoring and outage alerts. But they rely on your router and cloud services—outages or firmware updates can disrupt schedules.
For maximum reliability, consider a hybrid approach: use a smart plug for convenience, but pair it with a mechanical master switch that cuts power during storms or maintenance.
Preventative Maintenance Checklist
To avoid mid-season failures, follow this annual checklist before hanging your lights:
- Inspect the timer housing for cracks, warping, or signs of water intrusion.
- Open the battery compartment and replace the CR2032 or AAA backup cell—even if it still works.
- Clean dust and debris from vents and plug receptacles with compressed air.
- Verify the outlet provides steady power using a voltage tester.
- Confirm total connected load is within 80% of the timer’s maximum wattage.
- Test the timer indoors over a 24-hour cycle with a lamp or low-draw string.
- Ensure the timer is plugged into a GFCI outlet and that the GFCI test/reset functions work.
Storing the timer properly after the season also extends life. Keep it in a dry, temperature-stable place—like a closet shelf—not in a garage or attic where humidity and heat fluctuate.
Frequently Asked Questions
Can I use multiple timers on the same circuit?
Yes, but ensure the total load—including all lights and devices—does not exceed 80% of the circuit’s capacity (typically 15 amps or 1800 watts). Avoid stacking timers on the same outlet strip, as this increases fire risk and may trip breakers.
Why do my lights turn on late or early some days?
If you’re using a sunrise/sunset mode, slight variations in daylight length and photocell sensitivity can shift timing by minutes. For exact consistency, switch to fixed-time scheduling. Also, ensure the photocell isn’t shaded by eaves, trees, or decorations.
Are smart timers worth the extra cost?
For users who travel during the holidays or want real-time control, yes. Smart timers let you turn lights on remotely, receive outage alerts, and create dynamic schedules. However, they require a stable Wi-Fi network and regular app updates. For simple, hands-off use, a quality digital timer may suffice.
Final Recommendations for Reliable Holiday Lighting
A well-functioning Christmas light timer does more than automate your display—it enhances safety, reduces energy waste, and preserves the lifespan of your lights. But like any electrical device, it demands respect for its limitations and environment.
Start with a timer rated for outdoor use and sized appropriately for your load. Program it carefully, install it thoughtfully, and maintain it yearly. Consider upgrading to a smart system if you value flexibility and remote access. Above all, never assume “set it and forget it” applies to seasonal electronics.
By treating your timer as a critical component—not an afterthought—you ensure your holiday lights shine brightly, on schedule, and without surprise blackouts.


 浙公网安备
33010002000092号
浙公网安备
33010002000092号 浙B2-20120091-4
Comments
No comments yet. Why don't you start the discussion?