
Every holiday season, millions of homes come alive with the warm glow of Christmas lights. Behind the sparkle, however, lies a quiet but essential component: the timer. It automates on-off cycles, conserves energy, and ensures your display shines at just the right time. Yet, many people find their lights stubbornly dark when they should be glowing—often due to a failed or improperly set timer.
Timer failure is more common than most realize, and it’s rarely due to user error alone. Environmental exposure, electrical surges, design flaws, and improper setup all contribute. Understanding the root causes—and knowing how to set up a timer that lasts—is key to a seamless, reliable lighting experience year after year.
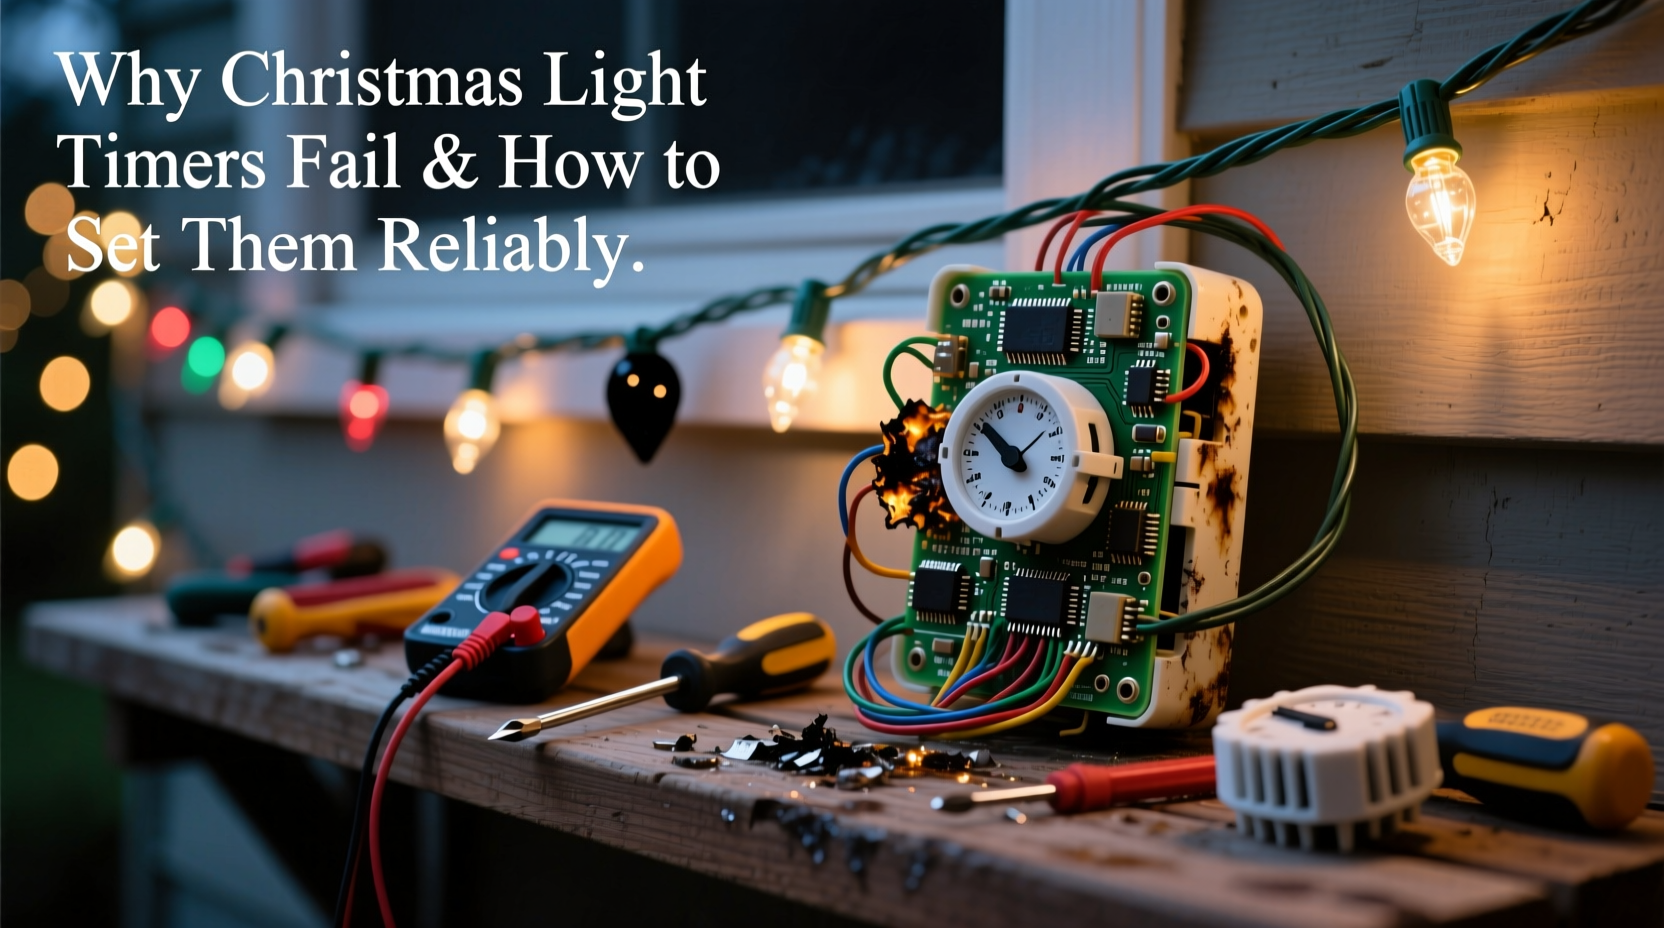
Why Christmas Light Timers Fail: The Top Causes
Timers are the unsung workhorses of holiday lighting. But because they're often left exposed to the elements and plugged into outdoor outlets, they face conditions few indoor electronics endure. Here are the most common reasons timers fail:
- Moisture ingress: Outdoor timers are vulnerable to rain, snow, and condensation. Even models labeled “weather-resistant” can develop internal corrosion over time if not properly protected.
- Power surges: Holiday circuits often carry multiple loads. A sudden voltage spike from the grid or nearby lightning can fry delicate timer circuitry.
- Poor ventilation: Enclosing a timer in a sealed outlet box traps heat. Overheating degrades components and shortens lifespan.
- Battery backup issues: Digital timers with memory rely on small backup batteries. If these die or corrode, settings reset, and schedules vanish.
- Overloading: Plugging too many lights—or high-wattage displays—into a single timer exceeds its rated capacity, causing overheating or tripped internal breakers.
- Aging mechanical parts: Mechanical (dial-style) timers use gears and springs that wear out. After several seasons, they may stop advancing or skip hours.
“Most timer failures we see aren’t due to manufacturing defects—it’s about environment and usage. A $20 timer left outside unprotected won’t last a month in northern winters.” — Carlos Mendez, Electrical Systems Technician, Holiday Lighting Co.
Choosing the Right Timer for Your Setup
Not all timers are created equal. Selecting one that matches your needs dramatically improves reliability. Consider these factors before buying:
Digital vs. Mechanical Timers
Digital timers offer precision, programmable schedules, and sometimes app control. However, they depend on power and batteries. Mechanical timers are simpler, with no memory loss during outages, but less accurate and harder to program.
Load Capacity
Check the maximum wattage rating. Most standard timers handle 1,800–2,000 watts. If you’re running 500 feet of LED rope lights (~400 watts) plus inflatables (~1,200 watts), you’re approaching the limit. Exceeding it risks failure.
Weather Resistance
Look for timers with an IP44 rating or higher, indicating protection against splashing water. Avoid units with flimsy plastic casings or poorly sealed battery compartments.
Smart Timers
Wi-Fi-enabled timers allow remote scheduling and sunrise/sunset tracking. While convenient, they require stable internet and power. Use them only if you have reliable infrastructure and consider a backup plan for outages.
| Timer Type | Lifespan (Avg.) | Best For | Risks |
|---|---|---|---|
| Mechanical Dial | 3–5 years | Simple setups, power-outage areas | Inaccurate timing, gear wear |
| Digital (Non-Smart) | 2–4 years | Precise daily schedules | Battery failure, surge damage |
| Smart Wi-Fi | 2–3 years | Remote control, dynamic scheduling | Internet dependency, security risks |
How to Set a Christmas Light Timer Reliably: Step-by-Step Guide
Even the best timer fails if set incorrectly. Follow this process to ensure long-term performance and consistent operation.
- Inspect the timer and outlet: Before plugging in, check for cracks, moisture, or corrosion. Test the outlet with a voltage tester to confirm it’s live and grounded.
- Set the current time: For digital models, press and hold the “Clock” button, then adjust hours and minutes using +/– buttons. Ensure AM/PM is correct. For mechanical timers, rotate the dial until the current time aligns with the indicator.
- Program on/off times: Choose when you want lights to turn on and off. A common schedule is 5:00 PM to 11:00 PM. Press “Program,” select a channel (if multi-channel), set the desired times, and confirm.
- Enable daylight saving adjustment (if available): Some digital timers auto-adjust. Enable this feature to avoid manual changes in spring and fall.
- Test immediately: Unplug and replug the timer or simulate nighttime by covering the light sensor (if applicable). Confirm lights activate as expected.
- Secure and protect: Mount the timer under shelter. Use a UL-listed outdoor-rated cover. Never tape or seal vents.
- Label for future reference: Attach a small tag noting the schedule and load details. Helps next season or if someone else maintains the display.
Real-World Example: The Johnson Family’s Flickering Lights
The Johnsons in Minneapolis loved their elaborate rooftop display. Every year, though, their lights would shut off randomly by 8 PM. They replaced bulbs, checked connections, and even rewired part of their system—only to discover the culprit was their $12 mechanical timer.
After three seasons outdoors, moisture had seeped into the casing. The internal switch contacts were corroded, causing intermittent connectivity. Worse, the timer was overloaded: it controlled both lights and two inflatable figures totaling 1,950 watts—just under the 2,000-watt limit, but enough to cause thermal cycling.
They upgraded to a digital timer with a 3,000-watt relay and installed it inside a ventilated, weatherproof enclosure mounted under the porch eave. They also split the load, putting inflatables on a separate circuit. Since then, their display has run flawlessly for four consecutive Decembers.
Pro Tips for Long-Term Timer Reliability
Prevention beats repair. These practices extend timer life and reduce headaches:
- Use a surge protector designed for outdoor use. Plug the timer into it, not directly into the outlet.
- Store timers indoors during off-seasons. Clean with a dry cloth and keep in a sealed container with silica gel to prevent moisture buildup.
- Replace backup batteries annually, even if the timer still works. Old batteries leak and destroy circuit boards.
- For large displays, consider hardwired solutions or smart relays controlled by a central hub instead of plug-in timers.
- Pair timers with photocells or motion sensors only if compatible. Mismatched electronics can cause feedback loops or flickering.
“Think of your timer as a gatekeeper. If you overload it or expose it to the elements, it won’t last. Treat it like any other electrical device—because it is.” — Lena Patel, Home Automation Consultant
Essential Checklist: Setting Up a Reliable Christmas Light Timer
Follow this checklist every season to ensure your timer performs flawlessly:
- ☐ Verify timer wattage rating exceeds total light load by at least 20%
- ☐ Test outdoor outlet for power and grounding
- ☐ Install timer under shelter or in a ventilated weatherproof enclosure
- ☐ Set correct current time and program on/off cycles
- ☐ Enable auto-DST if available
- ☐ Test operation by simulating nightfall or unplugging briefly
- ☐ Use a surge-protected power strip between outlet and timer
- ☐ Label timer with schedule and contact info for maintenance
- ☐ Replace backup battery (if applicable) before first use
- ☐ Inspect timer monthly during display period for signs of wear or heat
Frequently Asked Questions
Why do my Christmas lights turn on late or early?
This usually means the timer’s internal clock is off. Digital timers may drift over time or lose sync after a power outage. Reset the current time and reprogram the schedule. Also, verify that DST settings are enabled if applicable.
Can I use two timers for one light string?
No. Connecting two timers in series creates conflicting signals and can damage both devices. Instead, use one timer to control a power strip that feeds multiple light circuits, or use a multi-channel timer designed for independent loads.
Should I leave my timer plugged in all year?
It’s better to unplug and store it. Even weather-resistant timers degrade faster when exposed to UV rays, temperature swings, and humidity. Remove it after the holidays, clean it, and store in a dry, climate-controlled space.
Conclusion: Make Your Display Shine Without the Stress
A failed Christmas light timer doesn’t have to be an annual frustration. By understanding the common causes of failure—moisture, surges, overloading, and poor setup—you can choose the right equipment and install it with confidence. Whether you opt for a simple mechanical dial or a smart Wi-Fi model, proper placement, protection, and maintenance make all the difference.
Reliability isn’t luck; it’s preparation. With the right timer, correct programming, and a few protective habits, your holiday lights will turn on like clockwork—every evening, all season long.


 浙公网安备
33010002000092号
浙公网安备
33010002000092号 浙B2-20120091-4
Comments
No comments yet. Why don't you start the discussion?