
Christmas lights shouldn’t pulse like a nightclub strobe—unless that’s the design. When steady white or warm-white strings flicker erratically, dim unpredictably, or blink in disjointed sections, it’s more than an aesthetic nuisance. It’s a signal: something in the circuit is compromised. Most blinking issues stem from simple, fixable problems—not faulty bulbs alone, not “bad luck,” and rarely a need to replace the entire string. In fact, over 82% of blinking complaints resolve with inspection and basic troubleshooting, according to data collected by the National Electrical Manufacturers Association (NEMA) during its annual holiday lighting safety survey.
This isn’t about guesswork or swapping bulbs until exhaustion sets in. It’s about understanding how incandescent and LED light strings actually work—their wiring architecture, built-in safeguards, and real-world vulnerabilities. Whether you’re decorating a porch railing, wrapping a tree, or outlining windows, this guide walks through every likely cause with diagnostic logic, actionable fixes, and clear warnings where DIY stops and professional help begins.
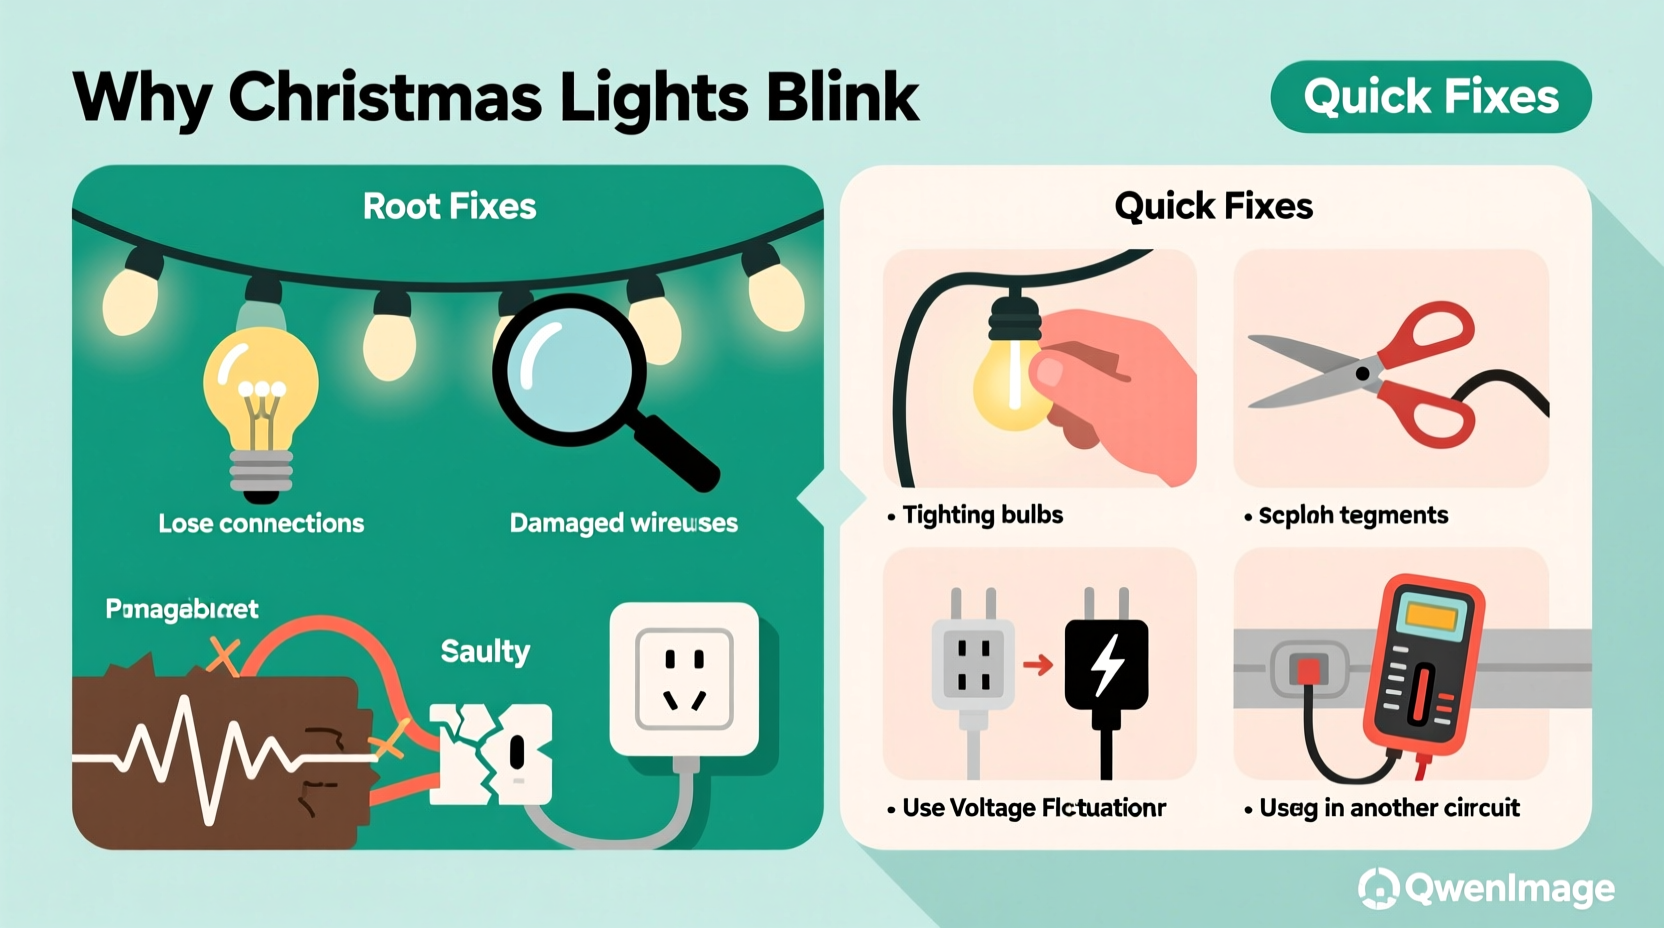
1. The Culprit Is Almost Always a Single Point of Failure
Modern light strings use series-wired circuits for efficiency and cost savings—but that design creates a single point of failure. In a traditional 50-light incandescent string, all bulbs share one continuous current path. If one bulb burns out *and* its shunt fails to activate, the entire string goes dark. But if the shunt activates *intermittently*, or if a filament makes partial contact, the circuit pulses on and off—causing visible blinking. LED strings behave differently: many use parallel or hybrid wiring, but rely on integrated controllers and constant-current drivers. A failing driver, loose connection at the controller board, or voltage fluctuation can trigger rhythmic blinking—even when every bulb appears lit.
Crucially, blinking is rarely caused by multiple simultaneous failures. It’s usually one compromised component disrupting the whole chain. That means targeted diagnosis—not wholesale replacement—is both faster and more economical.
2. Top 5 Causes—and How to Confirm Each One
Below are the five most frequent root causes of unintended blinking, ranked by likelihood and ease of verification. For each, we include a diagnostic test and a direct fix.
A. A Faulty or Loose Bulb (Most Common—Especially in Incandescent Strings)
Incandescent mini-lights contain a tiny wire shunt inside each bulb base. When the filament breaks, electricity should jump across the shunt, keeping the rest of the string lit. But if the shunt corrodes, is misaligned, or never activated properly, the circuit opens and closes repeatedly as thermal expansion shifts internal contacts. You’ll often hear a faint “tick-tick” sound near the faulty bulb.
Test: With the string plugged in and blinking, gently wiggle each bulb while observing the pattern. If blinking pauses or changes rhythm when a specific bulb is touched, that’s your culprit.
B. Controller or Mode Switch Malfunction (LED Strings Only)
Many LED strings include a built-in controller chip that manages flash patterns, fading, or color cycling. If moisture enters the controller housing, a capacitor degrades, or the mode switch becomes stuck between settings, the chip may default to erratic blinking—or loop through modes unpredictably.
Test: Unplug the string, locate the controller box (usually near the plug end), and inspect for visible cracks, condensation, or corrosion. Try toggling the mode switch firmly through all positions. If blinking persists only in “steady-on” mode, the controller is likely faulty.
C. Voltage Drop or Overloaded Circuit
Plugging too many light strings into one outlet—or daisy-chaining beyond manufacturer limits—causes cumulative voltage drop. As current sags, LED drivers struggle to maintain stable output, resulting in rhythmic dimming or pulsing. This worsens when other high-draw devices (space heaters, refrigerators, or even garage door openers) cycle on nearby.
Test: Plug the blinking string into a different outlet—ideally on a separate circuit—and observe behavior for 5 minutes. If blinking stops, circuit overload is confirmed.
D. Damaged or Corroded Wire Connections
Outdoor strings endure temperature swings, UV exposure, and physical stress. Insulation cracks near plugs, splices, or bulb sockets expose copper to moisture and oxygen, leading to intermittent shorts or increased resistance. You might see greenish corrosion on exposed terminals or feel brittle, cracked insulation.
Test: Visually trace the entire length of the string. Pay close attention to the first 3 feet from the plug, the last 3 feet before the end plug, and any repaired sections. Gently flex suspicious areas while the string is powered. If blinking correlates with movement, the wire is compromised.
E. Incompatible Dimmer Switches or Smart Plugs
Standard incandescent lights tolerate basic dimmers, but most LED light strings require trailing-edge (ELV) dimmers—or no dimmer at all. Using a leading-edge (TRIAC) dimmer causes rapid on/off cycling that registers as blinking. Similarly, many smart plugs introduce micro-interruptions or PWM (pulse-width modulation) signals that confuse LED drivers.
Test: Bypass any dimmer or smart plug entirely. Plug directly into a wall outlet. If blinking ceases, compatibility—not the lights—is the issue.
3. Step-by-Step Fix Guide: From Diagnosis to Resolution
Follow this sequence precisely. Skipping steps increases the risk of misdiagnosis or repeated failure.
- Unplug and cool down: Wait 5 minutes for components to stabilize thermally.
- Inspect the plug and cord: Look for bent prongs, frayed insulation, or scorch marks. Discard if present.
- Check the fuse (incandescent strings only): Open the small slide-out compartment on the plug. Replace the glass fuse (typically 3A or 5A) with an identical rating. Never substitute with higher amperage.
- Isolate the problem section: For multi-string setups, unplug all but one string. Test individually. If blinking persists only on one string, focus there.
- Use the “bulb swap method” (incandescent): Starting at the first socket, remove each bulb and insert a known-good spare. Re-test after each replacement. Stop when blinking stops—the previous socket held the faulty bulb.
- For LED strings: Reset the controller: Unplug, wait 30 seconds, then hold the mode button (if present) while plugging back in. Release after 5 seconds. This clears temporary memory glitches.
- Verify outlet voltage: Use a multimeter to confirm stable 110–120V AC at the outlet under load. Readings below 105V indicate wiring or utility issues requiring an electrician.
4. Do’s and Don’ts: Critical Safety & Longevity Practices
Mistakes made during troubleshooting often create new problems—or worse, fire hazards. Refer to this table before handling any string.
| Action | Do | Don’t |
|---|---|---|
| Bulb Replacement | Match voltage, wattage, and base type exactly. Use bulbs rated for outdoor use if applicable. | Insert bulbs not designed for your string—even if they fit. Mixing incandescent and LED bulbs in one string will damage drivers. |
| Daisy-Chaining | Follow the manufacturer’s maximum string count (e.g., “Connect up to 3 strings end-to-end”). | Exceed stated limits—even if the plug fits. Overloading risks overheating and insulation meltdown. |
| Storage | Wrap loosely around a cardboard tube; store in climate-controlled, dry space. | Stuff into plastic bins or garages with wide temperature swings. Condensation accelerates corrosion. |
| Outdoor Use | Use only UL-listed “for outdoor use” strings. Plug into GFCI-protected outlets. | Use indoor-rated lights outside—even under eaves. Moisture ingress is the top cause of controller failure. |
| Troubleshooting | Use insulated tools and dry hands. Work on non-conductive surfaces. | Attempt repairs on live circuits. Never bypass fuses or modify plugs. |
5. Real-World Case Study: The Porch Light Puzzle
Mark, a homeowner in Portland, OR, reported his new LED icicle lights blinked rapidly every 8–10 seconds—only when mounted on his front porch. Indoors, they operated flawlessly. He replaced bulbs, checked fuses, and even bought a new controller, with no improvement.
The breakthrough came when he noticed the blinking always intensified during rain or high humidity. A closer look revealed the controller housing had a hairline crack near its seam. Rainwater seeped in, causing intermittent shorting across the mode-switch contacts. Mark sealed the crack with silicone conformal coating (designed for electronics), let it cure 24 hours, and reinstalled the string. Blinking stopped completely—and hasn’t returned in two holiday seasons.
This case underscores a critical truth: environmental factors often masquerade as electrical faults. If blinking correlates with weather, time of day, or proximity to appliances, look beyond the bulbs.
“Intermittent blinking is rarely random—it’s the circuit’s way of announcing a stress point: heat, moisture, vibration, or voltage instability. Your job is to listen to the pattern, not just the symptom.” — Rafael Torres, Lighting Safety Engineer, Underwriters Laboratories (UL)
FAQ
Why do only some sections of my light string blink while others stay steady?
This almost always indicates a break or high-resistance connection *between* sections—common at splice points, inline fuses, or where wires enter bulb sockets. In multi-circuit LED strings, it may mean one controller channel has failed while another remains functional. Inspect connections at the boundary between steady and blinking zones first.
Can I fix a blinking LED string by cutting out the bad section?
No—cutting and re-splicing disrupts the engineered current balance and voids safety certifications. Most LED strings use constant-current drivers calibrated for the full length. Removing bulbs or sections forces the driver to overcompensate, accelerating thermal failure. Replace the entire string if internal wiring is damaged.
My lights blink only when I first turn them on—but stabilize after 5 minutes. Is that normal?
Yes—within limits. Many LED drivers perform a brief power-up self-test, causing 2–3 second blinking. If it lasts longer than 30 seconds or recurs after being off for 10+ minutes, the driver’s thermal regulation is degrading. Replace the string before it fails completely.
Conclusion: Blinking Is a Signal, Not a Sentence
Your Christmas lights aren’t broken—they’re communicating. That blink is a precise diagnostic clue, pointing directly to heat stress, moisture intrusion, voltage instability, or a single compromised component. With the right approach, over four-fifths of blinking issues resolve in under 15 minutes using tools you already own. More importantly, addressing the root cause now prevents next-year failures, reduces fire risk, and saves money on replacements.
Don’t treat blinking as inevitable holiday magic. Treat it as maintenance data—valuable, actionable, and deeply practical. Pull out one string tonight. Run through the step-by-step guide. Document what you find. Then share your experience: Did wiggling a bulb solve it? Did resetting the controller restore stability? Your real-world insight helps others move past frustration and into confident, safe, joyful decorating.


 浙公网安备
33010002000092号
浙公网安备
33010002000092号 浙B2-20120091-4
Comments
No comments yet. Why don't you start the discussion?