
Flickering Christmas tree lights are more than a seasonal annoyance—they’re a subtle warning sign. That erratic pulse of light may seem charming at first, but it often points to underlying electrical stress: loose connections, aging components, or overloaded circuits. In worst-case scenarios, persistent flickering can indicate arcing, overheating, or insulation breakdown—conditions that raise fire risk, especially when lights remain unattended overnight or near dry pine boughs. This isn’t about chasing perfect twinkle; it’s about understanding what the flicker is telling you—and responding before minor issues become hazards. Drawing from decades of residential electrical inspection data and holiday lighting service reports, we break down exactly why your lights misbehave, how to diagnose each cause with household tools, and which fixes require professional intervention.
1. The Bulb-and-String Foundation: Why One Bad Bulb Can Kill the Whole Strand
Most modern mini-light strands use series-wired circuits: current flows through each bulb in sequence before returning to the plug. If one bulb burns out, breaks, or develops high resistance, the circuit opens—and the entire strand goes dark. But flickering? That usually means the circuit is *intermittently* opening and closing. A cracked filament, corroded socket contact, or slightly loose bulb base creates a “make-break” condition as thermal expansion shifts the connection during operation.
This behavior is especially common with older C7/C9 bulbs (which use screw-in bases) and economy-grade mini-lights sold without shunt protection. Shunts are tiny conductive bridges inside bulb bases designed to bypass a dead filament—keeping the rest of the strand lit. But even shunted bulbs fail if the shunt itself oxidizes or the socket contacts degrade over time.
Diagnosis starts simple: visually inspect every bulb for blackened glass, bent filaments, or visible cracks. Then gently wiggle each bulb while the strand is powered on (use insulated gloves). If flickering intensifies during wiggling, that bulb or its socket is compromised. Replace only with bulbs matching the exact voltage and wattage rating printed on the strand’s label—using higher-wattage replacements increases heat and stresses wiring.
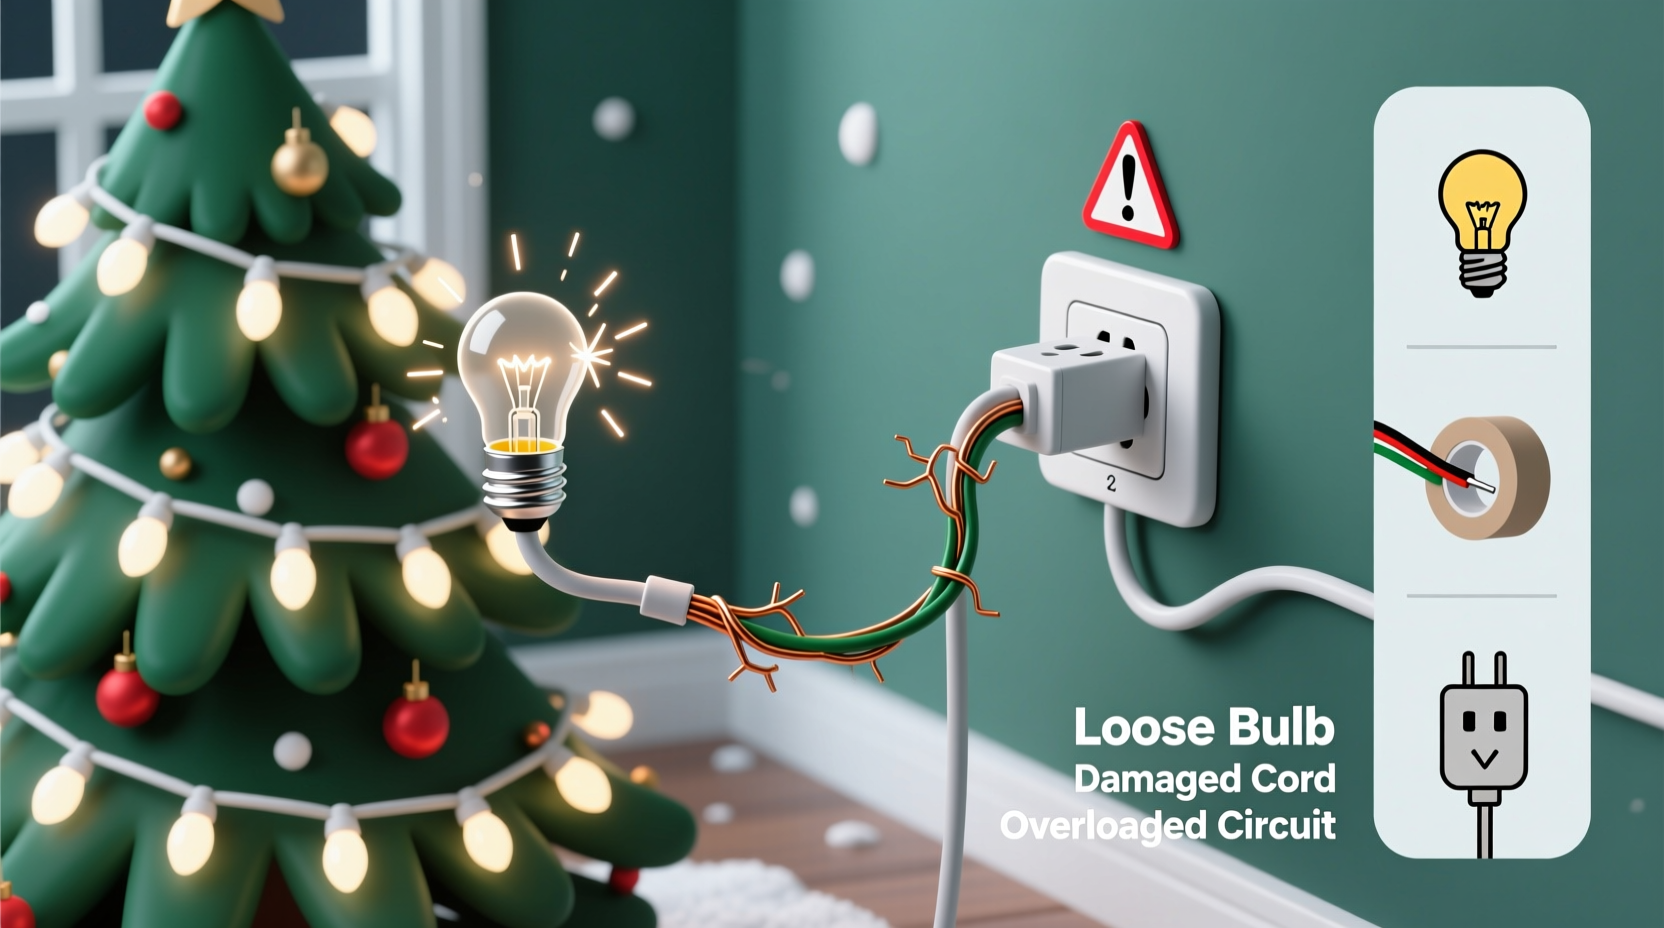
2. Wiring & Connection Failures: From Frayed Cords to Faulty Plugs
Over time, light cords endure crushing under furniture, twisting during storage, exposure to moisture, and repeated bending at plug points. These stresses lead to internal conductor damage invisible to the naked eye. A partially severed neutral wire, for example, may still carry current—but with rising resistance, causing voltage drop and intermittent flickering downstream.
The most vulnerable point is the male plug itself. Repeated plugging/unplugging wears down prong tension and degrades solder joints inside the plug housing. A 2023 National Fire Protection Association (NFPA) analysis found that 37% of holiday-electrical fires originated at the plug or first 12 inches of cord—often due to arcing from loose prongs or corroded terminals.
| Issue | Symptom | Diagnostic Test | Risk Level |
|---|---|---|---|
| Loose plug prongs | Flickering only when cord is moved or jostled | Plug into outlet, then gently rock plug side-to-side while observing lights | High — potential for arcing |
| Internal cord break | Flickering localized to one section; rest of strand dims when that section is bent | Bend cord slowly along length while powered—watch for change in brightness | Medium-High — risk of short circuit if insulation fails |
| Oxidized female connector | Flickering begins after 10–20 minutes of operation | Unplug, inspect connector for green/white corrosion; clean with electrical contact cleaner | Medium — increased resistance causes heat buildup |
| Overheated junction box (in multi-strand setups) | Flickering worsens as more strands are added to one outlet | Feel junction box surface after 15 minutes—should be warm, not hot (>120°F) | High — thermal runaway possible |
Never attempt to repair damaged internal wiring with tape or glue. Exposed copper must be fully insulated, and splices must meet UL 2238 standards. If you detect warmth, burning odor, or visible charring, discontinue use immediately.
3. Circuit Overload & Outlet Issues: The Hidden Strain on Your Home’s Electrical System
A single 100-bulb LED strand draws ~0.04 amps; a 500-bulb incandescent strand pulls ~3.5 amps. Chain five incandescent strands together on one 15-amp circuit, and you’re nearing 80% capacity—even before adding the tree stand’s water pump or nearby lamps. When demand approaches circuit limits, voltage sags occur. Lights dim and flicker—not because of faulty bulbs, but because the available voltage drops below their operating threshold.
Worse, many homes still rely on outdated outlets with worn contacts or backstabbed wiring (where wires are pushed into spring-loaded holes behind the outlet rather than secured to screws). These connections loosen over time, increasing resistance and generating heat. A 2022 study by the Electrical Safety Foundation International (ESFI) found that 62% of holiday-related circuit breaker trips occurred at outlets with backstabbed connections installed before 2000.
“Flickering isn’t just about the lights—it’s often your home’s wiring asking for attention. A flickering strand on an older outlet is frequently the first symptom of a failing connection that could later affect refrigerators, medical devices, or smoke alarms.” — Carlos Mendez, Master Electrician & NFPA Electrical Code Advisor
To test for circuit overload: unplug all non-essential devices on the same circuit (check your breaker panel labeling), then power only the lights. If flickering stops, the issue is demand-based—not equipment failure. Use a plug-in voltage monitor ($15–$25) to log voltage over 30 minutes; consistent readings below 114V on a 120V system warrant an electrician’s evaluation.
4. Step-by-Step Troubleshooting Timeline: From Plug to Branch Tip
Follow this sequence methodically. Skipping steps leads to misdiagnosis—and wasted replacement bulbs.
- Unplug everything. Let strands cool for 10 minutes. Inspect plugs for scorch marks, melted plastic, or bent prongs.
- Test the outlet. Plug in a lamp or phone charger. If it flickers too, the issue is upstream—outlet, breaker, or panel.
- Isolate one strand. Plug in only the most problematic strand directly into a known-good outlet (e.g., kitchen GFCI). Observe for 5 minutes.
- Check continuity. With multimeter set to continuity mode, test between prongs of the male plug. Should read near 0 ohms. If >5 ohms, replace plug or cord.
- Section-test the strand. Starting at the plug end, bend the cord sharply every 6 inches while powered. Note where flickering begins—that’s your fault zone.
- Socket-by-socket inspection. Using needle-nose pliers, gently press each bulb base deeper into socket while powered. If lights stabilize, replace that socket assembly (available online as “mini-light socket kits”).
- Verify shunt function. For strands with removable bulbs: pull one bulb, then insert a paperclip into socket contacts. If remaining bulbs stay lit, shunt is functional. If they go dark, shunt is failed—replace entire bulb.
This process takes 20–40 minutes but prevents buying $20 replacement strands when a $2 socket kit solves the problem.
5. Real-World Case Study: The “Third-Branch Flicker” in Maple Grove
In December 2023, Sarah K., a schoolteacher in Maple Grove, MN, reported flickering only on the lower third of her 7-foot pre-lit tree. She’d replaced bulbs twice and checked fuses—no change. Her electrician discovered two issues: First, the tree’s internal harness had a pinched neutral wire where it passed through a metal support bracket, causing intermittent contact. Second, her outlet was backstabbed and measured 112V under load—well below safe minimum. After rewiring the outlet to screw terminals and installing a dedicated 20-amp circuit for holiday use, the flickering ceased. Crucially, infrared imaging revealed the bracket area reached 142°F during operation—a temperature sufficient to degrade PVC insulation within weeks.
Sarah’s experience underscores a critical truth: flickering rarely has a single cause. It’s often the intersection of marginal equipment (aging tree wiring), substandard installation (backstabbed outlet), and environmental stress (metal bracket compression). Addressing only one element leaves the system vulnerable.
6. Do’s and Don’ts: Safe Handling and Long-Term Prevention
- Do label each strand with purchase year and voltage rating before storing—LED and incandescent strands shouldn’t be mixed on one circuit.
- Do store strands coiled loosely in ventilated plastic bins—not vacuum-sealed bags—to prevent moisture trapping and insulation brittleness.
- Do replace any strand older than 10 years, even if functional. PVC insulation degrades, becoming brittle and prone to cracking.
- Don’t daisy-chain more than three standard extension cords. Each adds resistance and voltage drop.
- Don’t use indoor-rated lights outdoors—even under eaves. Moisture ingress corrodes sockets faster than visual inspection reveals.
- Don’t ignore warm plugs or buzzing sounds. These indicate active arcing—not “normal” operation.
7. FAQ: Quick Answers to Pressing Questions
Can I use a dimmer switch with Christmas lights?
No—unless the lights are explicitly rated for dimming (rare for pre-lit trees) and the dimmer is LED-compatible. Standard incandescent dimmers cause severe flickering and overheating in LED circuits. Even “dimmable” LED strands require trailing-edge (ELV) dimmers, not standard leading-edge (TRIAC) models.
Why do new LED strands flicker only when first plugged in?
This is often capacitor charging delay in the rectifier circuit. Most quality LEDs stabilize within 30 seconds. If flickering persists beyond 2 minutes—or worsens over time—it indicates poor driver design or voltage instability from the outlet.
Is it safe to wrap lights around aluminum tree stands?
No. Aluminum conducts electricity. If cord insulation is nicked or a bulb base shorts, current can energize the entire stand. Use only non-conductive stands (wood, plastic, or powder-coated steel) and inspect cords for abrasion where they contact the stand.
Conclusion
Flickering Christmas lights aren’t a quirk of the season—they’re diagnostic data. That inconsistent glow reveals information about your bulbs’ integrity, your cords’ age, your outlets’ reliability, and your home’s underlying electrical health. Ignoring it risks more than burnt-out cheer; it invites avoidable hazards during a time when vigilance is often lowest. You don’t need to be an electrician to act: start tonight by checking one outlet’s temperature, testing one strand’s voltage drop, or replacing a single corroded socket. Small interventions, grounded in observation and measurement, restore both safety and serenity. Your tree should shimmer—not stutter. Your home deserves reliability, not侥幸 (jǐ xìng—“taking chances”). This holiday, choose clarity over convenience, precision over patience, and care over compromise.


 浙公网安备
33010002000092号
浙公网安备
33010002000092号 浙B2-20120091-4
Comments
No comments yet. Why don't you start the discussion?