
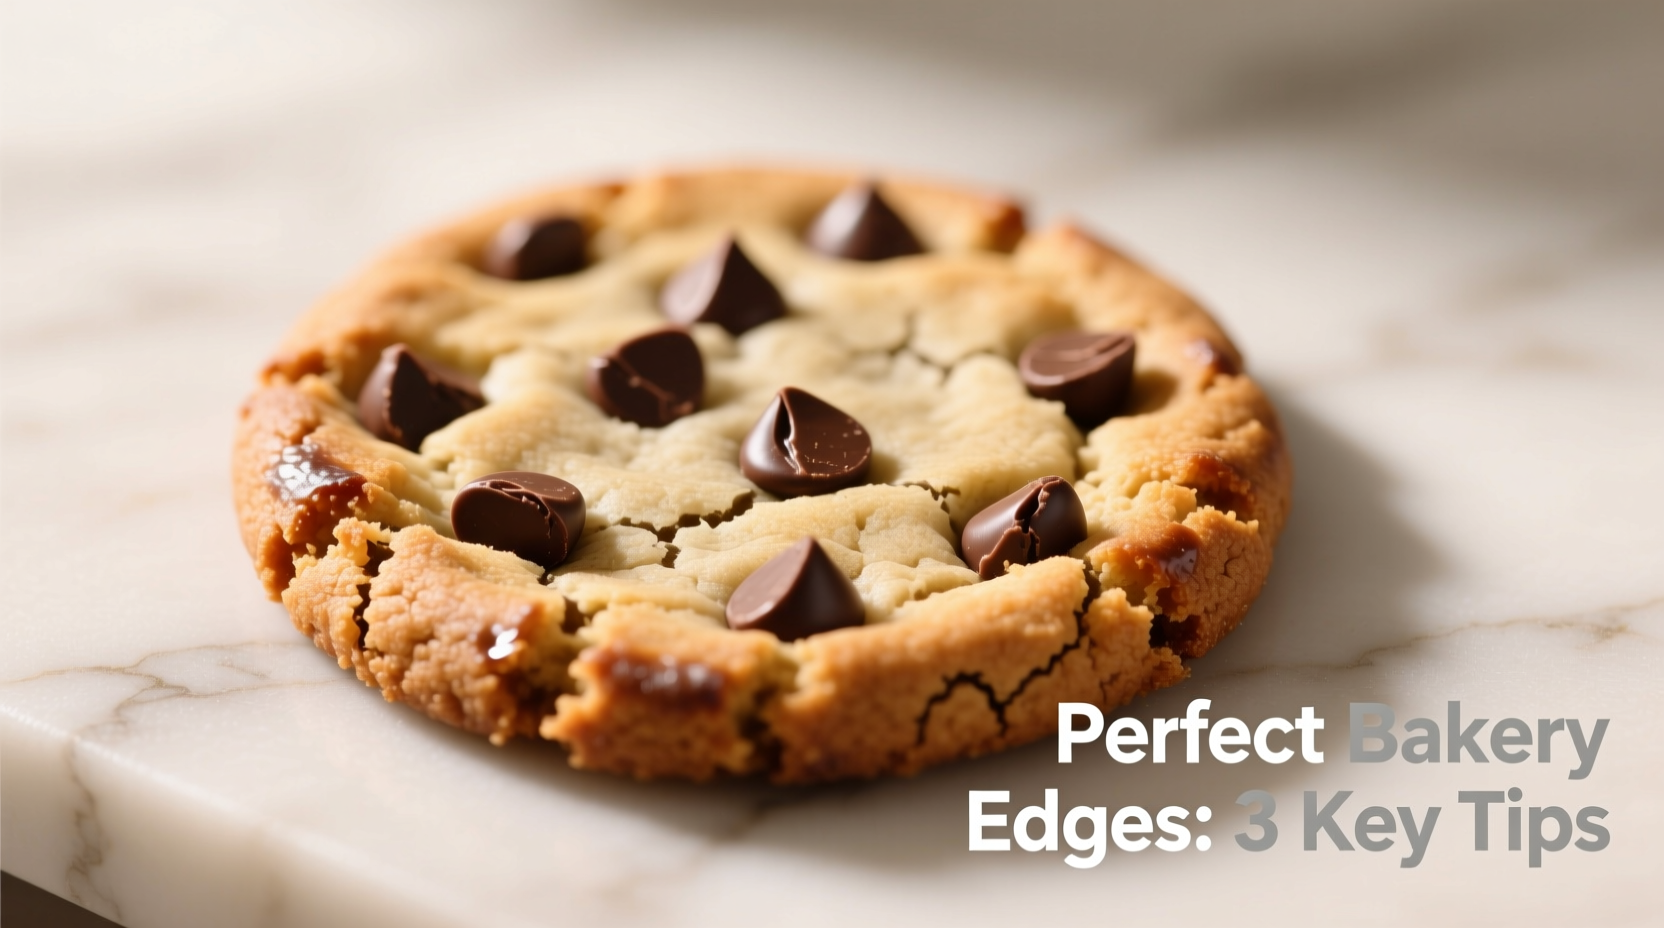
Bakery-style cookies have a signature look: crisp, golden-brown edges with a soft, chewy center. They hold their shape, rise slightly, and never melt into a greasy puddle on the baking sheet. But if your cookies routinely spread into thin, flat discs, you're not alone—and more importantly, it's fixable. The reasons behind excessive spreading are often subtle but rooted in science, technique, and ingredient precision. Understanding what causes cookies to lose their structure empowers you to bake consistently beautiful results every time.
The Science Behind Cookie Spread
Cookies spread when the fat melts faster than the structure can set. During baking, butter softens and liquefies, releasing moisture and allowing the dough to flatten. Simultaneously, leavening agents like baking soda or powder create air bubbles that help lift the dough. If the dough doesn’t firm up quickly enough—either due to weak structure, warm ingredients, or incorrect ratios—the melted fat pulls the dough outward before it sets, leading to over-spreading.
Three main components influence this process: fat, flour, and temperature. Butter is the most common fat used in cookie recipes, prized for its flavor but also notorious for melting at relatively low temperatures (around 90–95°F). When butter is too soft or melted before baking, it accelerates spread. Flour provides gluten and starch, which absorb moisture and give structure. Too little flour—or too much moisture—weakens the dough’s ability to resist spreading. Finally, oven and dough temperature dictate how quickly the exterior sets versus how fast the interior spreads.
Common Causes of Excessive Cookie Spread
- Butter that’s too warm or melted: Softened butter should be pliable, not greasy. Melted butter drastically increases spread because it lacks structure from the start.
- Incorrect flour measurement: Scooping flour directly from the bag compacts it, leading to too much flour and dry cookies—or worse, under-measuring, which causes flat, greasy results.
- Oven temperature inaccuracies: Many home ovens run hot or cold. An oven that’s too cool prolongs the time it takes for the dough to set, giving fat more time to melt and spread.
- Over-creaming butter and sugar: While creaming incorporates air, doing so excessively warms the butter and creates too many small air bubbles, which collapse during baking and contribute to spread.
- Warm dough: Placing dough balls on a hot tray or skipping the chilling step means the butter begins melting before the cookie even enters the oven.
- Too much sugar or liquid: Granulated sugar liquefies when heated, and brown sugar adds moisture due to molasses. Excess sugar increases spread. Similarly, extra eggs or vanilla can add moisture that weakens structure.
How Oven Thermometers Can Save Your Baking
A surprisingly common issue is inaccurate oven calibration. One study by America’s Test Kitchen found that nearly 40% of home ovens were off by more than 25°F. A cooler oven delays protein coagulation and starch gelatinization—key processes that set the cookie’s shape. Always use an independent oven thermometer to verify actual temperature.
“Temperature control is half the battle in cookie baking. Cold dough and a properly preheated oven are non-negotiables for bakery-quality edges.” — Chef Maria Lin, Pastry Instructor at New York Culinary Academy
Proven Techniques for Bakery-Style Edges
Professional bakeries achieve those picture-perfect cookies through disciplined methods. You don’t need industrial equipment—just attention to detail.
Chill Your Dough—The Game Changer
Refrigerating cookie dough for at least 30 minutes (ideally 1–2 hours) firms up the butter, slowing its melt rate once in the oven. This delay gives the flour and eggs time to hydrate and strengthen the structure, while also promoting browning and flavor development through enzymatic activity.
For best results, portion dough into balls before chilling. This ensures even baking and prevents handling warm dough later.
Use the Right Pan and Surface
Not all baking sheets are created equal. Thin, dark metal pans heat quickly and can cause over-browning on the bottom while the top is still spreading. Opt for heavy-gauge aluminum half-sheet pans—they distribute heat evenly and resist warping.
Always line your pan with parchment paper or a silicone baking mat. These surfaces prevent sticking without adding grease, which can increase spread. Avoid greasing the pan unless the recipe specifically calls for it.
Don’t Overcrowd the Pan
Cookies need space to expand slightly. Place them at least 2 inches apart. Crowding traps steam, lowers the effective oven temperature around each cookie, and slows setting—leading to uneven texture and potential spreading.
Step-by-Step Guide to Perfect Cookies
- Weigh your ingredients: Use a kitchen scale for accuracy. 1 cup of all-purpose flour should weigh 120g, not more or less.
- Use properly softened butter: Leave butter at room temperature for 30–45 minutes. It should indent slightly when pressed but not leave residue on your finger.
- Cream butter and sugar briefly: Mix for 30–60 seconds until just combined and slightly fluffy. Over-creaming incorporates excess air and heats the butter.
- Add dry ingredients gradually: Mix flour, leavening, and salt in a separate bowl, then add to wet ingredients in two additions. Mix just until no streaks remain.
- Portion and chill: Scoop dough into uniform balls using a cookie scoop. Place on a tray and refrigerate for at least 30 minutes (up to 72 hours for enhanced flavor).
- Preheat thoroughly: Allow your oven to preheat for at least 15–20 minutes beyond the indicator light. Use an oven thermometer to confirm 350°F (or recipe temp).
- Bake one tray at a time in the center rack: Rotate the pan halfway through for even browning.
- Remove at the right time: Take cookies out when edges are golden but centers still look slightly underdone. They’ll continue to cook on the hot tray.
Ingredient Adjustments for Better Structure
Slight tweaks to your recipe can dramatically improve texture and edge definition.
| Ingredient | Effect on Spread | Adjustment Tip |
|---|---|---|
| Butter | High spread if too soft or melted | Use cool, properly softened butter; consider replacing 10–15% with shortening for higher melt point |
| Flour | Too little = spread; too much = dryness | Measure by weight; add 1–2 tbsp extra if cookies consistently spread |
| Brown Sugar | Molasses adds moisture and acidity, increasing spread | Reduce brown sugar slightly or balance with granulated sugar |
| Eggs | Liquid content promotes spread | Use only one egg or reduce by 1 tbsp if dough seems wet |
| Baking Soda | Rapid early rise can weaken structure | Pair with baking powder for slower, sustained lift |
Case Study: From Flat to Fabulous
Sarah, an avid home baker in Portland, struggled for months with her chocolate chip cookies turning into lacy pancakes. She followed a popular online recipe to the letter but couldn’t understand why her cookies never held their shape. After tracking her process, she discovered three issues: she was using melted butter (for easier mixing), scooping flour directly from the bag (under-measuring by nearly 15%), and baking on a warped, dark-colored pan.
She adjusted her method: switched to properly softened butter, started weighing flour (120g per cup), and invested in a quality aluminum sheet pan with a silicone mat. She also began chilling her dough for one hour. The result? Thick, bakery-style cookies with crisp edges and soft centers—exactly what she’d been chasing.
Checklist for Bakery-Style Cookie Success
- ✅ Weigh flour instead of scooping
- ✅ Use cool, softened butter—not melted
- ✅ Cream butter and sugar for only 30–60 seconds
- ✅ Chill dough for at least 30 minutes
- ✅ Preheat oven with thermometer verification
- ✅ Use heavy-duty aluminum baking sheets
- ✅ Line pans with parchment or silicone mat
- ✅ Space cookies 2 inches apart
- ✅ Bake until edges are golden but centers are soft
- ✅ Cool on tray for 5 minutes before transferring
Frequently Asked Questions
Can I freeze cookie dough for later baking?
Yes, and it’s highly recommended. Portion dough into balls, freeze on a tray, then transfer to a sealed container. Frozen dough can be baked straight from the freezer—add 1–2 minutes to baking time. Freezing preserves freshness and maintains consistent texture.
Why do some recipes use cornstarch?
Cornstarch helps create a tender, soft center while reducing gluten formation. It also thickens the dough slightly, minimizing spread. Many bakery-style recipes include 1–2 teaspoons of cornstarch along with flour for that melt-in-the-mouth texture with defined edges.
Does altitude affect cookie spread?
Yes. At higher elevations, lower atmospheric pressure causes liquids to evaporate faster and leavening gases to expand more. This can lead to rapid rise and collapse, increasing spread. Bakers above 3,000 feet may need to increase flour by 1–2 tablespoons per cup, reduce sugar slightly, and lower oven temperature by 15–25°F.
Final Thoughts: Elevate Your Cookie Game
Perfectly edged, bakery-style cookies aren’t the product of luck or secret ingredients—they’re the result of understanding how ingredients interact and applying precise techniques. From measuring flour correctly to chilling dough and verifying oven temperature, each step plays a role in transforming a simple batch of cookies into something exceptional.
Once you master the balance between fat, flour, and temperature, you’ll gain confidence to experiment with flavors and textures—knowing the foundation is solid. Whether you’re baking for family, friends, or a holiday lineup, these principles ensure your cookies won’t just taste great—they’ll look like they came from a professional kitchen.


 浙公网安备
33010002000092号
浙公网安备
33010002000092号 浙B2-20120091-4
Comments
No comments yet. Why don't you start the discussion?