
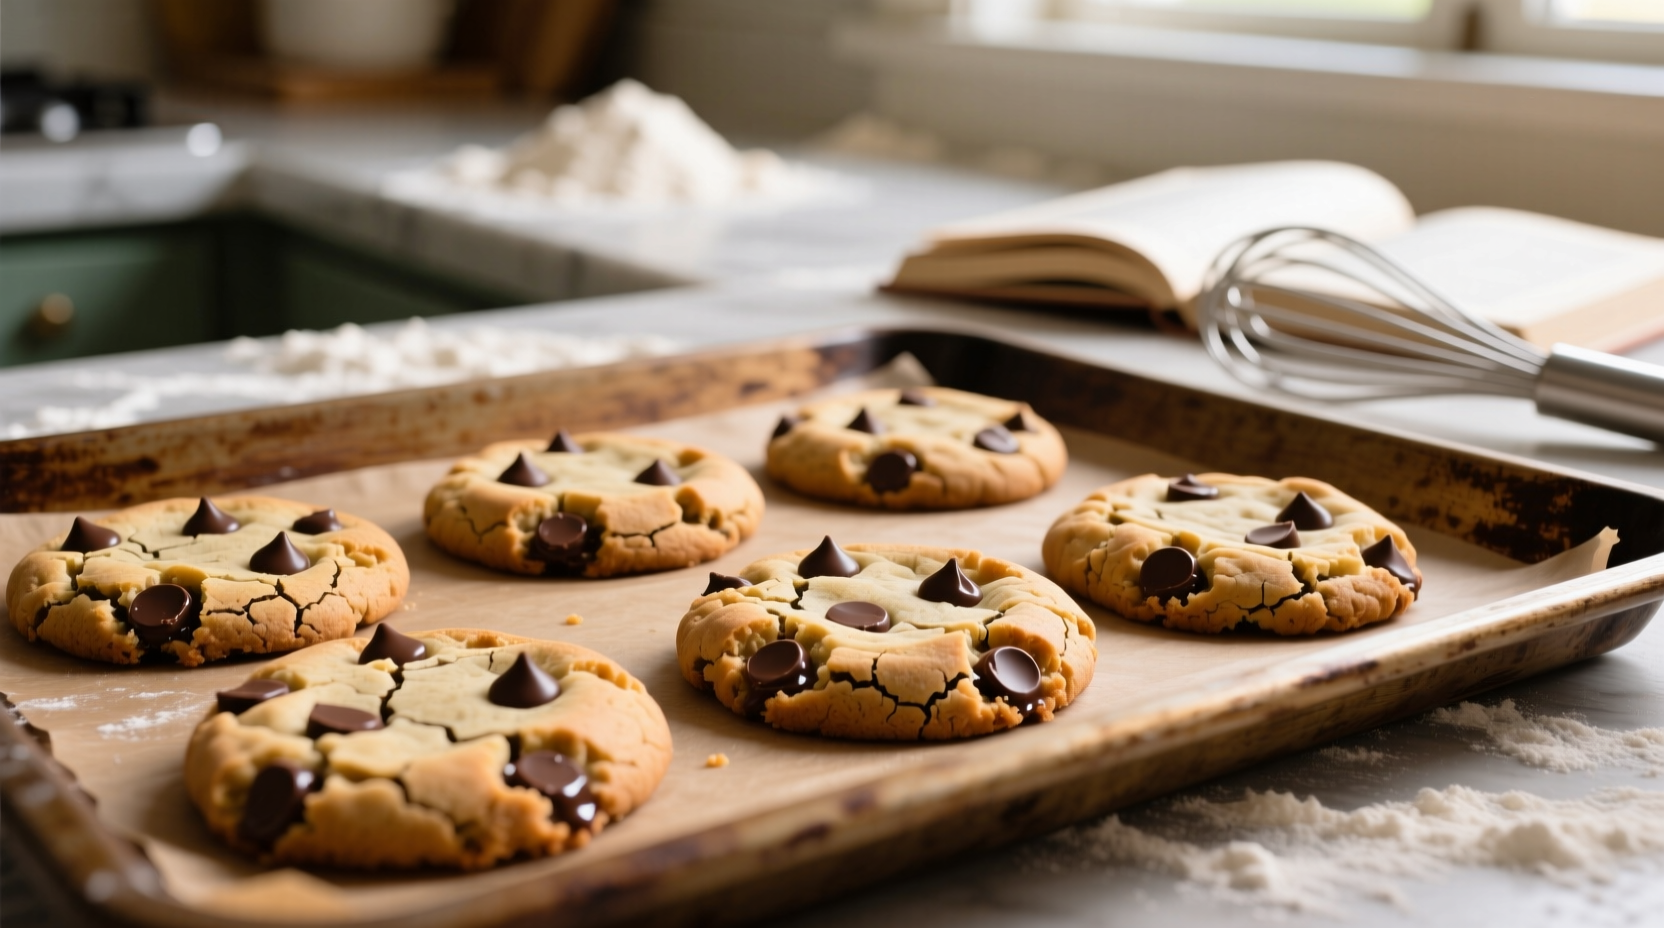
There’s nothing more disappointing than pulling a tray of cookies from the oven only to find they’ve melted into one another, forming a golden-brown sea of dough instead of distinct, soft-centered treats. Over-spreading is one of the most common cookie-baking frustrations, but it's also one of the most fixable. The reasons behind excessive spreading are often rooted in ingredients, temperature, technique, or equipment—small variables that, when adjusted, can transform your results completely. Whether you're making chocolate chip, sugar, or oatmeal cookies, understanding why spreading happens—and how to stop it—is essential for achieving bakery-quality texture at home.
The Science Behind Cookie Spread
Cookies spread during baking because the fats in the dough melt before the structure sets. When butter or oil liquefies in the heat of the oven, it causes the dough to flow outward. If the proteins (from eggs) and starches (from flour) haven’t had time to coagulate and form a stable structure, the cookies will continue to spread until they’re thin, crisp, and sometimes burnt at the edges.
The balance between fat, flour, sugar, moisture, and leavening agents determines how much a cookie spreads. Too much fat or sugar without enough structural support leads to runaway spreading. Similarly, using softened (or worse, melted) butter increases liquidity early in the bake, accelerating the process.
“Cookie spread isn't random—it's chemistry in action. Control the rate at which fat melts and structure forms, and you control the final shape.” — Dr. Linda Park, Food Scientist & Baking Researcher, Culinary Institute of America
Key Factors That Cause Excessive Spreading
1. Butter Temperature
The state of your butter makes a dramatic difference. Many recipes call for “softened” butter, meaning it should yield slightly under finger pressure but still hold its shape. If butter is too warm or melted, it introduces liquid fat too early, causing immediate spread.
2. Sugar Ratios
Granulated sugar promotes spreading more than brown sugar. Brown sugar contains molasses, which adds moisture and acidity, helping the dough set faster. A high ratio of white sugar to brown increases liquidity and delays structure formation.
3. Flour Type and Measurement
Too little flour means insufficient structure. Using low-protein flours like cake flour or improperly measuring (scooping directly from the bag compacts flour, leading to excess) can cause imbalance. All-purpose flour typically provides the best balance for most drop cookies.
4. Leavening Agents
Baking soda and baking powder help lift the dough, creating air pockets that counteract downward spread. Expired leaveners lose potency, reducing lift and allowing gravity to win. Always check freshness: mix 1/4 tsp baking soda with a few drops of vinegar—if it fizzes vigorously, it’s active.
5. Oven Temperature
An oven that runs too cool allows fat to melt before the dough sets. Conversely, an overly hot oven may brown the outside too quickly while leaving the center raw. Use an oven thermometer to verify accuracy—many built-in dials are off by 25°F or more.
6. Dough Chilling
Chilling solidifies the fat, delaying melt-off during baking. Skipping this step—or not chilling long enough—leads to rapid spread. Even 30 minutes helps, but 24–48 hours enhances flavor and control.
Step-by-Step Guide to Prevent Cookie Spread
- Weigh Your Ingredients: Use a kitchen scale for precision. Target ratios: 1 part sugar to 1 part fat to 2 parts flour by weight (e.g., 100g sugar, 100g butter, 200g flour).
- Control Butter Softness: Let butter sit at room temperature for no more than 45 minutes. It should indent slightly when pressed but not collapse.
- Increase Brown Sugar Slightly: Replace 25–50% of granulated sugar with packed brown sugar to improve structure.
- Add an Extra Tablespoon of Flour: Especially in humid climates, where flour absorbs ambient moisture and becomes less effective.
- Cream Butter and Sugar Properly: Beat on medium speed for 2–3 minutes until light and fluffy. This incorporates air, aiding lift.
- Chill Dough for at Least 1 Hour: Cover bowl tightly and refrigerate. For best results, portion dough into balls first—this speeds up chilling and ensures even bake.
- Preheat Oven Fully and Use Baking Mats: Allow oven 15–20 minutes to reach temperature. Use silicone mats or parchment paper—never grease the pan, as added fat worsens spread.
- Bake One Sheet at a Time, Center Rack: Ensures even heat distribution. Rotate pan halfway through for uniform browning.
Tips and Adjustments for Perfect Texture
- Use Melted Butter Strategically: Some chewy cookie recipes intentionally use melted butter for texture—but they compensate with extra flour, egg yolks, or cornstarch. Don’t substitute unless the recipe accounts for it.
- Avoid Overmixing After Adding Flour: Once dry ingredients are in, mix just until combined. Overworking develops gluten, which can make cookies tough, not thick.
- Try Egg Yolk Addition: An extra yolk adds fat and emulsifiers that enhance richness and help retain shape.
- Switch to Bread Flour for Chewier Cookies: Higher protein content builds stronger structure, reducing spread. Best for dense, bakery-style cookies.
Do’s and Don’ts: How to Stop Cookies from Spreading Too Much
| Do | Don’t |
|---|---|
| Weigh ingredients with a kitchen scale | Scoop flour directly from the bag |
| Chill dough for 1–24 hours | Bake immediately after mixing |
| Use parchment paper or silicone mats | Grease baking sheets |
| Check oven temp with a standalone thermometer | Assume your oven dial is accurate |
| Replace old baking powder/soda regularly | Use expired leaveners “just once” |
Real Example: Fixing a Family Recipe Gone Flat
Sarah had been making her grandmother’s famous chocolate chip cookies for years, but recently they started spreading uncontrollably. She followed the same steps, yet the results were consistently flat and crispy. After ruling out ingredient swaps, she realized two things: her kitchen was warmer in summer, and she’d stopped chilling the dough “to save time.”
She began chilling the portioned dough balls for at least 90 minutes. She also switched from volume-based measuring (cups) to weight (grams), correcting a 15% flour deficit caused by scooping incorrectly. Finally, she verified her oven ran 20°F low and adjusted accordingly. On her next batch, the cookies held their shape, had soft centers, and tasted richer due to longer flavor development during chilling.
“It wasn’t the recipe,” she said. “It was the details I thought didn’t matter. Now I wouldn’t bake them any other way.”
Essential Checklist for Thick, Non-Spreading Cookies
Pre-Bake Checklist: Stop the Spread Before It Starts
- ✅ Weigh flour (or spoon-and-level if using cups)
- ✅ Use properly softened—not melted—butter
- ✅ Cream butter and sugar until pale and fluffy
- ✅ Chill dough for minimum 1 hour (preferably 2+)
- ✅ Preheat oven fully; verify with thermometer
- ✅ Line pans with parchment or silicone mat
- ✅ Bake one sheet at a time on center rack
- ✅ Cool on pan for 5 minutes before transferring
Frequently Asked Questions
Can I rescue dough that’s already too soft?
Yes. If your dough feels greasy or warm, place it in the refrigerator for 1–2 hours. You can also add 1–2 tablespoons of flour if it seems excessively wet, though chilling is usually sufficient.
Why do my cookies spread more on certain baking sheets?
Thin, dark-colored metal sheets absorb heat faster, melting butter quicker. Use heavy-duty, light-colored aluminum pans for even baking. Avoid insulated sheets for cookies—they can prevent proper browning and lead to uneven texture.
Does altitude affect cookie spread?
Yes. At higher elevations, lower air pressure causes liquids to evaporate faster and leaveners to act more quickly. To compensate, reduce sugar by 1–2 tablespoons, increase flour by 1–2 tablespoons, and consider reducing baking powder by 1/8 tsp per teaspoon called for.
Conclusion: Master Your Cookie Texture
Perfect cookies aren’t left to chance—they’re the result of understanding how ingredients interact under heat. By addressing butter temperature, flour measurement, chilling time, and oven accuracy, you take control of the baking process rather than reacting to its surprises. Small adjustments yield dramatic improvements: thicker centers, crisper edges, and consistent shapes that look as good as they taste.
Don’t accept flat cookies as inevitable. Revisit your method, apply these texture-focused tips, and bake with confidence. The ideal cookie—one that holds its shape, delivers on texture, and satisfies with every bite—is well within reach.


 浙公网安备
33010002000092号
浙公网安备
33010002000092号 浙B2-20120091-4
Comments
No comments yet. Why don't you start the discussion?