
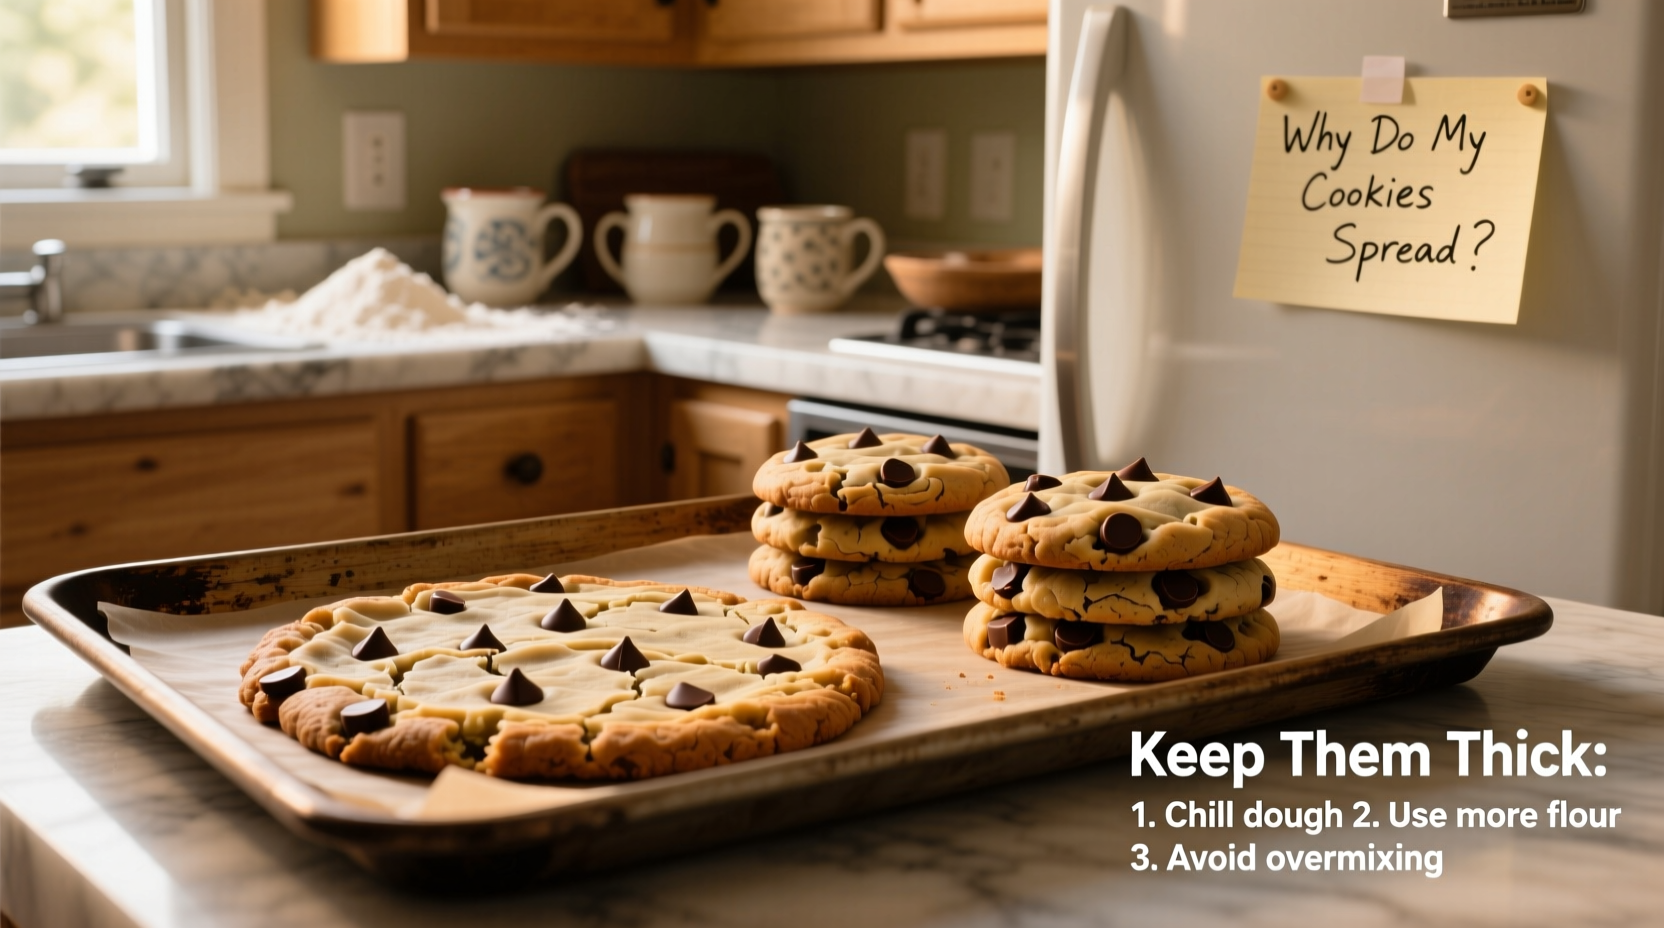
Baking cookies is one of the most satisfying kitchen rituals—until you open the oven to find flat, greasy puddles instead of plump, bakery-style treats. If your cookies consistently spread beyond recognition, you're not alone. Many home bakers face this frustrating issue, often without realizing that small adjustments in ingredients, temperature, or technique can make all the difference. The good news? Cookie spread is preventable. With a clear understanding of what causes it and how to counteract those factors, you can reliably produce thick, chewy cookies that hold their shape and deliver on texture.
The Science Behind Cookie Spread
Cookies spread during baking due to a combination of heat, fat content, sugar levels, and structural integrity. When dough hits the oven, the butter begins to melt. If it melts too quickly before the flour proteins (gluten) and eggs have time to set, the dough collapses outward into a thin layer. This process is natural to some extent—especially in crispier cookies—but excessive spreading results in uneven browning, dry edges, and a loss of height.
Sugar plays a major role as well. Granulated sugar liquefies when heated, adding to the liquidity of the dough. Brown sugar, while moister due to molasses, also contributes to spread because of its hygroscopic nature—meaning it attracts and holds water. Too much sugar without enough structure leads to runaway flattening.
Leavening agents like baking soda and baking powder influence spread differently. Baking soda reacts quickly with acidic ingredients, creating carbon dioxide bubbles early in the bake, which can lift the cookie before it spreads too far. Baking powder provides a slower rise, but overuse can cause puffing followed by collapse.
Common Causes of Excessive Spread
- Butter that’s too soft or melted: Starting with melted or overly warm butter means the fat is already liquid before baking, accelerating spread.
- Inaccurate ingredient measurements: Too much sugar or butter, or too little flour, disrupts the balance needed for structure.
- Warm dough: Dough straight from mixing doesn’t firm up fast enough in the oven, leading to immediate collapse.
- Overcreaming butter and sugar: Incorporating too much air creates fragile structures that collapse under heat.
- Incorrect oven temperature: An oven that runs too hot sets the outside too fast, trapping steam inside; one that runs too cool lets the dough spread before setting.
- Old or weak flour: Flour loses protein strength over time, reducing gluten development and structural support.
“Cookie thickness starts long before the oven—it’s determined in the bowl, the fridge, and even your pantry.” — Chef Lydia Tran, Pastry Instructor at Boston Culinary Academy
How to Keep Cookies Thick: Proven Techniques
Achieving thick cookies isn’t about luck—it’s about control. From ingredient selection to baking method, every step offers an opportunity to improve results.
1. Use the Right Butter Consistency
Room-temperature butter should be cool to the touch, not greasy or shiny. It should indent slightly when pressed but not leave residue on your finger. This allows proper creaming—trapping air without melting prematurely. For maximum thickness, consider replacing part of the butter with shortening, which has a higher melting point and stabilizes structure.
2. Measure Flour Accurately
Too little flour is one of the top reasons for flat cookies. Always spoon flour into your measuring cup and level it off with a knife—don’t scoop directly from the bag, as this packs the flour and leads to under-measurement. Better yet, use a kitchen scale: 1 cup of all-purpose flour weighs approximately 120 grams.
3. Add an Extra Egg Yolk
Egg yolks contain emulsifiers like lecithin that help bind fat and water, improving dough stability. Adding an extra yolk (without additional white) enriches the dough and enhances chewiness while reducing spread.
4. Increase Protein Content
Substitute 1–2 tablespoons of all-purpose flour with bread flour per cup. Bread flour has more protein (around 12–14%), promoting stronger gluten formation and better structure retention during baking.
5. Don’t Skip the Chill Step
Chilling cookie dough for at least 30 minutes—and ideally 24 hours—solidifies the fat, delays melting, and allows flavors to deepen. Cold dough spreads significantly less than room-temperature dough.
Step-by-Step Guide to Thicker Cookies
- Measure ingredients precisely: Use a scale for flour and fats. Stick to the recipe’s ratios.
- Cream butter and sugar gently: Mix just until light and fluffy—about 2–3 minutes. Avoid overbeating.
- Add dry ingredients gradually: Mix flour in two additions to prevent overdeveloping gluten.
- Chill the dough: Refrigerate for a minimum of 30 minutes, preferably 1–2 hours.
- Preheat the oven accurately: Let it reach the full target temperature (usually 350°F/175°C). Use an oven thermometer to verify.
- Line your baking sheet: Use parchment paper or a silicone mat—never grease the pan, as this encourages spreading.
- Bake one tray at a time: Center the rack and rotate halfway for even heat distribution.
- Remove early: Take cookies out when they look slightly underdone—they’ll continue setting on the cooling rack.
Do’s and Don’ts: Quick Reference Table
| Do’s | Don’ts |
|---|---|
| Use chilled dough | Use melted butter |
| Measure flour by weight | Scoop flour directly from the bag |
| Add an extra egg yolk | Double the sugar for sweetness |
| Use parchment or silicone mats | Grease the baking sheet |
| Preheat oven fully | Bake multiple trays at once |
| Let cookies rest on tray for 5 minutes after baking | Transfer immediately to a cooling rack |
Real Example: Fixing a Classic Chocolate Chip Recipe
Sarah, an avid weekend baker, loved her grandmother’s chocolate chip cookie recipe—but every batch turned out thin and crispy, despite following instructions exactly. She used room-temperature butter, measured flour with a cup, and baked at 350°F. After researching, she made three changes: she started weighing her flour (increasing it from ~100g to 120g per cup), switched to half butter, half shortening, and began chilling her dough for two hours. The next batch was dramatically thicker, with soft centers and golden edges. “I couldn’t believe it was the same recipe,” she said. “Now I get compliments every time I bring them to work.”
Frequently Asked Questions
Can I fix already-mixed dough that’s too soft?
Yes. If the dough feels greasy or won’t hold shape, add 1–2 tablespoons of flour and chill for at least 30 minutes. This restores structure and slows fat melt.
Why do my cookies spread more on certain baking sheets?
Thin, dark metal pans absorb heat faster and can cause bottom-heavy baking, leading to rapid spread. Use heavy-duty aluminum or light-colored pans for even heat distribution. Insulated baking sheets reduce browning but may result in paler, softer cookies.
Does altitude affect cookie spread?
Yes. At high altitudes, lower atmospheric pressure causes liquids to evaporate faster and leavening gases to expand more. Reduce sugar by 1–2 tablespoons, increase flour by 1–2 tablespoons, and chill dough longer to compensate.
Checklist for Thick, Non-Spreading Cookies
- ✅ Weigh flour or spoon-and-level accurately
- ✅ Use cool, properly softened butter (not melted)
- ✅ Cream butter and sugar only until combined and fluffy
- ✅ Add an extra egg yolk for richness and structure
- ✅ Chill dough for at least 30 minutes (or overnight)
- ✅ Preheat oven and verify temperature with a thermometer
- ✅ Line baking sheets with parchment or silicone mats
- ✅ Bake one sheet at a time in the center of the oven
- ✅ Remove cookies when edges are set but centers look soft
- ✅ Cool on the baking sheet for 5 minutes before transferring
“The perfect cookie balances spread and rise. Aim for controlled expansion—not explosion.” — Dr. Marcus Lin, Food Scientist at Culinary Research Institute
Final Thoughts and Call to Action
Thick, bakery-quality cookies aren’t reserved for professionals. By understanding the science of spread and making simple, intentional adjustments, you can transform your baking results. Whether you’re tweaking an heirloom recipe or designing your own, attention to detail—from flour weight to fridge time—makes all the difference. Don’t let another batch flatten into oblivion. Apply these strategies the next time you preheat your oven, and watch your cookies rise to the occasion—literally.


 浙公网安备
33010002000092号
浙公网安备
33010002000092号 浙B2-20120091-4
Comments
No comments yet. Why don't you start the discussion?