
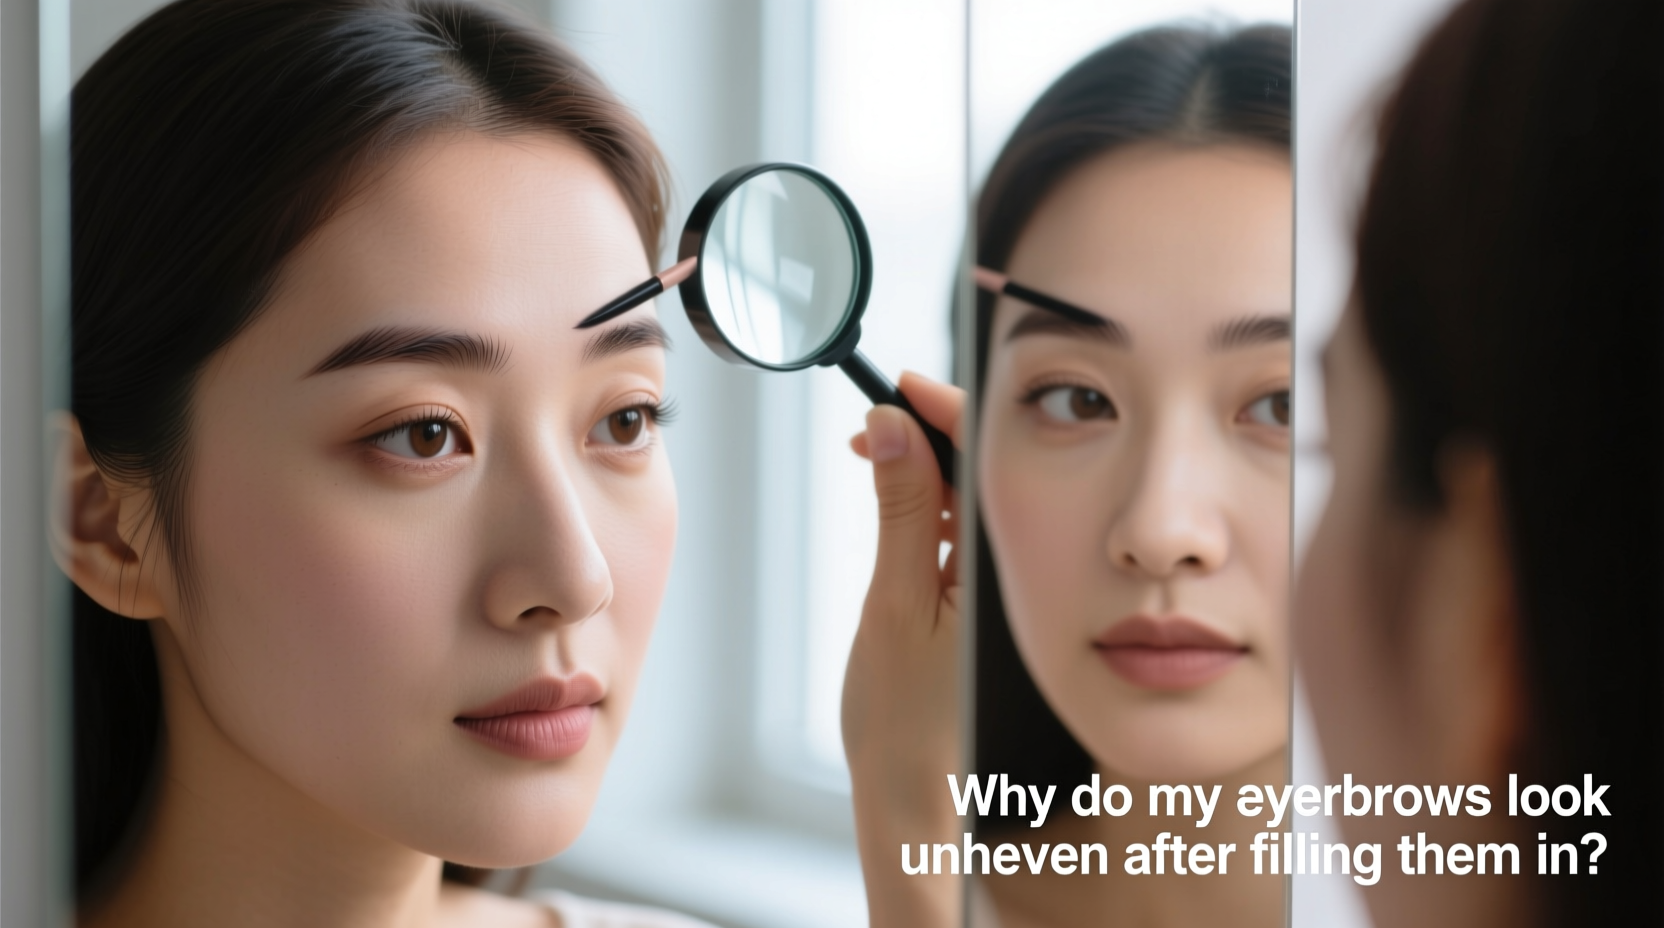
Perfectly shaped eyebrows can elevate your entire facial appearance, framing your eyes and enhancing symmetry. Yet many people struggle with a common frustration: their brows look uneven the moment they start filling them in. You may spend time carefully applying product, only to step back and notice one brow higher, fuller, or differently angled than the other. This isn’t just about aesthetics—it can throw off your whole makeup look and affect confidence.
The truth is, asymmetry is completely normal. No two sides of the face are perfectly identical, but when makeup exaggerates existing imbalances, it becomes noticeable. The good news? With the right techniques, tools, and understanding, you can correct and even prevent uneven brows. This guide dives into the root causes of post-filling asymmetry and offers practical, step-by-step solutions for achieving balanced, polished results every time.
Why Natural Facial Asymmetry Affects Eyebrow Appearance
Facial asymmetry is not a flaw—it’s a biological norm. Studies show that nearly everyone has some degree of imbalance between the left and right sides of the face. These differences can include variations in eyebrow height, arch position, eye shape, and even how muscles move during expressions. When you fill in your brows, especially with pigment-heavy pencils or powders, these subtle differences become more pronounced.
For example, one brow might naturally sit slightly higher due to underlying bone structure or muscle tone. If you follow a rigid “mirror image” approach when filling them in, you could end up making the imbalance worse by forcing both brows into an unnatural alignment. Instead, the goal should be *harmony*, not perfect symmetry.
“Makeup isn’t about creating identical features—it’s about balancing what’s already there.” — Lena Park, Celebrity Makeup Artist
Understanding this principle changes everything. Rather than trying to make both brows exactly the same, focus on adjusting each brow individually to complement its side of the face. This tailored approach leads to a more natural, flattering result.
Common Application Mistakes That Cause Unevenness
Even with the best intentions, small errors in technique can lead to visibly uneven brows. Here are the most frequent missteps:
- Starting too far inward: Beginning the brow too close to the center of the face can create a crowded, unbalanced look, especially if one side starts at a different point than the other.
- Over-defining the tail: Extending the tail too far or angling it incorrectly can make one brow appear longer or higher.
- Inconsistent pressure: Pressing harder on one side results in darker, bolder strokes that draw attention and disrupt balance.
- Mismatched arch placement: Placing the peak of the arch too early or late on one brow throws off the entire shape.
- Ignoring natural hair growth patterns: Filling against the grain or adding strokes where there’s no underlying hair makes the brow look artificial and lopsided.
Step-by-Step Guide to Fixing Uneven Brows After Filling
If you’ve already filled in your brows and noticed they look off-kilter, don’t panic. You can correct the issue without starting over. Follow this timeline to assess and adjust:
- Pause and Assess (30 seconds): Step back from the mirror. Blink naturally and avoid raising your eyebrows. Look at the overall shape and density, not minute details.
- Compare Key Points (1 minute): Identify three landmarks on each brow: the start (near the nose), the arch (highest point), and the tail (end). Use a spoolie to brush hairs upward and mark these points mentally.
- Determine the Dominant Side (1 minute): Decide which brow looks more balanced or natural. Use this as your reference. Don’t assume the left or right is always “correct”—it varies per person.
- Adjust the Weaker Brow (2–3 minutes): Lightly add product to the underfilled areas using short, hair-like strokes. Focus on blending rather than building thickness. Avoid going overboard—build gradually.
- Softening & Blending (1 minute): Use a clean spoolie or angled brush to blend both brows evenly. This helps diffuse harsh lines and unify texture.
- Final Check in Motion (1 minute): Make facial expressions—smile, raise your eyebrows, squint. Watch how the brows move. If one shifts dramatically, revisit anchoring the shape with light powder or setting gel.
This process trains your eye to see imbalance and correct it strategically, rather than reacting emotionally by over-correcting.
Do’s and Don’ts for Balanced Brow Filling
| Do | Don’t |
|---|---|
| Use a pencil one shade lighter than your hair for a natural base | Choose a pencil that’s too dark, which exaggerates mistakes |
| Follow your natural brow shape instead of imposing a template | Trace a stencil-like outline that ignores your unique bone structure |
| Fill sparse areas with feathery strokes mimicking real hairs | Draw a solid line underneath like an underline |
| Set brows with a clear or tinted gel to lock symmetry in place | Skip setting, allowing product to smudge and distort shape throughout the day |
| Check symmetry in natural lighting before leaving home | Rely solely on bathroom lighting, which often distorts color and contrast |
Expert Tips for Preventing Future Imbalance
Prevention is the most effective way to maintain consistent, even brows. Incorporate these professional habits into your routine:
- Map your brows daily (until it becomes second nature): Use the vertical pencil method for the start, angle it from the nose through the iris for the arch, and extend it diagonally outward for the tail. Mark lightly with a tissue or mental note—no need to draw lines every day once you’ve trained your eye.
- Use minimal product first: Begin with sheer coverage and build slowly. It’s easier to add than to erase.
- Invest in dual-ended tools: A pencil on one end and a spoolie on the other allows for immediate blending and adjustment.
- Trim long, unruly hairs monthly: Overgrown hairs can curl or lift, making one brow appear bushier or higher.
- Take photos weekly: Snap a front-facing picture under consistent lighting. Reviewing progress helps you spot recurring patterns—like always overfilling the left tail.
Mini Case Study: How Sarah Fixed Her Chronic Brow Tilt
Sarah, a 32-year-old marketing executive, had struggled for years with her right brow appearing higher and thinner than the left. She assumed she was “bad at makeup,” but after consulting a brow specialist, she discovered the root cause: her right eyebrow muscle lifted slightly higher when she concentrated—a habitual micro-expression from years of screen work.
The specialist advised her to stop trying to mirror both brows exactly. Instead, she adjusted her technique: she softened the left brow’s arch to reduce visual weight and added subtle volume to the lower half of the right brow, bringing balance without fighting her natural movement.
Within two weeks of practicing the corrected method, Sarah reported feeling more confident and receiving compliments on her “well-groomed” brows. The fix wasn’t about perfection—it was about working with her face, not against it.
FAQ: Common Questions About Uneven Filled-In Brows
Why do my brows look fine when I start but uneven when I finish?
This usually happens because you’re focusing on one brow at a time without comparing them mid-process. To avoid this, alternate between brows frequently while filling. Work on the left, then immediately do the same stroke on the right. Constant comparison keeps both sides aligned.
Can skincare products affect how my brows look after filling?
Yes. Oily skin or moisturizers that haven’t fully absorbed can cause brow products to slide, especially toward the tail. This shifting can distort shape and create unevenness. Always prep with a mattifying primer or set the brow area with translucent powder before applying product.
Should I get my brows professionally shaped if they’re always uneven?
A professional shaping session can be extremely helpful. A skilled esthetician will analyze your facial structure and natural hair growth to tweeze or wax in a way that supports symmetry. Even one session provides a strong foundation to build upon at home.
Checklist: Achieving Balanced Brows Every Time
Use this checklist before and after filling in your brows:
- ☐ Cleanse and dry the brow area to ensure product adherence
- ☐ Brush brows upward with a spoolie to reveal true shape
- ☐ Identify start, arch, and tail points on both sides
- ☐ Choose a pencil or powder that matches your natural brow shadow, not root color
- ☐ Fill in sparse areas with light, hair-like strokes—start light
- ☐ Alternate between brows to maintain real-time symmetry
- ☐ Blend thoroughly with a clean spoolie
- ☐ Set with a tinted or clear gel to prevent smudging
- ☐ Check in natural light and from a distance
- ☐ Make micro-adjustments only if needed—avoid overworking
Conclusion: Embrace Imperfection, Enhance Harmony
Uneven eyebrows after filling them in are not a reflection of your skill—they’re often the result of natural asymmetry amplified by makeup. The key to fixing and preventing this lies in awareness, technique, and a shift in mindset: aim for harmony, not perfection. By mapping your brows accurately, using gentle application methods, and learning from real-world feedback, you can consistently achieve balanced, beautiful results.
Your brows are part of your unique expression. With patience and practice, you’ll not only fix the imbalance—you’ll enhance your natural beauty in a way that feels authentic and effortless.


 浙公网安备
33010002000092号
浙公网安备
33010002000092号 浙B2-20120091-4
Comments
No comments yet. Why don't you start the discussion?