
It’s a familiar holiday frustration: you carefully drape 200 warm-white LED mini lights along your eaves, plug them in—and the first 10 feet glow brightly, while the last 30 feet look dull, uneven, or even flicker intermittently. You double-check connections, swap outlets, and test bulbs—yet the problem persists. This isn’t faulty manufacturing or aging bulbs. It’s physics in action: voltage drop. Unlike indoor lighting, outdoor Christmas light strings operate under real-world electrical constraints—long wire runs, low-voltage circuits, ambient temperature swings, and cumulative resistance. When voltage drops below the minimum required by the LEDs (typically 2.8–3.4V per diode), brightness suffers, color shifts occur, and some segments may shut off entirely. Understanding this phenomenon—and how to counter it—is essential for safe, reliable, and radiant seasonal displays.
What Causes Voltage Drop in Outdoor Light Strings?
Voltage drop occurs when electrical energy is lost as heat due to resistance in the copper (or aluminum) conductors within the light string’s wiring. Every meter of wire has inherent resistance; every connection adds contact resistance; every LED consumes power—and as current flows from the plug toward the far end, voltage steadily declines. The result? Insufficient voltage reaches the final bulbs, causing visible dimming.
The severity depends on three core variables:
- Wire gauge (thickness): Thinner wires (higher AWG numbers like 28 or 30 AWG) have significantly more resistance per foot than thicker ones (e.g., 22 or 20 AWG). Most consumer-grade mini light strings use ultra-thin 28–30 AWG wire to keep cost and weight low—making them especially vulnerable.
- String length and total load: A 25-foot string with 100 LEDs draws less current than a 100-foot run powering 500 LEDs—even if both use identical wire. Longer runs mean more cumulative resistance, and higher total wattage increases current (I), amplifying voltage loss (Vdrop = I × R).
- Power source quality and circuit conditions: Older outlets, shared household circuits with refrigerators or space heaters, or undersized extension cords compound the issue. Voltage at the outlet itself may already be 114V instead of 120V—leaving little margin before the far-end LEDs fall below their operational threshold.
LEDs are particularly sensitive to voltage fluctuations. While incandescent bulbs dim gradually as voltage falls, LEDs maintain full brightness until voltage dips just below their forward voltage range—then they drop off sharply in luminosity or cease conducting altogether. That’s why you see an abrupt “dim zone” rather than a gentle fade.
How to Diagnose Voltage Drop—Not Just Guess
Before buying new lights or rewiring your entire display, verify voltage drop is the culprit—not a broken bulb, faulty controller, or ground fault.
Follow this diagnostic checklist:
- Isolate the string: Unplug all other lights and devices from the same outlet and circuit breaker.
- Test continuity: With power OFF, use your multimeter’s continuity mode to check for breaks between sockets—especially near connectors or where the string bends sharply.
- Check for “shunt failure”: In older incandescent mini-lights, a burnt-out bulb opens the circuit. But most modern LED strings rely on internal shunts that bypass failed LEDs. If a shunt fails open (not uncommon in cheap strings), it breaks the entire series string—or a segment—causing downstream dimming. Look for dark sections preceded by one dead bulb.
- Measure actual current draw: Set your multimeter to AC amperage (clamp-on preferred for safety), and measure current at the plug. Compare to the manufacturer’s listed wattage: I = W ÷ V. A 48W string should draw ~0.4A at 120V. If measured current exceeds spec by >15%, suspect internal shorting or degraded insulation.
- Observe thermal behavior: Run the string for 15 minutes, then gently feel the wire near the plug vs. near the end. Noticeably warmer wire at the start suggests high resistance concentrated early in the run—often due to corroded connectors or undersized splices.
Proven Fixes: From Quick Adjustments to Permanent Upgrades
Solutions fall into three tiers: immediate adjustments (no tools), hardware interventions (simple tools), and system redesign (for large displays). Choose based on your scale, budget, and technical comfort.
✅ Tier 1: Immediate & No-Cost Adjustments
- Shorten the run: Instead of daisy-chaining five 50-ft strings, use three 33-ft strings fed from separate outlets or power taps. Each shorter run keeps voltage drop under 3%.
- Reverse the string: Plug the “far end” into the outlet. Some strings have asymmetric wiring or built-in rectifiers that perform better when powered from what the manufacturer labeled the “end.” Test it—it takes 10 seconds.
- Use dedicated circuits: Avoid sharing the outlet with garage door openers, HVAC systems, or holiday inflatables. Voltage sags from motor startups directly impact light performance.
🛠 Tier 2: Hardware Interventions (Under $25)
These address root causes without rewiring:
| Solution | How It Works | Best For | Limitations |
|---|---|---|---|
| Heavy-Duty Extension Cord (12–14 AWG) | Replaces flimsy 16–18 AWG cord with lower-resistance conductor, minimizing loss between outlet and first string. | Single long runs (>50 ft) or powering multiple strings from one outlet. | Doesn’t fix internal string resistance—only improves feed-in voltage. |
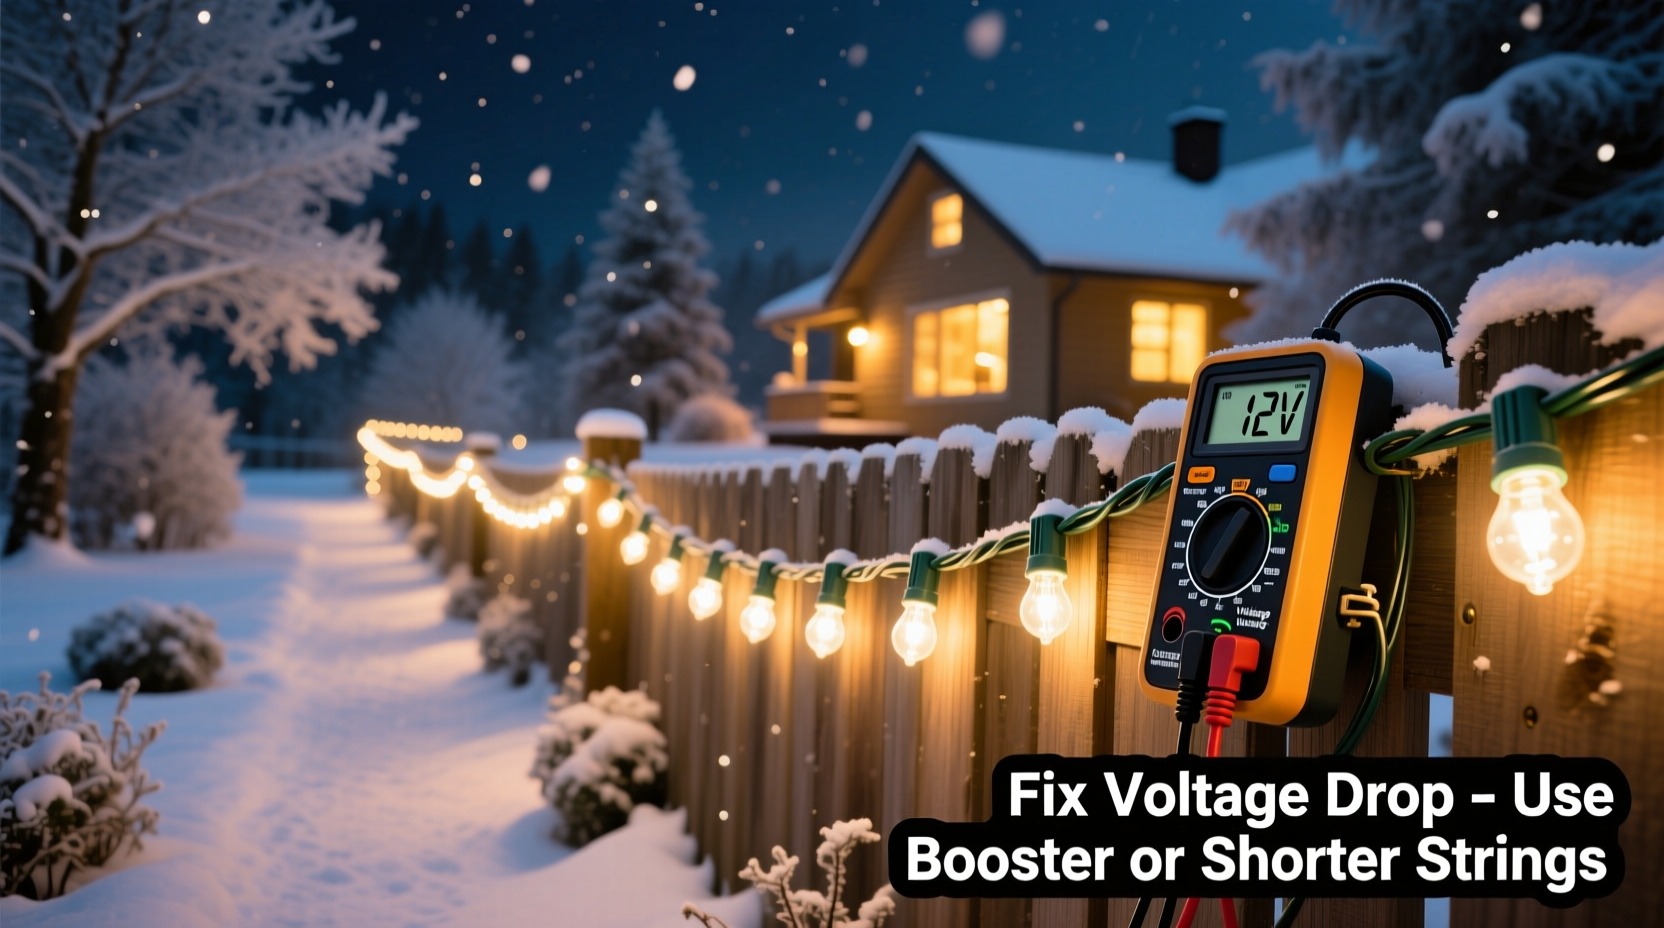
| In-Line Voltage Booster (e.g., Holiday Coro Power Plus) | Active DC-DC converter installed mid-string that restores voltage to nominal level for downstream LEDs. | Existing LED string installations where rewiring isn’t feasible. | Requires cutting wire and basic soldering; not UL-listed for permanent outdoor use unless rated. |
| Parallel Wiring Kit (e.g., Lightorama Splitter) | Converts series-wired string to parallel-fed segments using a junction box and feeder wires—eliminating cumulative drop. | Displays with 100+ lights where uniform brightness is critical (e.g., rooflines, arches). | Requires planning, wire management, and weatherproof enclosures. |
🏗 Tier 3: System Redesign (For Large or Professional Displays)
For homes with extensive eave lighting, tree wraps, or animated displays, invest in infrastructure designed for low-voltage stability:
- Switch to 12V or 24V DC systems with local transformers: Run thick 12 AWG stranded copper wire from a central transformer panel to each display zone. Feed 12V LED strips or nodes directly—voltage drop is proportional to supply voltage, so 5% drop on 12V is only 0.6V, easily managed with proper wire sizing.
- Adopt pixel-mapped LED architecture: WS2811/WS2812B addressable LEDs include built-in constant-current drivers and operate reliably from 4.5–5.5V. When powered via localized 5V supplies (e.g., Mean Well LED drivers), each node receives stable voltage regardless of position.
- Install a whole-house surge + voltage regulator: Devices like the Siemens FS140 or Eaton 5P20 provide clean, stabilized 120V output—critical for displays in older neighborhoods with chronic brownouts.
Real-World Case Study: The Maple Street Roofline Rescue
Homeowner David K. in Portland, OR, installed 320-count warm-white LED mini lights along 120 linear feet of roofline—daisy-chained across eight 15-ft strings. The first two strings blazed; the last three glowed faintly amber, with noticeable flicker during wind gusts (causing intermittent contact loss). He tried replacing bulbs and checking fuses—no improvement. Using a multimeter, he measured 122V at the outlet but only 107V at the final socket: a 12.3% drop. His 18 AWG extension cord was the bottleneck.
He implemented a hybrid solution: replaced the extension with a 50-ft, 12 AWG outdoor-rated cord; added a Light-O-Rama parallel splitter after the fourth string; and powered the final four strings from a second outlet on a different circuit. Total cost: $42. Post-fix voltage at the farthest socket rose to 118V—a 3.3% drop. All 320 LEDs now emit consistent, full-spectrum white light—even at -5°C. “It wasn’t about buying ‘better’ lights,” David noted. “It was about respecting the electrons.”
Expert Insight: Engineering Perspective on Seasonal Lighting
“Voltage drop isn’t a defect—it’s Ohm’s Law doing its job. The biggest mistake installers make is treating light strings like digital data cables: ‘if it plugs in, it works.’ But electricity behaves like water in a hose: narrow diameter, long length, and high flow rate guarantee pressure loss at the end. Design for voltage, not just connectivity.” — Dr. Lena Torres, PE, Electrical Engineer & Founder of LuminaCode Labs, specializing in residential lighting systems
FAQ: Your Top Voltage Drop Questions—Answered
Can I mix different brands or models of LED lights on the same string?
No—never daisy-chain different models, even if they share the same socket type. LED forward voltage, current draw, and internal shunt design vary widely. Mismatches cause uneven loading, accelerated voltage drop in weaker segments, and premature failure. Always group identical strings (same model number, same purchase year) on one circuit.
Do cold temperatures make voltage drop worse?
Yes—but indirectly. Copper resistance decreases slightly in cold weather (helping), yet LED forward voltage *increases* as temperature drops. A string calibrated for 3.2V at 25°C may require 3.5V at -10°C to maintain brightness. If your system operates near the minimum voltage threshold, winter cold pushes it over the edge into dimming. This is why professional displays use regulated DC power—not raw AC.
Why don’t manufacturers just use thicker wire?
They could—but it would raise material costs by 30–50%, increase weight (making draping harder), reduce flexibility, and complicate packaging. Most consumers prioritize low price and ease of use over engineering margins. Higher-end commercial lines (e.g., Gemmy Pro, HolidayCoro) do use 22 AWG wire and reinforced connectors—reflecting their target market’s tolerance for premium pricing.
Action Plan: Fix Voltage Drop in Under 90 Minutes
Follow this step-by-step sequence for immediate, measurable improvement:
- Unplug everything. Safety first—no exceptions.
- Map your layout. Sketch each string, noting length, count, and daisy-chain order. Circle any sections with visible dimming.
- Measure baseline voltage. At outlet, first socket, and last socket of each dimmed string. Record values.
- Swap extension cords. Replace any cord thinner than 14 AWG with a 12 AWG outdoor-rated cord (UL 817, rated for wet locations).
- Break long chains. If a string exceeds 35 ft or powers >150 LEDs, unplug the second half and feed it from a nearby outlet or GFCI tap.
- Test and re-measure. Plug in, wait 5 minutes, and verify voltage at far ends is now ≥115V.
- Label and document. Mark cords and outlets used (“Roofline East – 12 AWG Only”) to prevent future mismatches.
Conclusion: Bright Lights Start with Smart Electrics
Voltage drop isn’t a holiday curse—it’s a predictable, solvable engineering condition. Dimming lights at the far end of your string signal a mismatch between your display’s ambition and its electrical foundation. But unlike tangled cords or burned-out fuses, this issue yields to understanding, not frustration. You now know how to diagnose it with precision, distinguish it from other failures, and apply targeted fixes—from swapping a $12 extension cord to designing a robust 24V DC backbone. Most importantly, you understand that brilliant, uniform outdoor lighting isn’t about luck or brand loyalty. It’s about respecting the physics of power delivery: matching wire gauge to distance, aligning voltage to LED requirements, and designing for real-world conditions—not just catalog specs. This season, let your lights shine evenly from first bulb to last—not because you hoped they would, but because you engineered them to.


 浙公网安备
33010002000092号
浙公网安备
33010002000092号 浙B2-20120091-4
Comments
No comments yet. Why don't you start the discussion?