
Plant leaves curling is a common yet concerning sign that something in your plant’s environment or care routine has gone awry. Unlike sudden wilting or browning, leaf curl often develops subtly, making it easy to overlook until the issue becomes severe. The good news? Most causes are reversible if caught early. Understanding the root reasons—whether environmental, nutritional, or pest-related—allows you to act swiftly and restore your plant’s health. This guide breaks down the most frequent culprits behind curled leaves and delivers practical, science-backed solutions you can implement immediately.
Common Causes of Leaf Curl in Houseplants and Garden Plants
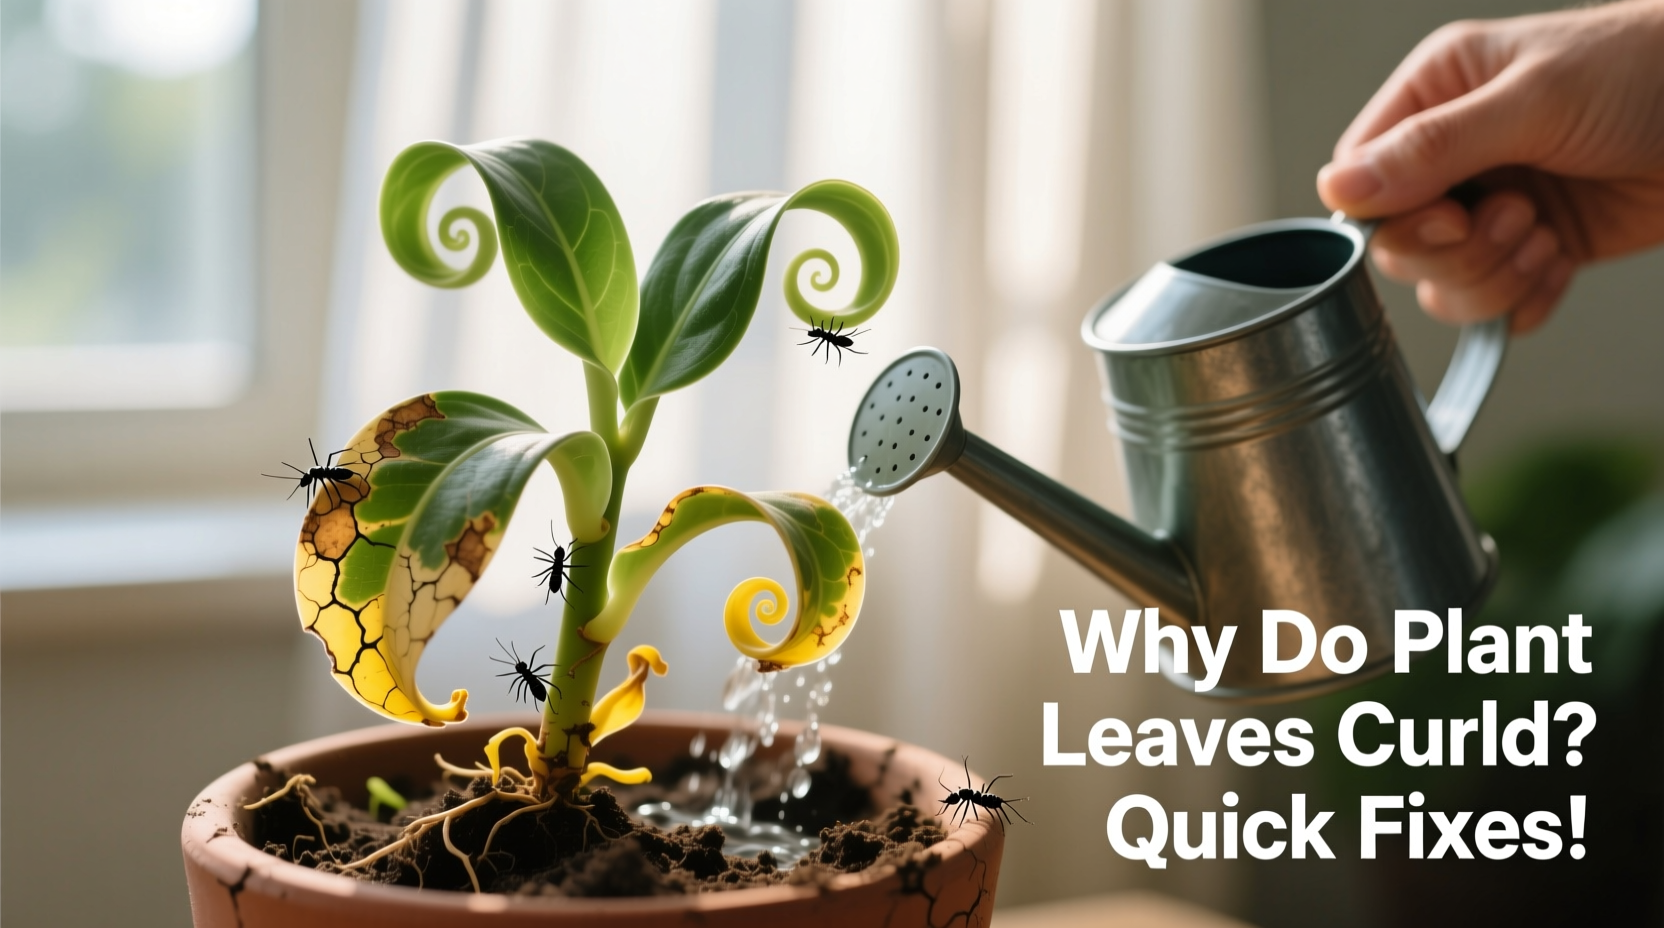
Leaf curl isn’t a disease in itself—it’s a symptom. Plants respond to stress by altering their physical structure, and curling leaves is one such defense mechanism. It helps reduce surface area exposed to sunlight, conserves moisture, or minimizes damage from pests. Below are the primary triggers:
- Underwatering or Overwatering: Both extremes disrupt water uptake, causing cells in the leaf to collapse or swell unevenly.
- Low Humidity: Especially problematic for tropical species like calatheas or ferns, dry air pulls moisture from leaves faster than roots can replace it.
- Pests (Spider Mites, Aphids, Thrips): These tiny invaders feed on plant sap, damaging cell structure and inducing curl as a response.
- Nutrient Imbalances: Deficiencies in potassium, calcium, or magnesium interfere with turgor pressure and cell development.
- Temperature Stress: Exposure to cold drafts, hot radiators, or sudden temperature swings can shock plants into curling their foliage.
- Chemical Damage: Overuse of fertilizers, pesticides, or tap water high in chlorine/salts can burn roots and distort new growth.
How to Diagnose the Cause: A Step-by-Step Assessment
Before treating, identify what’s really causing the curl. Misdiagnosis leads to wasted effort and worsening conditions. Follow this logical sequence to pinpoint the issue:
- Inspect the Soil: Stick your finger 1–2 inches deep. Is it bone dry? Soggy? Crusted on top? Dry soil suggests underwatering; consistently wet soil points to overwatering or poor drainage.
- Examine the Leaves Up Close: Use a magnifying glass if needed. Look for webbing (spider mites), sticky residue (aphids), or stippling. Are curls upward or downward? Downward curl often indicates overwatering; upward curl may point to underwatering or nutrient deficiency.
- Assess Environmental Conditions: Note recent changes in light, temperature, or humidity. Was the plant moved near a heater? Exposed to an open window during a cold night?
- Review Fertilizer and Watering Schedule: Have you recently applied fertilizer? Is tap water used regularly? High salt buildup can mimic drought stress.
- Check for Root Health: Gently remove the plant from its pot. Are roots brown, mushy, or foul-smelling? That’s root rot. Healthy roots should be firm and white or tan.
Real Example: The Case of the Curling Monstera
Sarah noticed her Monstera deliciosa developing tight, upward-curling new leaves. At first, she assumed it needed more water. She increased watering frequency, but the problem worsened. After checking humidity levels with a hygrometer, she discovered the room was at just 28% RH—far below the 60% ideal for Monsteras. She placed a humidifier nearby, misted occasionally, and grouped her plants to create a microclimate. Within two weeks, new leaves unfurled normally. The issue wasn’t hydration in the soil, but moisture loss through the leaves due to dry air.
“Leaf curl is one of the most expressive symptoms in plant health. It tells you the plant is struggling to maintain balance—usually between water supply and demand.” — Dr. Lena Torres, Botanist and Urban Horticulture Consultant
Effective Fixes Based on Cause
Once you’ve diagnosed the trigger, apply targeted treatment. Here’s how to correct each major cause:
1. Correcting Watering Issues
Overwatering is the leading cause of plant death among indoor growers. When roots sit in waterlogged soil, they suffocate and decay, impairing their ability to deliver moisture to leaves—even if the soil is wet.
To fix overwatering:
- Stop watering immediately.
- Remove the plant from its pot and trim any black, mushy roots with sterilized scissors.
- Repot in fresh, well-draining mix (e.g., perlite and peat-based soil).
- Ensure the pot has drainage holes.
For underwatering:
- Water slowly and deeply until excess drains out.
- Repeat daily for 3–4 days if soil is extremely dry and hydrophobic.
- Consider bottom watering: place the pot in a tray of water for 20–30 minutes to rehydrate evenly.
2. Boosting Humidity for Tropical Plants
Plants like peace lilies, pothos, and marantas thrive in humidity above 50%. In winter, indoor levels often drop below 30%, triggering leaf curl.
Effective humidity-boosting methods:
- Use a cool-mist humidifier near sensitive plants.
- Place pots on pebble trays filled with water (ensure pots aren’t sitting in water).
- Avoid placing plants near HVAC vents or drafty windows.
3. Treating Pest Infestations
Spider mites are notorious for causing leaf curl. They’re nearly invisible but leave fine webbing and yellow speckling. Aphids cluster on new growth, while thrips cause silvery streaks.
To eliminate pests:
- Isolate the affected plant to prevent spread.
- Wipe leaves with a damp cloth or spray with insecticidal soap (follow label instructions).
- Apply neem oil every 7 days for 3 weeks to break the reproductive cycle.
- Introduce beneficial insects like ladybugs for outdoor infestations.
4. Addressing Nutrient Deficiencies
Certain deficiencies directly impact leaf structure:
| Deficiency | Symptoms | Solution |
|---|---|---|
| Potassium | Leaf edges curl, brown scorching, weak stems | Use balanced fertilizer (e.g., 5-5-5) or potassium-rich supplement |
| Calcium | New leaves curl and distort, tip burn | Apply calcium nitrate or gypsum; avoid ammonium-heavy fertilizers |
| Magnesium | Yellowing between veins, older leaves curl | Epsom salt drench (1 tsp per liter of water, monthly) |
Always follow up with a soil test before heavy feeding. Too much fertilizer causes salt buildup, which damages roots and mimics drought stress.
Prevention Checklist: Keep Leaves Healthy and Flat
Preventing leaf curl is easier than fixing it. Use this checklist weekly to maintain optimal plant health:
- ✅ Check soil moisture before watering—never water on a fixed schedule.
- ✅ Wipe leaves gently to remove dust and check for pests.
- ✅ Maintain humidity above 50% for tropical species.
- ✅ Fertilize only during active growth (spring/summer), at half-strength.
- ✅ Rotate plants regularly for even light exposure.
- ✅ Flush soil every 2–3 months to prevent salt accumulation.
- ✅ Inspect new plants for pests before introducing them indoors.
Frequently Asked Questions
Can curled leaves go back to normal?
Once a leaf curls, it rarely returns to its original shape. However, correcting the underlying issue will ensure new growth comes in healthy and flat. Focus on preventing future damage rather than reversing existing curl.
Is leaf curl contagious to other plants?
The curl itself isn’t contagious, but if caused by pests or pathogens, those can spread. Always isolate affected plants and sanitize tools after handling them to prevent cross-contamination.
Should I cut off curled leaves?
Only if they’re severely damaged, diseased, or harbor pests. Otherwise, leave them—they still photosynthesize and support recovery. Removing too many leaves stresses the plant further.
Quick Action Timeline: What to Do in the First 72 Hours
Speed matters when dealing with stressed plants. Follow this timeline for the best chance of recovery:
| Time | Action |
|---|---|
| Hour 0 | Inspect plant thoroughly: soil, leaves, environment. |
| Hour 1 | Adjust watering—either hydrate or let soil dry out. |
| Hour 2 | Clean leaves and treat for pests if present. |
| Day 1 | Move plant to stable environment—no drafts, consistent light. |
| Day 2 | Check progress; if no improvement, consider repotting or flushing soil. |
| Day 3 | Begin targeted treatment (humidifier, nutrient correction, etc.). |
Most plants show signs of stabilization within 72 hours if the right actions are taken. Full recovery may take 2–4 weeks, depending on severity.
Final Thoughts: Listen to Your Plant’s Signals
Leaf curl is not a death sentence—it’s a message. Plants communicate through their appearance, and curled leaves are a clear plea for attention. By responding with observation, patience, and informed care, you can reverse most issues quickly. The key is to act decisively but thoughtfully, avoiding knee-jerk reactions like over-fertilizing or excessive watering. With consistent monitoring and preventive habits, your plants can thrive with lush, uncurled foliage year-round.


 浙公网安备
33010002000092号
浙公网安备
33010002000092号 浙B2-20120091-4
Comments
No comments yet. Why don't you start the discussion?