
Rope lights—those flexible, continuous strands of LEDs encased in PVC or silicone—are a go-to for architectural accents, patio perimeters, stair railings, and retail displays. When installed well, they deliver seamless, professional illumination. But too often, the result is disappointing: unsightly dips, uneven spacing, and that telltale “U-shaped” droop between mounting points. It’s not just cosmetic. Sag compromises light distribution, creates stress points that accelerate failure, and can even pose tripping or snagging hazards. The root cause isn’t poor product quality—it’s a mismatch between material behavior and installation method. Rope lights behave like low-tension cables under gravity, and most DIY approaches ignore the physics involved. This article breaks down exactly why sag occurs, debunks common misconceptions, and delivers field-tested solutions that eliminate visible hardware while delivering taut, uniform runs—even over spans up to 20 feet.
The Physics Behind the Sag: Why Gravity Wins Every Time
Sag isn’t a flaw in your rope light—it’s an inevitable consequence of weight, span length, and insufficient lateral support. Most standard 16–20 AWG rope lights weigh between 0.08–0.15 lb/ft. Over a 10-foot run, that’s nearly 1–1.5 pounds pulling downward. Without counteracting tension, the cable conforms to a catenary curve—the natural shape a uniform, flexible chain assumes under gravity. Unlike rigid conduit or metal track lighting, rope lights have no internal structural reinforcement. Their outer jacket provides minimal tensile resistance; the copper conductors inside are designed for current flow—not load-bearing. Even “heavy-duty” versions rarely exceed 35–45 lbs tensile strength—far less than what’s needed to resist creep under sustained load.
Temperature compounds the problem. PVC jackets soften above 77°F (25°C), increasing elongation by up to 12% at 122°F (50°C). Silicone jackets fare better but still exhibit thermal expansion. In outdoor installations, daily heating/cooling cycles cause micro-stretching that accumulates over weeks. That’s why a perfectly taut installation on day one may develop 1–2 inches of sag within 10 days—especially on south-facing fascias or enclosed soffits.
What Doesn’t Work (And Why People Keep Trying)
Before diving into solutions, it’s critical to understand which popular “fixes” make the problem worse—or introduce new risks:
- Over-tightening zip ties: Creates localized compression that cracks PVC jackets, pinches conductors, and accelerates LED failure. Also concentrates stress at tie points, inviting breakage.
- Using only end anchors: Pulling tension from both ends stretches the entire run—but without intermediate support, the center sags more severely due to exponential deflection (deflection ∝ span⁴).
- Mounting directly to porous surfaces (e.g., stucco, cedar): Screws pull out under cyclic thermal loading, especially when combined with rope light weight.
- Ignoring expansion joints: Installing rigidly across transitions (e.g., wall-to-soffit, deck-to-railing) traps thermal stress—leading to jacket splitting or connector separation.
These approaches fail because they treat rope lights as static objects rather than dynamic systems responding to weight, heat, and substrate movement.
The Invisible Tension System: Hardware, Placement & Technique
Professional installers achieve taut, bracket-free results using a three-tiered approach: strategic anchor placement, engineered tensioning hardware, and post-installation stabilization. None require visible clamps or bulky brackets along the run.
Anchor Spacing Guidelines
Maximum recommended spacing depends on rope light diameter and jacket material. Exceeding these distances guarantees sag—even with perfect tensioning:
| Rope Light Diameter | Jacket Type | Max Anchor Spacing (Indoor) | Max Anchor Spacing (Outdoor) |
|---|---|---|---|
| ⅜ inch (10 mm) | PVC | 24 inches | 18 inches |
| ½ inch (12 mm) | PVC | 30 inches | 22 inches |
| ⅝ inch (16 mm) | Silicone | 42 inches | 36 inches |
| ¾ inch (19 mm) | Silicone | 48 inches | 42 inches |
Note: These assume solid anchoring into wood framing, concrete, or steel—not just drywall or hollow soffit panels.
Tensioning Hardware That Disappears
The key is hardware that applies force *behind* the visible surface:
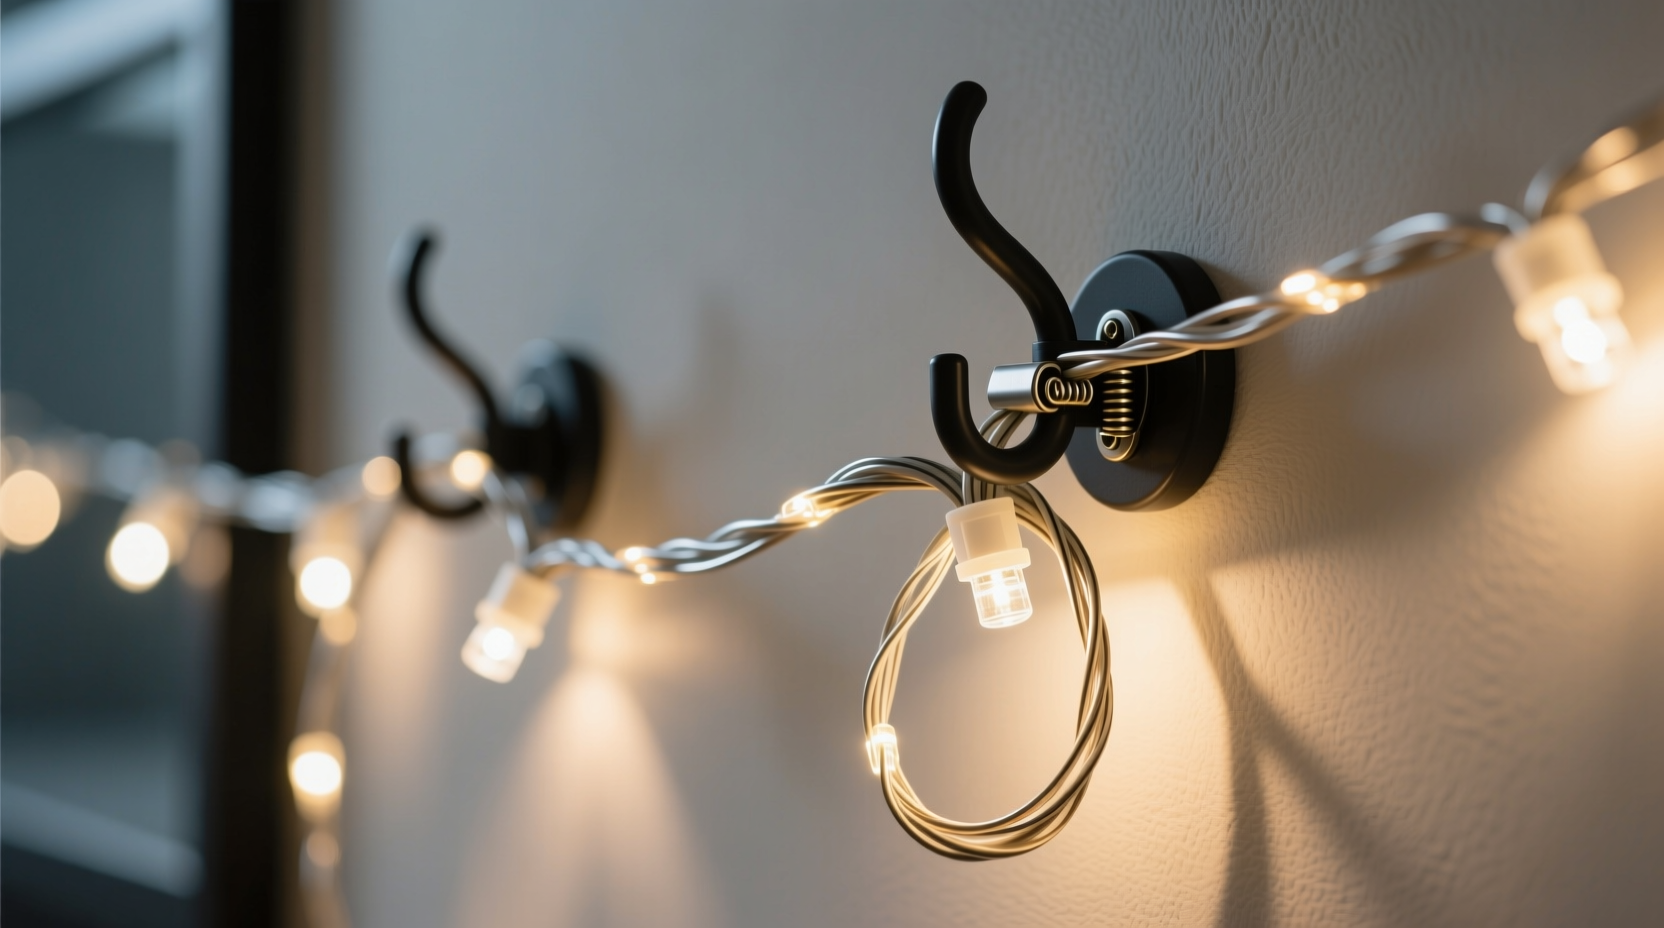
- Concealed turnbuckle anchors: Stainless steel M4 threaded rods with swivel eyes, mounted flush into stud locations. Tension is applied via hex-key adjustment *after* the rope light is routed—then capped with decorative screw covers.
- Spring-loaded tension clips: Zinc-alloy clips with integrated coil springs (rated for 5–8 lbs constant force) that mount behind fascia boards or inside rail caps. The rope light slides into a channel, and the spring automatically compensates for thermal expansion.
- Threaded rod + nylon webbing system: A ¼-inch stainless rod anchored at both ends, with low-stretch nylon webbing laced through grommets in the rope light jacket. Webbing is tensioned with a ratchet strap, then trimmed and heat-sealed—leaving zero visible hardware on the light itself.
“The difference between amateur and professional rope light installs comes down to one thing: managing elongation, not fighting gravity. You don’t eliminate sag—you design for it.” — Rafael Mendez, Lighting Installation Director, LuminaPro Commercial Group
A Real-World Fix: The 18-Foot Patio Perimeter Project
Consider Maria, who installed 18 feet of ½-inch silicone rope lights along her cedar patio pergola. She used adhesive clips every 20 inches and tightened the ends with heavy-duty screws. Within 5 days, the center 6-foot section sagged 3.5 inches—creating a hazardous loop near her lounge chairs and casting uneven light on the flagstone below.
Her solution wasn’t re-hanging with more clips. Instead, she:
- Removed all adhesive clips and end anchors.
- Located and marked the underlying 2×6 rafters (spaced 24 inches on center).
- Drilled pilot holes and installed four concealed turnbuckle anchors—one at each corner and two mid-span at rafter centers.
- Laced the rope light through the turnbuckle eyes, leaving 6 inches of slack at each end.
- Applied gradual, equal tension using a 3mm hex key—checking deflection with a straight edge every 2 turns.
- Secured ends with waterproof wire nuts and sealed connections with heat-shrink tubing.
- Waited 48 hours, then performed final micro-adjustments after thermal cycling.
Result: Zero visible hardware. Deflection reduced from 3.5 inches to 0.125 inches—undetectable to the eye. The run has held for 14 months across -10°F to 105°F temperatures.
Step-by-Step: The Invisible Tension Installation Protocol
Follow this sequence for guaranteed results on any indoor or covered outdoor application:
- Map substrate structure: Use a stud finder (or knock test) to locate solid framing members. Mark every rafter, joist, or stud—never rely on drywall anchors for primary tension points.
- Measure and cut with thermal allowance: For runs over 10 feet, add 0.5% extra length (e.g., +2.4 inches for a 40-ft run) to accommodate cold-weather contraction without over-tensioning.
- Install primary anchors first: Mount turnbuckles or threaded rods at endpoints and all intermediate structural points. Leave adjustment nuts finger-tight.
- Route, don’t stretch: Lay rope light loosely along the path. Secure only at anchors—no intermediate fasteners yet.
- Apply staged tension: Tighten each turnbuckle 1 full rotation, moving sequentially from left to right. Repeat for 3 cycles. Check deflection with a laser level or taut string line.
- Final stabilization: After 24 hours, re-check and adjust. Then install low-profile, UV-rated zip ties *only* at anchor points—not along the span—to prevent lateral drift.
FAQ: Addressing Persistent Concerns
Can I use fishing line or braided steel cable to pull tension?
No. Fishing line lacks UV resistance and elongates unpredictably. Braided steel cable introduces galvanic corrosion where it contacts copper conductors and creates sharp pinch points that damage jackets. Use only purpose-built tensioning hardware rated for electrical applications.
Will invisible tensioning void my warranty?
Not if you follow manufacturer guidelines for maximum tension (typically 15–25 lbs depending on diameter). Reputable brands like Kichler, Philips Hue Outdoor, and Govee publish tension specs. Exceeding those—regardless of hardware—voids coverage. Always verify before installing.
How do I handle corners or angles without visible hardware?
Use 90° silicone elbow connectors (not PVC), which maintain internal conductor alignment and allow smooth directional changes. For tight radii (<6-inch turn), install a dedicated corner anchor—positioned 2 inches before the angle—to redirect tension vectorially, not mechanically.
Conclusion: Precision Is Invisible
Sagging rope lights aren’t a sign of cheap materials or DIY inadequacy—they’re evidence of unmanaged physics. The most elegant lighting solutions don’t shout their engineering; they disappear into the architecture, delivering consistent, safe, and beautiful illumination without a single visible bracket or clamp. By respecting the material’s limitations, anchoring into real structure, applying calibrated tension—not brute force—and allowing for thermal reality, you transform a frustrating aesthetic flaw into a hallmark of professional execution. Your next installation doesn’t need more hardware—it needs smarter physics. Measure twice, anchor into structure, tension with intention, and let the light speak for itself.


 浙公网安备
33010002000092号
浙公网安备
33010002000092号 浙B2-20120091-4
Comments
No comments yet. Why don't you start the discussion?