
Scented candle garlands add warmth, fragrance, and elegance to any space. Whether draped over mantels, wrapped around banisters, or arranged on dining tables, their soft glow and aromatic presence elevate the mood. But nothing disrupts that ambiance faster than a flame that flickers out prematurely—especially when it happens consistently after just two hours. If you’ve found yourself relighting candles only to have them die again shortly after, the problem likely lies in the wick. Understanding why this occurs and how to correct it is essential for a safe, efficient, and long-lasting burn.
Candle performance isn’t just about aesthetics; it’s also about chemistry, physics, and craftsmanship. A candle that extinguishes itself too soon may seem like a minor inconvenience, but it often signals deeper issues with wick selection, wax composition, or burning habits. Left unaddressed, these problems can lead to wasted product, poor scent throw, tunneling, and even safety risks from soot buildup or overheating.
The Science Behind Candle Burn Time
A well-made candle should burn cleanly and evenly for its expected duration—typically between 6 to 10 hours per ounce of wax, depending on size and design. Scented candle garlands, due to their segmented or looped structure, are more complex than standard container or pillar candles. Each bulb or bead acts as an individual fuel source, connected by a continuous wick. This unique configuration demands precise engineering to ensure consistent capillary action—the process by which liquid wax travels up the wick to feed the flame.
When the flame dies after two hours, it usually means the fuel supply has been interrupted. This interruption is rarely due to insufficient wax alone. Instead, it's commonly caused by one or more of the following:
- Wick drowning: The wick becomes submerged in melted wax because the melt pool grows too wide or deep without proper re-hardening cycles.
- Carbon buildup (mushrooming): An oversized or poorly trimmed wick accumulates carbon at the tip, destabilizing the flame.
- Inadequate oxygen flow: Drafts or enclosed spaces restrict airflow, suffocating the flame.
- Wax formula imbalance: Additives like fragrance oils or dyes can alter viscosity, affecting how efficiently wax travels up the wick.
- Wick type mismatch: Using a cotton wick where a wood or reinforced wick is needed leads to inconsistent burning across segments.
According to Dr. Linda Harper, a materials scientist specializing in combustion dynamics, “The wick is the heart of the candle. It regulates heat, controls fuel delivery, and determines overall stability. Even small deviations in wick thickness or braiding can cause premature extinction.”
“The wick is the heart of the candle. It regulates heat, controls fuel delivery, and determines overall stability. Even small deviations in wick thickness or braiding can cause premature extinction.” — Dr. Linda Harper, Materials Scientist
Common Causes of Premature Extinguishing in Garland Candles
Unlike single-unit candles, garland-style designs face additional challenges due to their elongated, segmented form. Here are the most frequent culprits behind early flame failure:
1. Wick Trimming Neglect
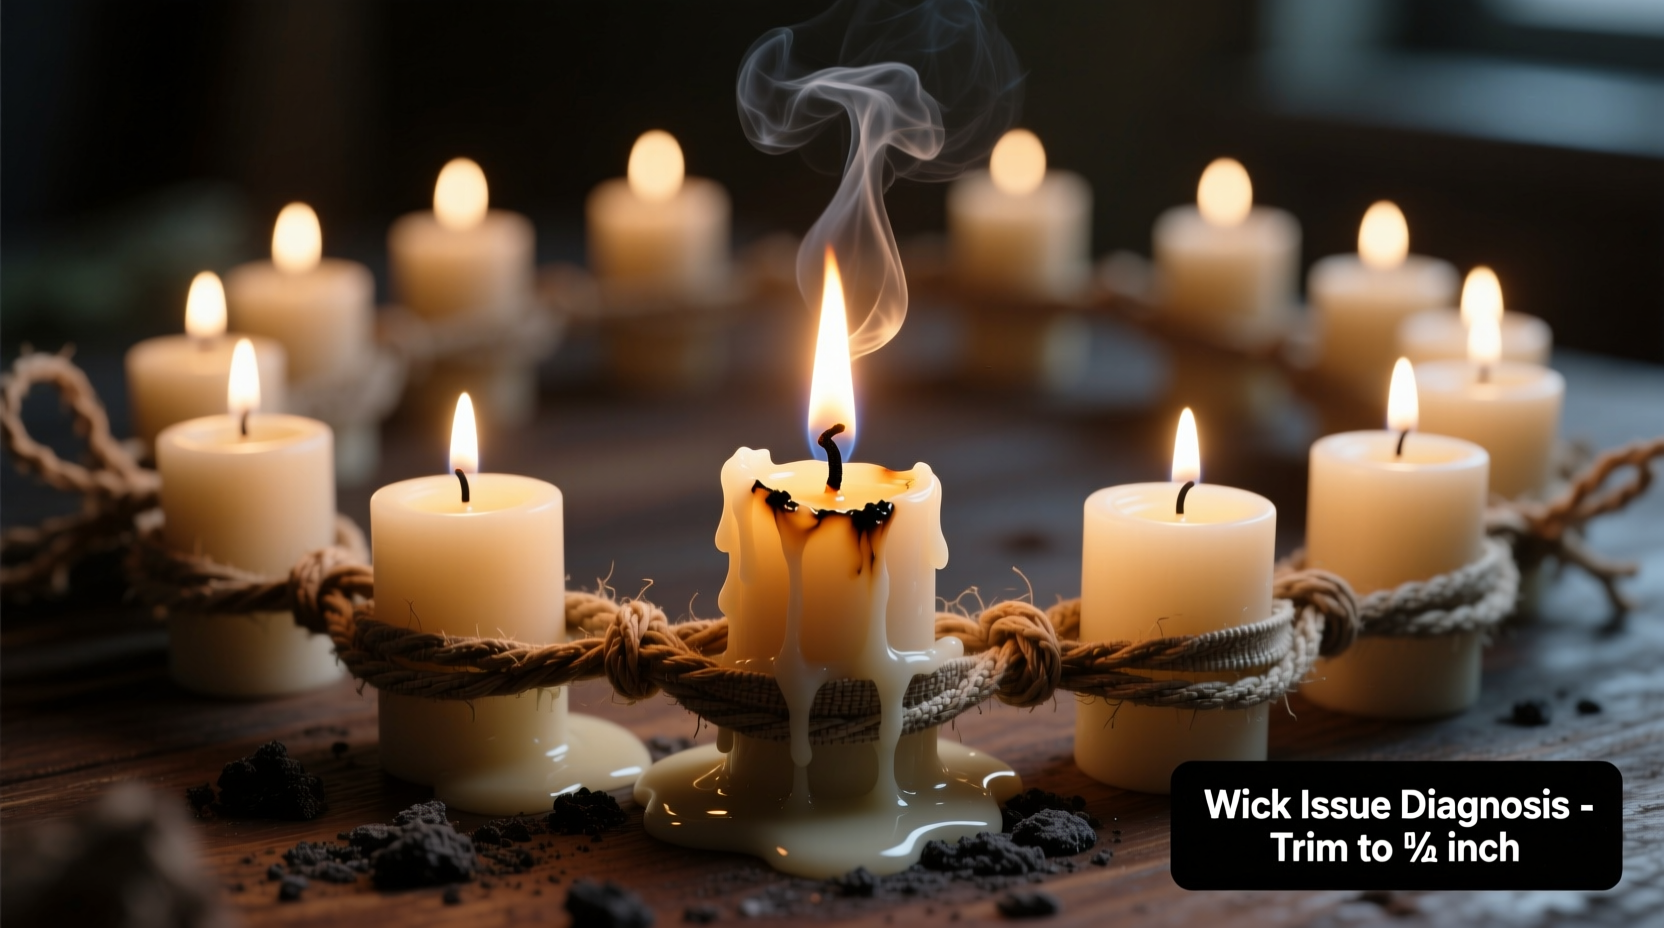
One of the top reasons garland flames go out is improper wick length. When a wick exceeds ¼ inch, it produces a larger-than-optimal flame. This increases heat output, causing rapid wax consumption and uneven melt pools. As surrounding wax liquefies too quickly, it can flood the base of the wick, effectively drowning it.
2. Tunneling Across Segments
Tunneling occurs when only the center of each candle bead melts, leaving hardened wax along the edges. In garlands, this creates isolated fuel pockets. Once the central reservoir is depleted, the wick has no access to fresh wax and extinguishes. This often results from under-burning—lighting the candle for less than the time required to form a full melt pool (roughly one hour per inch of diameter).
3. Drafty Environments
Even gentle air currents from HVAC systems, ceiling fans, or open windows can destabilize the delicate flame balance in garland candles. Because multiple small flames burn simultaneously, they’re collectively more vulnerable to disruption. A momentary gust may not fully extinguish all sections, but it weakens some, leading to cascading failures down the line.
4. Low-Quality or Incorrect Wick Type
Many commercially produced garlands use generic cotton wicks unsuited for high-fragrance paraffin or soy blends. These wicks struggle to maintain consistent capillary action, especially when transitioning between wax beads. Over time, they develop carbon tips or bend sideways, breaking contact with the fuel source.
5. Overloading with Fragrance Oil
While strong scent throw is desirable, exceeding recommended fragrance load (typically 6–10% by weight) compromises wax integrity. Excess oil separates from the wax matrix, pooling around the wick and interfering with clean combustion. This leads to sputtering, smoking, and eventual flameout.
How to Fix and Prevent Wick Issues: A Step-by-Step Guide
Resolving recurring flameouts requires both immediate troubleshooting and long-term maintenance practices. Follow this timeline to restore reliable performance to your scented candle garlands.
🕒 Step 1: Inspect All Wicks (Before First Lighting)
Examine each segment carefully. Look for bent, frayed, or excessively long wicks. Straighten any crooked ones gently with tweezers. Trim all to 1/8 inch using sharp, clean scissors. Avoid pulling or tugging, which can dislodge the wick from its anchor.
🕒 Step 2: Ensure Proper Placement and Environment
Position the garland on a level, non-flammable surface away from foot traffic, vents, and open doors. Maintain at least 12 inches of clearance from walls or drapes. Ideal room temperature is between 65°F and 75°F—extreme cold thickens wax, while heat accelerates melting.
🕒 Step 3: Light Strategically and Monitor Burn Time
Use a long-reach lighter to ignite each segment evenly. Start at one end and work your way through. Allow the entire garland to burn for a minimum of two hours—but no longer than four. This prevents excessive pooling while ensuring each section develops a stable melt pool.
🕒 Step 4: Extinguish Safely and Let Cool Completely
After two to four hours, snuff out flames using a wick dipper or metal lid—not by blowing, which sends hot wax flying and disturbs wick alignment. Allow the garland to cool for at least six hours before relighting. This gives solidified wax time to reform uniformly, preventing tunneling.
🕒 Step 5: Clean and Maintain Between Uses
Once cooled, remove any debris, dust, or carbon buildup from wick tips. Gently pinch off mushroomed carbon caps with fingernails or tweezers. Wipe excess soot from nearby surfaces with a dry microfiber cloth.
Do’s and Don’ts: Best Practices for Long-Lasting Garland Candles
| Do’s | Don’ts |
|---|---|
| Do trim wicks before every use | Don’t light if wicks are longer than 1/4 inch |
| Do burn for 2–4 hours max per session | Don’t exceed 4 hours to avoid overheating |
| Do store in a cool, dark place when not in use | Don’t expose to direct sunlight or humidity |
| Do clean wick tips regularly | Don’t reuse garlands with damaged or corroded wicks |
| Do rotate usage to prevent segment fatigue | Don’t always light the same starting point |
Real Example: Solving Repeated Flameouts in a Holiday Garland
Sarah M., a homeowner in Vermont, purchased a 7-foot scented pine-scented candle garland for her staircase during the holiday season. Within days, she noticed that after exactly two hours, the flames would begin dying out sequentially from the middle outward. Frustrated, she reached out to the manufacturer, who suggested checking airflow—but the area was draft-free.
Upon closer inspection, Sarah realized she had never trimmed the wicks, which averaged nearly half an inch in length. She also discovered that she was burning the garland for five to six hours nightly, far beyond the recommended window. After trimming all wicks to 1/8 inch and limiting burn sessions to three hours, the candle burned cleanly through its full lifespan. The key wasn’t replacing the product—it was adjusting her care routine.
Checklist: Restore Your Candle Garland’s Performance
- ✅ Inspect all wick lengths and straighten if bent
- ✅ Trim each wick to 1/8–1/4 inch using clean tools
- ✅ Place garland in a stable, draft-free environment
- ✅ Light all segments evenly using a long-reach lighter
- ✅ Burn for 2–4 hours only per session
- ✅ Snuff out flames safely—do not blow
- ✅ Allow wax to fully harden (6+ hours) before relighting
- ✅ Remove carbon buildup from wick tips between uses
- ✅ Store flat in original packaging or padded container
- ✅ Replace garland if wicks show signs of corrosion or splitting
Frequently Asked Questions
Can I replace the wick in a candle garland myself?
No, replacing the wick in a pre-assembled garland is not feasible without dismantling the entire structure. Most are manufactured with a single continuous wick embedded through each wax bead. Attempting repairs can compromise structural integrity and create fire hazards. If wicks are defective, contact the manufacturer for replacement options.
Why does my garland smoke before going out?
Smoking typically indicates incomplete combustion, often due to a long wick, high fragrance load, or lack of oxygen. When the flame struggles to draw fuel efficiently, unburned carbon particles escape as smoke. Trim the wick and ensure adequate ventilation to reduce emissions. Persistent smoking suggests poor wax quality or expired product.
Is it safe to relight a garland immediately after it goes out?
No. Always allow the candle to cool completely—minimum six hours—before relighting. Restarting too soon traps heat within the wax, increasing the risk of cracking, flare-ups, or wick drowning. Cooling ensures a uniform wax surface and stable re-ignition.
Conclusion: Keep the Glow Alive with Smart Wick Care
Your scented candle garland shouldn’t be a fleeting moment of ambiance. With proper attention to wick maintenance, burn discipline, and environmental factors, you can enjoy consistent, clean, and fragrant illumination throughout its intended lifespan. The solution to premature flameouts isn’t buying new candles—it’s understanding the subtle science behind their function.
By implementing regular trimming, controlled burn times, and careful storage, you transform a frustrating habit into a ritual of warmth and intention. These small actions compound into significant improvements: better scent diffusion, reduced soot, extended usability, and enhanced safety.


 浙公网安备
33010002000092号
浙公网安备
33010002000092号 浙B2-20120091-4
Comments
No comments yet. Why don't you start the discussion?