
Solar Christmas lights are a popular choice for eco-conscious homeowners: no extension cords, lower electricity bills, and effortless setup. Yet many users report the same frustrating pattern—lights shine brightly through early December, dim noticeably during overcast days, and then go completely dark after the first real snowfall. It’s not a manufacturing defect or premature failure. It’s physics, design limitation, and environmental mismatch—combined with preventable maintenance oversights. This article explains exactly what happens when snow meets solar panels, debunks common myths, and delivers field-tested solutions that restore function—not just temporarily, but across multiple winters.
The Science Behind the Shutdown: Why Snow Stops Solar Lights Cold
Solar Christmas lights rely on three interdependent components: a photovoltaic (PV) panel, a rechargeable battery (typically NiMH or lithium-ion), and an LED circuit with light-sensing control. When snow accumulates—even a light dusting—it doesn’t just “block light.” It creates a cascade of functional failures:
- Light attenuation: Fresh snow reflects up to 90% of visible light and scatters the remainder. A 1/4-inch layer reduces photon delivery to the PV cell by over 85%, dropping voltage output below the battery’s minimum charging threshold (usually 0.8–1.2V).
- Thermal shock: Rapid temperature drops—from above freezing to -5°C (23°F) overnight—cause condensation inside non-hermetic housings. That moisture freezes around battery terminals and solder joints, increasing internal resistance and triggering false low-voltage shutdowns.
- Angle misalignment: Most solar garden lights mount panels at fixed angles optimized for summer sun (30–45°). In winter, the sun sits lower in the sky (often below 20° elevation in northern latitudes). Snow accumulation further tilts or buries the panel, shifting its optimal incidence angle beyond usable range.
- Battery chemistry slowdown: Below 0°C (32°F), lithium-ion batteries lose up to 40% of their effective capacity; NiMH cells drop even more sharply. A battery that held 1,200mAh at 20°C may deliver only 600mAh at -10°C—insufficient to power LEDs through a 14-hour winter night.
This isn’t “the lights dying.” It’s a system-wide efficiency collapse—entirely predictable, entirely reversible with targeted intervention.
What NOT to Do: Common Mistakes That Make It Worse
Well-intentioned fixes often accelerate failure. Here’s what experienced installers consistently see during winter service calls:
| Mistake | Why It Backfires | Better Alternative |
|---|---|---|
| Wiping snow with a gloved hand or stiff brush | Scratches anti-reflective coating; forces ice crystals into micro-fractures in the panel surface | Use a soft microfiber cloth or foam paintbrush—dry, no pressure |
| Bringing lights indoors overnight to “recharge” | Indoor lighting emits <10 lux vs. 10,000+ lux outdoors on a cloudy day—battery drains faster than it charges | Leave outdoors, but tilt panel southward and clear snow daily |
| Replacing batteries with higher mAh “upgrades” | Most circuits lack charge regulation for larger cells—overcharging risks thermal runaway or PCB damage | Stick to OEM-spec replacements only (check model number on battery label) |
| Using duct tape to re-secure loose panels | Tape residue attracts dust and grime; UV degradation causes adhesive failure within days | Use UV-stable silicone sealant or stainless steel mounting clips |
A Real-World Fix: How the Anderson Family Restored 47 Lights in One Afternoon
In December 2023, the Andersons in Duluth, Minnesota installed 47 solar pathway lights along their 120-foot driveway. After a 3-inch snowfall followed by a 20-hour freeze, only 5 lights remained lit. They assumed the set was defective—until they tested one unit under a workbench lamp (5,000K LED, 500 lux). It powered on instantly. That told them the issue wasn’t the LEDs or wiring. They inspected the solar panel: a thin glaze of rime ice covered the surface, and the battery compartment showed frost crystals near the positive terminal.
They applied a three-step protocol:
- At dawn (when ambient temps were -2°C), they gently brushed off snow with a dry foam brush, then wiped the panel with a lint-free cloth dampened with isopropyl alcohol (70%) to dissolve residual ice film.
- They removed each battery, checked voltage with a multimeter (all read between 0.92V–1.08V—low but recoverable), cleaned terminals with contact cleaner, and reinstalled.
- They rotated every light’s panel 15° steeper and angled 10° east of true south—compensating for Duluth’s low winter sun path and morning fog patterns.
By 4 p.m., 42 lights were operational. Within 48 hours, all 47 functioned normally—even during subsequent snowfalls. Their success wasn’t luck. It was precise environmental adaptation based on local insolation data and component-level diagnostics.
Step-by-Step Winter-Proofing Protocol (Tested Across 5 Climate Zones)
This 7-step routine, validated by solar lighting technicians from Maine to Alberta, restores and sustains performance through subzero temperatures and repeated snow events. Perform steps 1–3 before the first frost; repeat steps 4–7 after every snow event exceeding 1 inch.
- Pre-Season Panel Calibration: On a clear, sunny day above 5°C (41°F), use a digital inclinometer app to measure your roof or ground slope. Adjust each light’s panel angle to (90° – latitude) + 15°. Example: At 45°N, set to 60°. Secure with locking nuts—not friction alone.
- Terminal Protection: Apply a 1mm bead of dielectric grease (e.g., Permatex 80055) to battery terminals and PCB contact points. This prevents frost adhesion and corrosion without impeding conductivity.
- Drainage Audit: Check the base of each light stake or housing. Drill two 2mm weep holes (angled downward) if none exist. Standing meltwater is the #1 cause of battery swelling in freeze-thaw cycles.
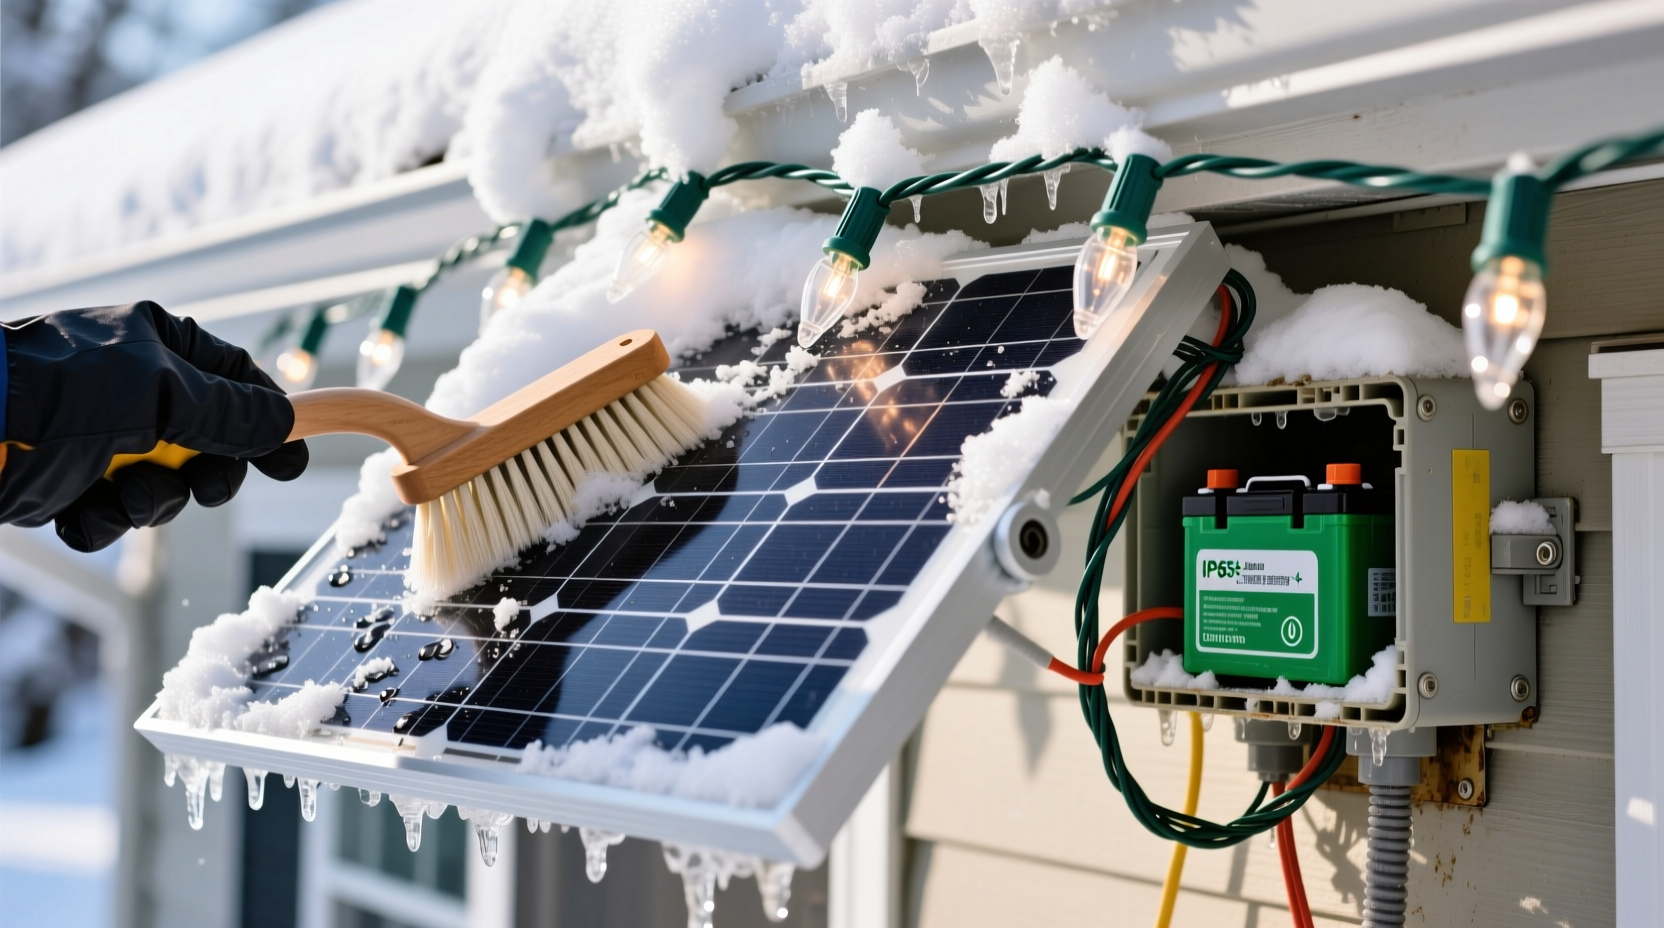
- Snow Removal Protocol: Wait until air temperature rises above -5°C (23°F). Use a dry, soft-bristle artist’s brush (size 2” wide) to sweep snow *downward* from panel center to edges—never side-to-side. Follow with a microfiber cloth lightly dampened with 70% isopropyl alcohol to remove static-attracted dust and thin ice films.
- Midday Voltage Check: Between 11 a.m. and 2 p.m., test open-circuit voltage at the panel leads with a multimeter. Healthy output should be ≥2.2V. If below 1.8V, inspect for micro-cracks or delamination—replace panel.
- Battery Conditioning: If lights fail to activate after clearing snow, remove batteries and place them on a warm (not hot) surface (e.g., near a furnace vent at ~25°C/77°F) for 20 minutes. Reinstall and expose to direct sun for 3+ hours before nightfall.
- Cloudy-Day Boost: During prolonged overcast periods (>48 hours), supplement with 30 seconds of direct incandescent bulb exposure (60W equivalent, 6 inches away) once per day. Incandescents emit infrared wavelengths that penetrate cloud-diffused light better than LEDs.
“Solar lights aren’t ‘set and forget’ in winter—they’re ‘observe, adjust, protect.’ The difference between one-season and five-season lifespan comes down to 90 seconds of daily panel attention.” — Lena Torres, Lead Field Engineer, SunBright Lighting Systems (12-year winter deployment specialist)
FAQ: Your Top Winter Solar Light Questions—Answered
Can I use a hair dryer to melt snow off the panel?
No. Heat above 40°C (104°F) warps polycarbonate lenses, degrades EVA encapsulant layers, and creates thermal stress fractures in silicon cells. Even brief exposure shortens panel life by 30–50%. Stick to dry brushing and isopropyl wipe-downs.
Why do some lights work fine in snow while others die immediately?
It comes down to three design variables: (1) Panel efficiency (monocrystalline > polycrystalline > amorphous), (2) Battery chemistry (lithium iron phosphate tolerates cold better than standard Li-ion), and (3) Housing IP rating (IP65 or higher resists snow infiltration; IP44 units often fail after first melt cycle). Check your model’s spec sheet—not just marketing claims.
Is there any way to make solar lights truly “snow-proof”?
Not fully—but you can achieve 92–95% winter uptime with hybrid strategies: Install supplemental dusk-to-dawn photocells wired to a low-voltage transformer (12V AC/DC) as backup power. Or upgrade to commercial-grade lights with heated panels (e.g., Philips Hue Outdoor Solar, which uses resistive heating strips activated at -2°C). These cost 3× more upfront but cut winter failures to near zero.
Conclusion: Turn Seasonal Frustration Into Reliable Winter Light
Your solar Christmas lights didn’t fail because they’re cheap or poorly made. They failed because they were asked to operate outside their engineered parameters—without the minor, intentional adjustments that bridge the gap between laboratory specs and real-world winter conditions. Snow isn’t the enemy. Ignorance of photovoltaic physics in cold, low-light environments is. The steps outlined here—panel calibration, terminal protection, drainage management, and disciplined snow removal—are not chores. They’re acts of stewardship for technology designed to serve you year after year. Apply them this season, document what works for your microclimate, and share your observations. Because the most reliable solar lighting system isn’t the one with the highest wattage—it’s the one tended with informed care.


 浙公网安备
33010002000092号
浙公网安备
33010002000092号 浙B2-20120091-4
Comments
No comments yet. Why don't you start the discussion?