
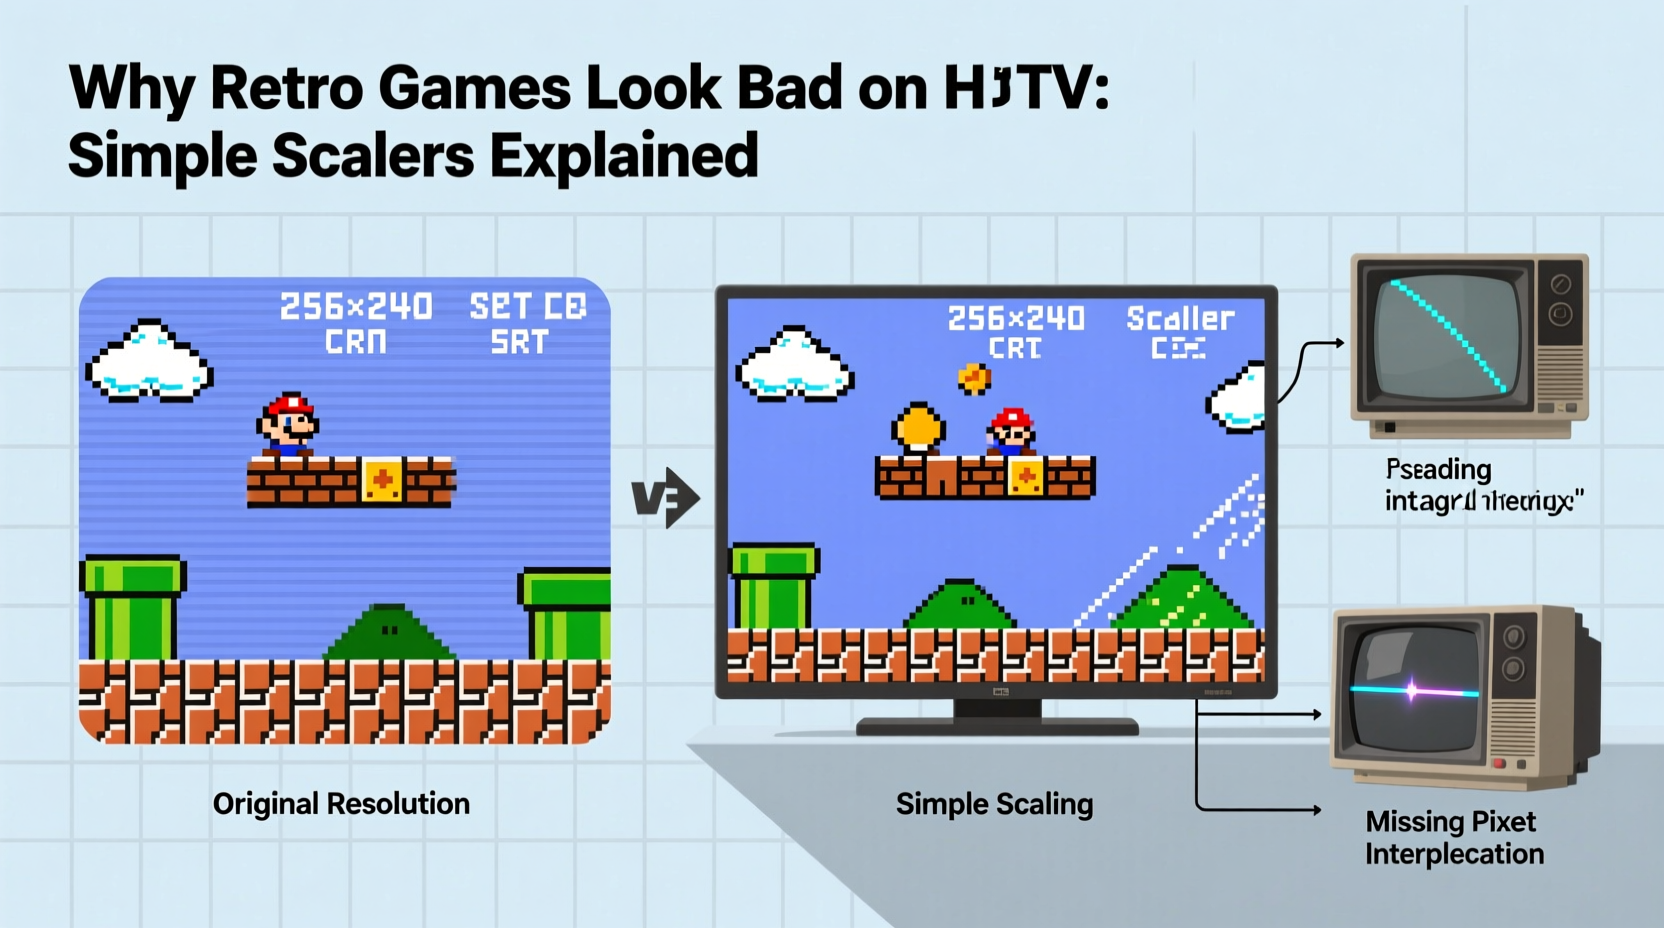
Plug an original Super Nintendo, Sega Genesis, or PlayStation 1 into a modern HDTV, and the experience often feels off. The colors are washed out, the image is blurry, and the crisp pixel art that defined a generation appears smeared and indistinct. This isn’t your imagination — it’s the result of a fundamental mismatch between vintage video signals and today’s high-definition displays. At the heart of this issue lies a technology known as “simple scaling,” used by most modern TVs when processing low-resolution analog inputs. Understanding how this process works — and why it degrades retro game visuals — is key to restoring authenticity to classic gameplay.
The Analog Origins of Retro Gaming
Retro consoles from the 1980s through early 2000s were designed for cathode ray tube (CRT) televisions. These sets accepted composite, S-Video, or RGB signals at standard definition resolutions — typically 240p or 480i. CRTs displayed images differently than modern LCD, OLED, or QLED screens. Instead of a fixed grid of pixels, they used electron beams scanning across phosphor dots in a continuous motion, creating soft edges and natural blending between pixels. This analog nature gave retro games their distinctive look: slightly blurred, but visually cohesive and artistically intentional.
Game developers of the era worked within these technical constraints. Pixel art was crafted with CRT behavior in mind — dithering patterns would blend smoothly, adjacent colors would merge naturally, and sprite movement felt fluid due to the scanlines and persistence of vision. When viewed on a CRT, even low-resolution graphics appeared stable and pleasing to the eye.
“Artists didn’t design for perfect pixels — they designed for how pixels behaved on real televisions of the time.” — David Haynes, Video Game Preservation Specialist
How Modern TVs Process Legacy Signals
Modern HDTVs operate in a digital world. They expect clean, high-resolution signals like 720p, 1080p, or 4K delivered via HDMI. When you connect an old console using composite or component cables, the TV must convert the incoming analog signal into something it can display. This involves two major steps: digitization and upscaling.
First, the analog signal is sampled and converted into a digital format. This step alone can introduce noise, timing inaccuracies, and color bleeding if not handled precisely. Then comes the critical phase: scaling. Since the source resolution (e.g., 320×240) is far below the TV’s native resolution (e.g., 1920×1080), the TV must interpolate new pixels to fill the gaps. Most consumer TVs use simple bilinear or bicubic scaling algorithms optimized for speed and general-purpose content — not pixel art.
What Are Simple Scalers — And Why Do They Fail Retro Games?
A “simple scaler” refers to any algorithm that increases image size by averaging nearby pixels without understanding the underlying structure of the image. Common types include:
- Bilinear interpolation: Calculates new pixel values based on weighted averages of surrounding pixels. Smooths everything, including sharp edges.
- Bicubic interpolation: Uses a larger neighborhood of pixels for smoother gradients. Often over-blurs fine details.
- Nearest neighbor (rarely used by TVs): Preserves hard edges by duplicating pixels. Looks blocky but retains pixel integrity.
These methods work well for photographs or film, where smooth gradients are desirable. But they fail dramatically with pixel art, which relies on precise placement and contrast. Consider a diagonal line made of staggered pixels. A bilinear scaler will blur the transition, turning a crisp edge into a gray smear. Dithering patterns — used to simulate more colors — lose their intended optical effect and become muddy patches.
Moreover, simple scalers don’t account for interlacing, field timing, or horizontal sync stability common in older consoles. This leads to flickering, shimmering textures, and unstable images, especially during motion.
Advanced Alternatives: Where Simple Scaling Falls Short
To truly preserve the look of retro games, specialized hardware or software solutions are required. Unlike consumer TVs, these tools understand the semantics of pixel art and legacy video standards. Here's how they differ:
| Solution Type | Scaling Method | Preserves Pixel Art? | Typical Use Case |
|---|---|---|---|
| TV Built-in Scaler | Bilinear/Bicubic | No | Casual viewing |
| FPGA-Based Consoles (e.g., Analogue Pocket) | Precision integer scaling | Yes | Authentic reproduction |
| External Upconverters (e.g., OSSC, RetroTINK) | Line doubling, integer scaling | Yes | HDMI output with minimal lag |
| Emulation (with shaders) | GLSL/CRT shaders | Yes (configurable) | Software-based accuracy |
Devices like the Open Source Scan Converter (OSSC) or RetroTINK series bypass the TV’s internal scaler entirely. They accept raw analog signals, perform precise line multiplication (e.g., 2x, 3x, or 5x scaling), and output a clean digital signal over HDMI. Because they scale in integer multiples, no fractional pixels are created — preserving the original aspect ratio and eliminating blurriness.
“The OSSC doesn’t just improve picture quality — it restores the developer’s original intent.” — Sarah Kim, Retro Hardware Reviewer
Step-by-Step: Improving Retro Game Display Quality
If you're serious about enjoying retro games as they were meant to be seen, follow this sequence of upgrades:
- Start with the best available video output. Use RGB via SCART (on PAL systems), component video (if supported), or S-Video instead of composite.
- Bypass the TV’s scaler. Connect through an external converter like the OSSC or RetroTINK 5X, which supports integer scaling and scanline simulation.
- Configure your display for minimal post-processing. Enable “Game Mode” or “PC Mode” on your TV to reduce input lag and disable motion smoothing.
- Select an appropriate scaling factor. For 240p sources, aim for 3x or 5x integer scaling (720p or 1080p output) to avoid interpolation.
- Use high-quality cables. Shielded, short-run cables prevent signal degradation and interference.
- Calibrate brightness and contrast. Match settings to original CRT behavior — avoid crushing blacks or over-sharpening.
Real Example: Playing Super Metroid Today vs. 1994
Consider playing Super Metroid on a 1994 Sony Trinitron CRT versus a 2023 Samsung QLED TV using stock composite cables. On the CRT, Samus’s sprite has defined edges, the background tiles are clear, and atmospheric darkness feels immersive thanks to true black levels and subtle dithering. The scanlines soften the image just enough to prevent pixel fatigue.
On the modern TV, the same game looks unrecognizable. The red of Samus’s suit bleeds into surrounding areas due to poor chroma filtering. Her outline is fuzzy because of bicubic scaling. The dim caverns of Zebes appear crushed or artificially brightened by dynamic backlighting. The careful shading used in the environment turns into flat blobs. What was once a moody, cinematic experience now feels cheap and indistinct.
Now, reroute the SNES through a RetroTINK 5X using component cables. Set the output to 1080p with 4.5x scaling and enable simulated scanlines. Suddenly, the image snaps into focus. Pixels remain sharp, colors stay accurate, and the depth of the original artwork returns. It’s not identical to a CRT — few things are — but it’s the closest approximation possible on modern hardware.
Checklist: How to Get Authentic-Looking Retro Gameplay on an HDTV
- ✅ Use the highest-quality AV output available on your console (S-Video, component, or RGB)
- ✅ Invest in a dedicated upscaler (OSSC, RetroTINK, or similar)
- ✅ Connect via HDMI to bypass the TV’s analog-to-digital conversion
- ✅ Enable integer scaling on the upscaler (2x, 3x, 5x, etc.)
- ✅ Turn off all TV post-processing (sharpness, noise filters, motion interpolation)
- ✅ Calibrate color and brightness using test patterns or known reference material
- ✅ Store cables properly to avoid signal degradation over time
Frequently Asked Questions
Can I fix the blurry look without buying extra hardware?
Partially. You can improve results by switching from composite to S-Video or component cables and disabling all picture enhancements on your TV. However, without an external scaler, you’re still limited by the TV’s internal processing, so significant blurring will likely remain.
Is emulation a better alternative for visual fidelity?
In many cases, yes — but only if configured correctly. Emulators like RetroArch support CRT shaders, integer scaling, and pixel-perfect rendering that mimic original hardware. With proper configuration, they can surpass even high-end upscalers in accuracy. However, purists may prefer original hardware for authenticity and input responsiveness.
Why don’t TV manufacturers fix this issue?
Because the market for retro gaming is small compared to mainstream viewership. Manufacturers optimize scalers for movies, sports, and streaming — not 240p pixel art. Adding specialized modes would increase complexity and cost without broad consumer benefit.
Conclusion: Reclaiming the Look of Classic Games
The disappointment of seeing retro games look “bad” on modern HDTVs isn’t a flaw in the games — it’s a failure of translation. Simple scalers weren’t built to honor the craftsmanship of pixel artists or the limitations of 1990s video standards. But that doesn’t mean we’re stuck with blurry sprites and muddy colors. With the right tools and knowledge, it’s entirely possible to bridge the gap between past and present.
Whether through external upscalers, careful calibration, or thoughtful emulation, preserving the visual integrity of retro games is both a technical challenge and a cultural responsibility. Every crisp line and carefully chosen pixel tells part of gaming’s history. By respecting how these games were originally presented, we ensure they remain vibrant and meaningful for future generations.


 浙公网安备
33010002000092号
浙公网安备
33010002000092号 浙B2-20120091-4
Comments
No comments yet. Why don't you start the discussion?