
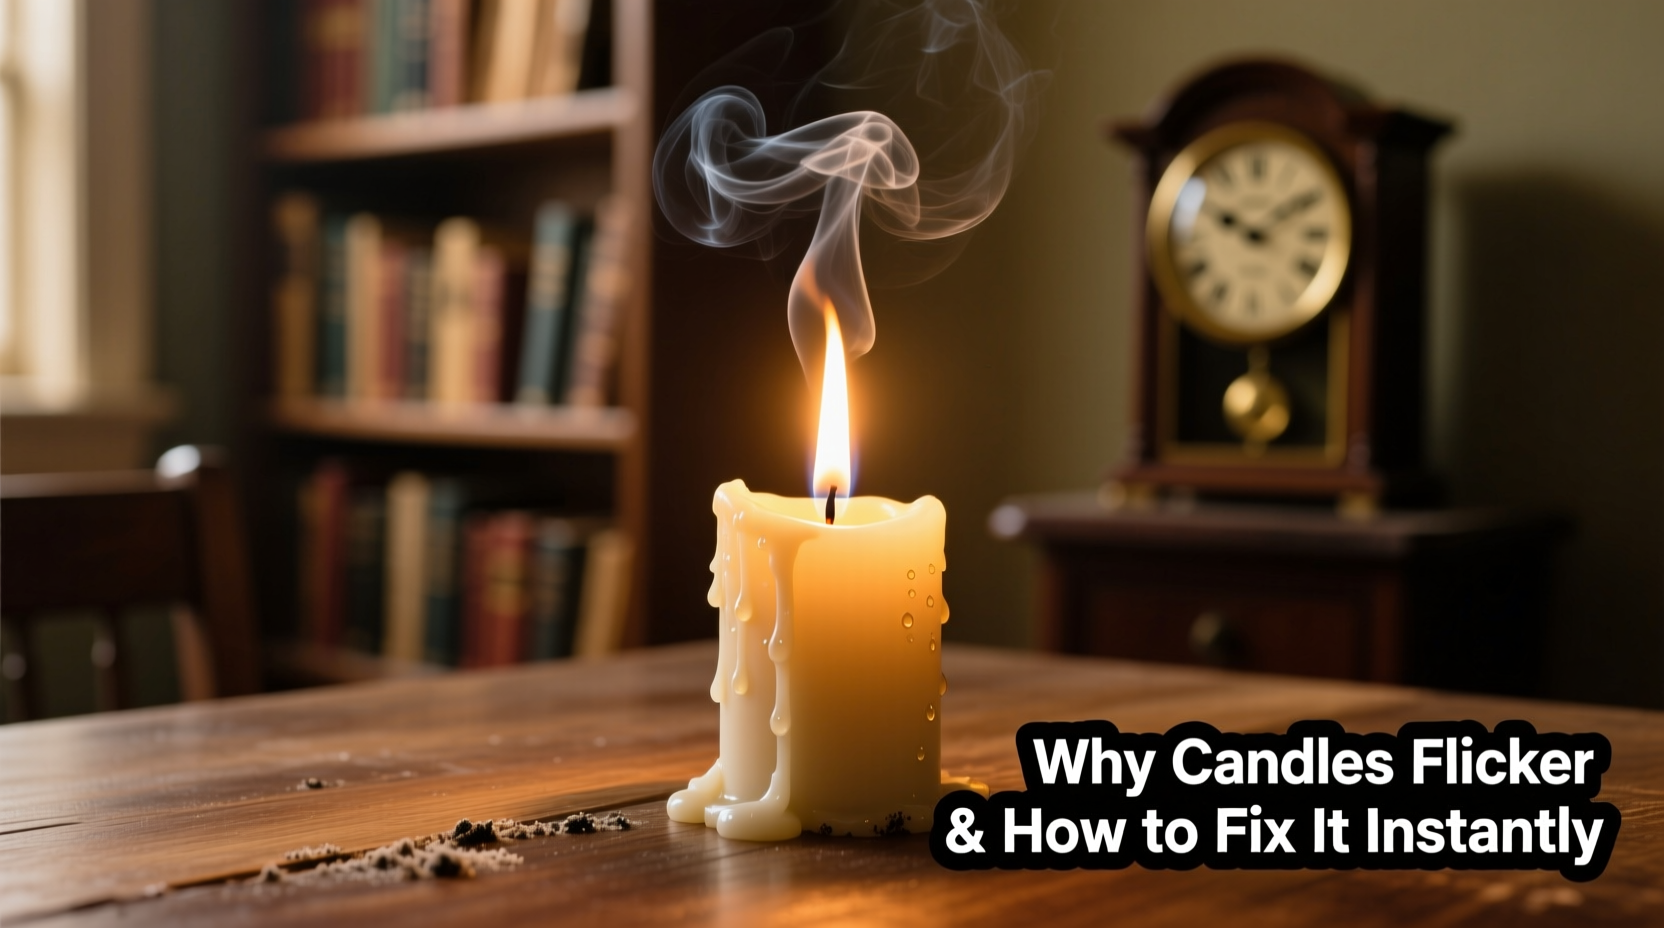
Candles create ambiance, comfort, and a sense of calm in homes across the world. Yet nothing disrupts that tranquility faster than a candle that flickers unpredictably—dancing erratically, casting uneven shadows, or even threatening to go out. While a slight shimmer in the flame can be normal, random or excessive flickering often signals an underlying issue. Understanding the science behind candle behavior and identifying common environmental and structural causes allows you to restore stability quickly. This guide dives into the real reasons behind erratic candle flames and provides immediate, practical solutions to keep your candle burning smoothly.
The Science Behind Candle Flames
A candle flame is the result of a delicate balance between wax, wick, oxygen, and heat. When lit, the flame melts the wax near the wick, which is then drawn up through capillary action. The liquid wax vaporizes and combusts, producing light and heat. This continuous cycle sustains the flame as long as fuel and oxygen are available.
Flickering occurs when this balance is disturbed. A stable flame should appear steady, with a soft blue base and a bright yellow tip. Random fluctuations mean one or more elements of combustion are being disrupted—either the fuel supply, airflow, or wick condition.
“Flame instability in candles is rarely random—it’s a visible signal of imbalance in combustion dynamics.” — Dr. Alan Pierce, Combustion Physicist, MIT Energy Lab
Common Causes of Random Flickering
Flickering isn’t always due to poor-quality candles. Often, it stems from environmental factors or improper setup. Below are the most frequent culprits:
- Air currents: Drafts from windows, fans, HVAC vents, or even foot traffic can disturb the flame.
- Wick length: A wick that’s too long creates a larger flame, increasing soot and instability.
- Wax quality and composition: Paraffin blends may burn unevenly compared to soy or beeswax.
- Wick clogging (mushrooming): Carbon buildup at the tip restricts clean burning.
- Container shape and size: Narrow containers trap heat; wide ones expose the flame to more air movement.
- Humidity and altitude: High humidity affects wax viscosity; high altitudes reduce oxygen density.
How to Stop Flickering Instantly: Proven Methods
When your candle starts flickering, don’t blow it out just yet. Try these fast-acting fixes first:
1. Eliminate Air Currents
Drafts are the number one cause of unstable flames. Even subtle breezes from under doors or ceiling fans can create turbulence around the flame.
Move the candle away from open windows, vents, or high-traffic areas. If relocation isn’t possible, use a glass hurricane globe or place the candle in a sheltered holder. Avoid placing candles near appliances that emit air pulses, like refrigerators or AC units.
2. Trim the Wick Immediately
An overgrown wick produces a large, smoky flame that dances uncontrollably. If your candle is flickering, extinguish it safely, let it cool slightly, and trim the wick to ¼ inch using clean nail clippers or scissors.
Re-light the candle—the flame should stabilize within seconds. Never trim while the candle is burning or hot, as debris can ignite.
3. Check for Wick Mushrooming
After several burns, carbon accumulates at the wick’s tip, forming a dark bulb-like head. This “mushroom” blocks efficient wax vaporization and causes erratic flickering and soot.
Pinch off the carbon nub with tweezers after the candle has cooled. For future burns, trim regularly to prevent buildup.
4. Rotate the Candle (For Container Candles)
If one side of the wax pool melts faster than the other, the wick may tilt, causing inconsistent fuel delivery. Gently rotate the container during burning to promote even melting.
This works best with wider jars where flame exposure isn’t uniform. Stop rotating once the wax pool evens out.
5. Use a Wick Dipper or Spoon
Instead of blowing out a candle—which sends smoke and disturbs wax—you can submerge the wick into the melted wax pool using a metal tool. This extinguishes the flame without thermal shock and positions the wick centrally for the next burn.
After dipping, straighten the wick with tweezers before the wax hardens. This maintains optimal wick alignment and reduces flicker on re-lighting.
Preventative Checklist for Stable Burning
To avoid flickering before it starts, follow this routine before and during each burn:
- Trim the wick to ¼ inch prior to every lighting.
- Place the candle in a draft-free zone.
- Allow a full melt pool to form (edge-to-edge) on the first burn to prevent tunneling.
- Limit burn time to 4 hours max to avoid overheating.
- Keep the wax pool free of debris like matches or wick trimmings.
- Store unused candles in a cool, dry place away from sunlight.
- Inspect the wick for curling or bending before lighting.
Material & Design: How Candle Composition Affects Flame Stability
Not all candles behave the same way. The type of wax, wick material, and fragrance load all influence how steadily a candle burns.
| Factor | Stable Option | Unstable Risk |
|---|---|---|
| Wax Type | Soy wax, beeswax | Paraffin (especially low-grade) |
| Wick Material | Cotton, wood (well-sized) | Zinc-core or braided polyester |
| Fragrance Load | 6–8% essential oils | Over 10% synthetic fragrances |
| Container Shape | Wide, straight-sided jars | Narrow or tapered vessels |
| Dye Content | Low or natural dyes | Heavy pigments blocking wax flow |
High-quality candles use properly sized wicks matched to the wax type and container. Mismatched combinations lead to drowning (wick starved of oxygen) or flaring (too much fuel). When shopping, look for brands that specify wick type and burn testing data.
Real-World Example: Fixing a Flickering Dinner Candle
Sarah hosted a dinner party and placed scented candles on her dining table. Within minutes, the flames began dancing wildly, casting unsettling shadows. Guests complained about the smoke smell.
She initially thought the candles were defective. But upon inspection, she noticed two issues: the candles were near an open window, and the wicks were over ½ inch long. She moved the candles to a sideboard away from the draft and used a small pair of scissors to trim each wick. After relighting, the flames stabilized immediately—calm, bright, and nearly smokeless.
The fix took less than three minutes but transformed the atmosphere. Sarah now keeps a wick trimmer on her coffee table for quick maintenance.
Step-by-Step Guide to Immediate Flicker Control
Follow this sequence when your candle starts flickering unexpectedly:
- Extinguish the flame using a snuffer or wick dipper—do not blow it out.
- Let the candle cool for 5–10 minutes to allow wax to firm slightly.
- Trim the wick to exactly ¼ inch, removing any carbon buildup.
- Check placement: move away from drafts, vents, or moving air sources.
- Clear the wax pool of any debris or old trimmings.
- Re-center the wick if it has tilted during burning.
- Relight the candle and observe for 30 seconds. The flame should stabilize quickly.
If flickering persists after these steps, the wick may be damaged or the wax formulation incompatible with the environment. Consider switching to a different candle or brand known for clean burn performance.
Frequently Asked Questions
Why does my candle flicker even in a still room?
Even in seemingly still environments, minor air movements exist—such as convection currents from warm surfaces or subtle HVAC airflow. Additionally, internal factors like wick mushrooming or uneven wax melting can cause flickering independent of drafts. Always check the wick condition first.
Can humidity affect candle flames?
Yes. High humidity increases moisture in the air, which can interfere with wax vaporization and make the flame struggle to maintain consistency. In humid climates, candles may flicker more and produce more soot. Using a dehumidifier or choosing candles with tighter wick tolerances helps.
Are LED candles better for avoiding flicker?
If your goal is purely visual ambiance without combustion concerns, yes. Modern LED candles mimic realistic flicker patterns safely and consistently. However, they don’t provide scent or real flame warmth. For authentic experience, mastering real candle care is more rewarding.
Expert Insight: What Professionals Do Differently
Candle artisans and luxury home product testers follow strict protocols to ensure flawless performance. One such expert, Lena Torres, a master chandler with over 15 years of experience, shares her insight:
“In professional settings, we test every candle in multiple environments—drafty rooms, still spaces, high humidity zones. The key isn’t just making a good candle, but teaching users how to maintain it. A perfectly made candle will still fail if the wick isn’t trimmed.” — Lena Torres, Lead Product Developer, Hearth & Wick Co.
Her team includes wick trimmers with every premium candle shipment and provides QR codes linking to burn care videos. This attention to user education drastically reduces complaints about flickering and sooting.
Conclusion: Take Control of Your Candle Experience
Flickering candles aren’t just annoying—they can indicate inefficient burning, wasted wax, and unnecessary soot production. By understanding the root causes and applying simple, immediate corrections, you gain control over your candle’s performance. From trimming the wick to managing airflow, the solutions are fast, cost-free, and effective.
Don’t accept erratic flames as inevitable. With the right knowledge, every candle you light can burn cleanly, steadily, and beautifully. Start tonight: inspect your current candle, apply the fixes outlined here, and enjoy a serene, flicker-free glow.


 浙公网安备
33010002000092号
浙公网安备
33010002000092号 浙B2-20120091-4
Comments
No comments yet. Why don't you start the discussion?