
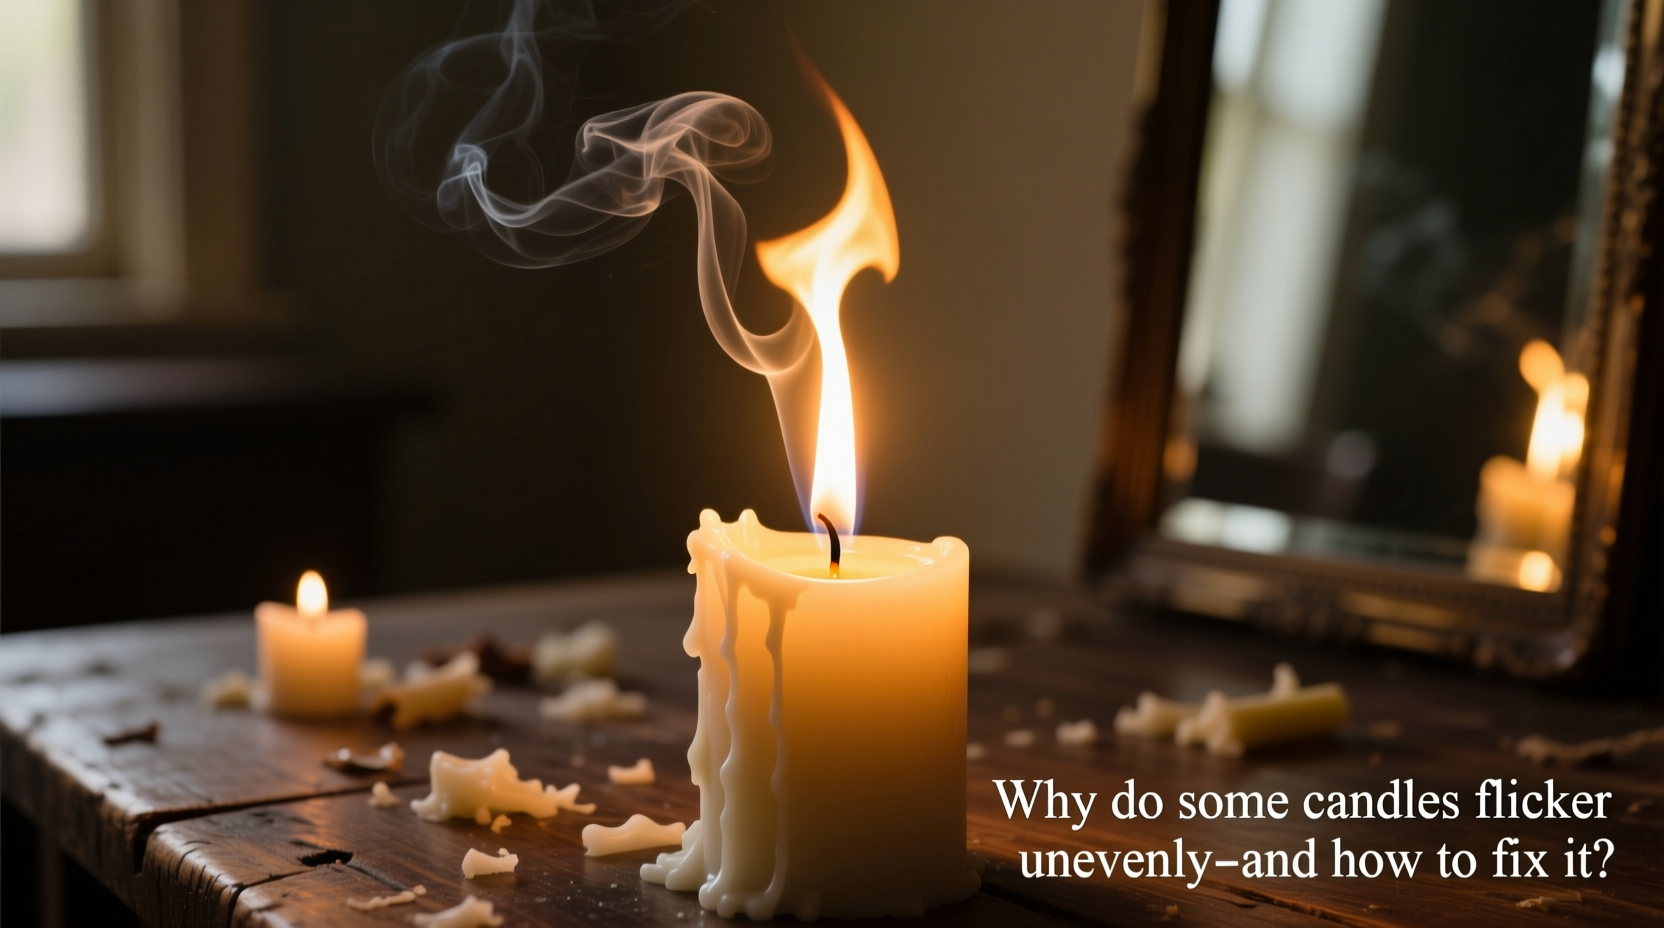
Candles create ambiance, comfort, and warmth in homes across the world. But nothing disrupts that serene atmosphere faster than a candle that flickers erratically—dancing wildly one moment, barely glowing the next. While a gentle flicker can be soothing, an uneven or excessive one often signals underlying issues with the candle’s design, environment, or burn process. Understanding the science behind flame behavior and identifying common causes of instability allows you to enjoy a cleaner, safer, and more consistent burn.
Uneven flickering isn’t just annoying—it can lead to wasted wax, soot buildup, tunneling, and even safety hazards. The good news is that most flickering problems are preventable or correctable with proper knowledge and simple adjustments. From wick length to air currents and wax quality, multiple factors influence how steadily a candle burns.
The Science Behind Candle Flames
A candle flame is a delicate balance of heat, fuel (melted wax), oxygen, and capillary action. When a candle burns, the heat of the flame melts the wax near the wick. This liquid wax is drawn up through the wick via capillary action, where it vaporizes and combusts, sustaining the flame. For this process to remain stable, several conditions must be met:
- The wick must be the right size and material for the wax type and container diameter.
- Adequate oxygen must reach the base of the flame.
- The wax pool must melt evenly without overheating or cooling too quickly.
- Environmental airflow should be minimal and consistent.
When any part of this system is disrupted, the flame becomes unstable. Flickering occurs when combustion fluctuates rapidly due to inconsistent fuel delivery, temperature changes, or air disturbances. In scientific terms, this instability is known as “flame pulsation,” which happens when the rate of wax vaporization doesn’t match the rate of combustion.
“Flame stability depends on a precise equilibrium between fuel supply, oxygen availability, and thermal dynamics. Disrupt one variable, and the entire system reacts.” — Dr. Alan Pierce, Combustion Scientist, National Candle Association
Common Causes of Uneven Flickering
Not all flickering is created equal. Some flicker is normal; others indicate deeper issues. Below are the most frequent culprits behind erratic candle flames and what they mean:
1. Wick Length Is Too Long
An overly long wick increases the amount of fuel being drawn up, creating a larger flame that consumes oxygen inefficiently. This leads to sooting, smoking, and rapid flickering as the flame struggles to stabilize. Trimming the wick to ¼ inch before each use prevents this issue.
2. Drafts or Air Currents
Even mild drafts from HVAC systems, open windows, ceiling fans, or foot traffic can disturb flame stability. Moving air cools parts of the flame unevenly, disrupting combustion and causing the flame to dance unpredictably.
3. Poor Quality or Damaged Wick
Wicks made from low-grade materials or improperly centered during manufacturing can curl, mushroom, or burn inconsistently. Cotton braided wicks perform best in most wax types, while zinc-core wicks may bend or fail under heat stress.
4. Container Shape and Size
Narrow containers restrict airflow around the flame, starving it of oxygen. Wide jars may allow too much lateral airflow, destabilizing the flame. Ideally, the container should have a balanced width-to-height ratio with sufficient headspace above the wax.
5. Wax Composition and Additives
Paraffin, soy, beeswax, and coconut blends all behave differently when burned. Soy wax, for example, tends to burn cooler and slower but can struggle with poor hot throw if additives like fragrance oils exceed recommended levels (typically 6–10%). Excess fragrance or dyes can clog the wick or alter melting points, leading to sputtering and flickering.
6. First Burn Was Inadequate
If a candle isn’t allowed to form a full melt pool across the surface during its first burn (roughly one hour per inch of diameter), it develops “tunneling.” Subsequent burns expose only a small portion of wax, starving the wick and causing uneven flame behavior.
How to Fix and Prevent Uneven Flickering
Fixing flickering starts with diagnosis. Observe your candle closely: Is the flame tall and smoky? Does it lean to one side? Does it sputter or pop? Each symptom points to a specific cause—and solution.
Step-by-Step Guide to Restoring Flame Stability
- Extinguish the candle safely using a snuffer or wick dipper—never blow it out, as this can send debris into the wax and disturb the wick.
- Let the wax cool completely before making any adjustments (at least 2–4 hours).
- Trim the wick to ¼ inch using sharp scissors or a wick trimmer. Remove any carbon buildup (“mushrooming”) at the tip.
- Center the wick if it has drifted to one side. Use a wick centering tool or gently reposition it with tweezers while the wax is still slightly soft.
- Check for drafts and relocate the candle if necessary. Close nearby doors, turn off fans, or shield the flame with a decorative lantern (if safe).
- Burn for adequate time on the next lighting—aim for 3–4 hours to establish a full melt pool and reset the burn cycle.
| Symptom | Possible Cause | Solution |
|---|---|---|
| Tall, smoky flame with heavy flickering | Wick too long or oversized | Trim wick to ¼ inch; consider replacing candle if wick is permanently damaged |
| Flame leans to one side | Draft or off-center wick | Relocate candle; recenter wick after cooling |
| Sputtering or popping sounds | Moisture in wax or high fragrance load | Store candles in dry place; avoid humid areas like bathrooms |
| Weak, guttering flame | Tunneling or clogged wick | Use aluminum foil method (see below) to recover wax; trim wick |
| Flame extinguishes shortly after lighting | Drowned wick or excess melted wax | Dry out wick with paper towel; pour off excess liquid wax carefully |
Advanced Fix: The Aluminum Foil Method for Tunneling Candles
For candles that have tunneled and now flicker due to insufficient fuel access:
- Wrap a small piece of aluminum foil around the rim of the container, shaping it to slope inward toward the wick.
- Leave a small opening over the wick for ventilation.
- Burn the candle for 2–3 hours. The foil traps heat, helping the outer hardened wax melt and level the surface.
- Repeat if necessary until a full melt pool forms.
Preventive Checklist for Stable Burning
To minimize flickering before it starts, follow this essential maintenance checklist:
- ✅ Trim wick to ¼ inch before every burn
- ✅ Burn for 1 hour per inch of diameter on first use
- ✅ Keep away from drafts, vents, and high-traffic areas
- ✅ Store unused candles in a cool, dry, dark place
- ✅ Avoid burning for more than 4 consecutive hours
- ✅ Ensure wick is centered and straight before lighting
- ✅ Clean debris (match scraps, dust) from wax surface regularly
- ✅ Choose high-quality candles with reputable brands or hand-pour artisans
Real Example: A Troubled Scented Candle
Sarah purchased a large soy-blend candle marketed for long burn time and strong fragrance. On her third use, she noticed intense flickering, black smoke, and a flame that kept going out. She initially assumed the candle was defective. After researching, she realized she hadn’t trimmed the wick after the second burn—letting it grow nearly half an inch. The long wick caused excessive fuel draw, leading to incomplete combustion and soot. She extinguished the candle, trimmed the wick, let it cool, and relit it in a draft-free corner of her bedroom. The flame stabilized immediately, burning cleanly for four hours with no flicker. Sarah now keeps a wick trimmer on her coffee table and follows a strict pre-light routine.
This case illustrates how user habits—often overlooked—can dramatically affect performance, even with well-made candles.
Frequently Asked Questions
Is flickering always a sign of a problem?
No. A slight, rhythmic flicker is normal and part of healthy combustion. However, violent, irregular, or smoky flickering indicates instability and should be addressed.
Can I fix a drowned wick?
Yes. If the wick has been submerged in melted wax and won’t stay lit, let the candle cool completely. Carefully pour out excess liquid wax using a spoon or turkey baster. Blot the wick with a paper towel to remove moisture, then trim and relight. If the wick is too short, use a toothpick to prop it upright temporarily.
Why do some candles flicker more when they’re almost gone?
As candles near the end, the remaining wax pool shrinks, reducing fuel supply. Heat retention also increases in the container, potentially warping the wick or causing overheating. Most manufacturers recommend stopping use when ½ inch of wax remains to avoid glass breakage and unstable burning.
Conclusion: Achieve Calm, Consistent Light
Uneven candle flickering is rarely random—it’s a signal. Whether it's a cry for a trim, a plea for still air, or a warning about poor craftsmanship, listening to your candle helps extend its life and enhances your experience. By understanding the interplay of wick, wax, and environment, you gain control over one of the oldest sources of artificial light.
Great candle care isn’t complicated, but it does require attention. Simple habits like wick trimming, mindful placement, and honoring burn times make the difference between a flickering nuisance and a steady, luminous glow. The next time you light a candle, take a moment to observe its flame. With the right practices, it should burn quietly, evenly, and beautifully—just as intended.


 浙公网安备
33010002000092号
浙公网安备
33010002000092号 浙B2-20120091-4
Comments
No comments yet. Why don't you start the discussion?