
Candles bring warmth, ambiance, and comfort to homes, but nothing disrupts the experience like a candle that flickers erratically. While a gentle dance of flame can be soothing, an inconsistent or violent flicker often signals underlying problems. The root causes typically fall into two main categories: wick-related issues and wax quality. Understanding these factors not only improves your candle-burning experience but also enhances safety and extends the life of your candles.
Flickering isn't just a visual annoyance—it can lead to soot buildup, wasted wax, tunneling, and even pose fire hazards if left unchecked. This article breaks down the science behind candle flickering, examines how wick selection and wax composition influence flame stability, and offers practical solutions to ensure a clean, steady burn every time.
The Science Behind Candle Flame Behavior
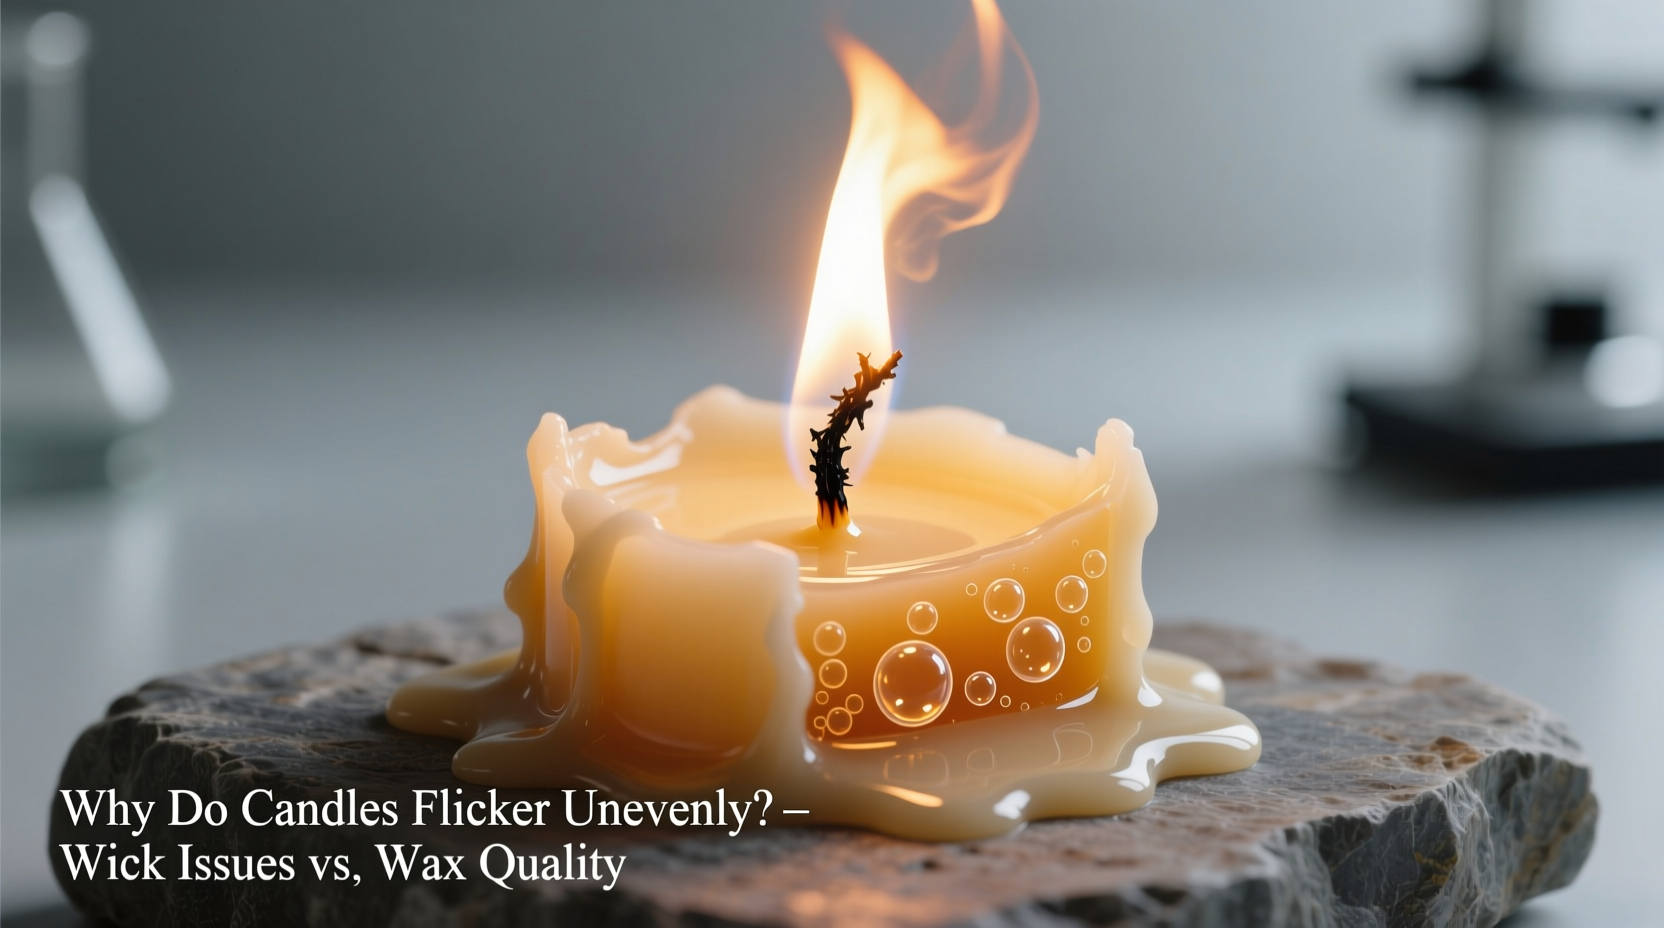
A candle flame is the result of a delicate balance between fuel (melted wax), wick conductivity, oxygen supply, and heat distribution. When you light a candle, the heat melts the wax near the wick, which is then drawn upward through capillary action. As the liquid wax reaches the flame, it vaporizes and combusts, sustaining the fire.
An ideal flame burns steadily with a bright blue base and a soft yellow tip. It should remain upright, produce minimal smoke, and maintain a consistent size. Uneven flickering occurs when this equilibrium is disrupted—either by fluctuations in fuel delivery, airflow interference, or inconsistencies in the materials used.
While drafts are a common culprit, persistent flickering—even in still environments—usually points to deeper issues tied to either the wick or the wax itself. Let’s explore both in detail.
Wick Issues That Cause Uneven Flickering
The wick is the heart of a candle’s performance. Its material, thickness, length, and structure directly affect how evenly the wax melts and how consistently the flame burns. Poor wick choices or improper maintenance are among the most frequent causes of erratic flickering.
1. Wick Length Too Long
When a wick grows too long, it produces a larger flame that consumes more fuel than necessary. This oversized flame creates turbulence, leading to rapid flickering and excessive soot. Trimming the wick to ¼ inch before each use helps maintain a controlled, stable flame.
2. Incorrect Wick Size for Candle Diameter
Using a wick that's too thick or too thin for the candle’s diameter disrupts the melt pool formation. A wick that’s too small won’t generate enough heat to create a full melt pool, causing tunneling and weak, sputtering flames. Conversely, an oversized wick produces a large, aggressive flame that flickers violently and burns down the candle too quickly.
3. Wick Type and Material
Not all wicks are created equal. Common types include cotton, wood, zinc-core, and paper-core wicks. Cotton wicks are popular for their clean burn but require proper sizing. Wooden wicks offer a pleasant crackling sound but can flare up if not centered correctly. Zinc-core wicks (often found in container candles) help keep the wick upright but may release trace metals when burned excessively.
4. Crooked or Off-Center Wicks
If the wick shifts during pouring or burning, the flame becomes unbalanced. An off-center wick leads to uneven melting, where one side of the wax pool forms faster than the other. This imbalance causes the flame to lean, sputter, and flicker unpredictably.
5. Mushrooming (Carbon Buildup)
Over time, carbon deposits can accumulate at the tip of the wick, forming a dark \"mushroom\" shape. This disrupts airflow around the flame, leading to popping, spitting, and irregular flickering. Regular trimming prevents mushrooming, especially in soy or paraffin blends prone to this issue.
How Wax Quality Influences Flame Stability
The type and purity of wax play a crucial role in how smoothly a candle burns. Lower-quality or improperly blended waxes often contribute to flickering, regardless of wick condition.
1. Inconsistent Melting Points
Poor-quality wax may contain impurities or inconsistent formulations that alter its melting behavior. If different parts of the wax melt at varying rates, the fuel supply to the wick becomes erratic, causing the flame to surge and dip.
2. Additives and Fillers
Some manufacturers add stearic acid, microcrystalline wax, or even paraffin to natural waxes like soy or beeswax to reduce costs or modify texture. While minor additives can improve performance, excessive fillers interfere with capillary action, resulting in poor wax draw and unstable flames.
3. Air Bubbles and Imperfections
During manufacturing, trapped air bubbles or uneven cooling can create internal voids in the wax. As the candle burns, these imperfections cause sudden changes in fuel availability, leading to momentary flameouts or sharp flickers.
4. Wax Type Comparison
Different waxes behave uniquely under flame:
| Wax Type | Burn Characteristics | Common Flickering Risks |
|---|---|---|
| Soy Wax | Slow, clean burn; eco-friendly | Prone to frosting and poor hot throw if low grade; may tunnel with wrong wick |
| Paraffin Wax | Bright flame; strong scent throw | Can produce soot; lower grades may have inconsistent density |
| Beeswax | Natural honey scent; dripless | Dense structure requires precise wicking; expensive |
| Coconut Blend | Excellent scent throw; smooth finish | Costly; must be paired with correct wick to avoid flicker |
“Wax quality is just as important as wick choice. A premium wax ensures consistent viscosity and capillary flow, which are essential for a steady flame.” — Dr. Lena Patel, Materials Scientist & Candle Formulation Consultant
Step-by-Step Guide to Diagnose and Fix Flickering Candles
Follow this systematic approach to identify and resolve flickering issues:
- Assess the Environment: Ensure the candle is away from fans, vents, open windows, or foot traffic that creates air currents.
- Inspect the Wick: Check if it’s bent, too long (>¼ inch), or showing signs of mushrooming. Trim if needed.
- Evaluate the Melt Pool: After 1–2 hours of burning, the wax should form a uniform pool across the surface. If only one side melts, the wick may be off-center or incorrectly sized.
- Observe Flame Behavior: A healthy flame is steady, teardrop-shaped, and emits little to no smoke. Flickering accompanied by black smoke indicates incomplete combustion.
- Check for Debris: Dust, fragrance residue, or old wick trimmings in the wax can clog the wick and disrupt fuel flow. Remove gently with tweezers.
- Test Burn Duration: Burn the candle for at least four hours on first use to establish a proper melt pool and prevent memory ring formation.
- Consider Replacement: If flickering persists despite troubleshooting, the candle may have inherent formulation flaws and should not be reused.
Mini Case Study: The Problematic Soy Candle
Sarah purchased a highly rated soy candle online, excited by its natural branding and lavender scent. On first burn, she noticed the flame flickered intensely, occasionally hissing and producing black smoke. Despite placing it in a draft-free area and trimming the wick, the issue continued.
After three uses, she contacted the manufacturer and shared photos of the melt pool. The company acknowledged that a batch had been poured with slightly undersized wicks for the container diameter. They offered a replacement with a corrected wick size. The new candle burned cleanly with a stable flame and full melt pool within two hours.
This case highlights how even reputable brands can have production inconsistencies—and why consumer feedback plays a key role in quality control.
Checklist: Preventing Uneven Flickering in Candles
- ✅ Trim wick to ¼ inch before every burn
- ✅ Burn for 1 hour per inch of candle diameter to achieve full melt pool
- ✅ Keep candle away from drafts and high-traffic areas
- ✅ Center the wick before lighting if it has shifted
- ✅ Clean debris from wax surface between uses
- ✅ Store candles in cool, dry places to preserve wax integrity
- ✅ Avoid burning candles longer than 4 hours at a time
- ✅ Choose candles made with high-quality, transparently sourced wax
Frequently Asked Questions
Is flickering always a sign of a bad candle?
Not necessarily. Occasional mild flickering can result from air movement or initial adjustment during burn-in. However, persistent, violent flickering—especially with smoking or sputtering—is a red flag indicating wick or wax issues.
Can I fix a flickering candle myself?
In many cases, yes. Trimming the wick, ensuring proper placement, and allowing adequate burn time can resolve common flickering. If the problem stems from manufacturing defects (e.g., wrong wick size or poor wax blend), the candle may not be salvageable.
Do certain fragrances make candles flicker more?
Yes. Heavy fragrance loads (above 10% concentration) can affect wax viscosity and combustion. Essential oils, particularly citrus-based ones, are volatile and may cause flame instability if not properly balanced in the formula.
Conclusion: Achieving a Clean, Stable Burn
Uneven candle flickering is rarely random—it’s a symptom of imbalances in wick performance or wax quality. By understanding how these elements interact, consumers can make smarter purchasing decisions and practice better candle care. Whether you're lighting a simple tea light or a luxury scented jar candle, attention to detail makes all the difference.
Always prioritize candles from transparent brands that disclose wax types and wick specifications. Maintain them with regular trimming and proper burn cycles. When flickering occurs, use the diagnostic steps outlined here to determine whether it’s user error or a product flaw.


 浙公网安备
33010002000092号
浙公网安备
33010002000092号 浙B2-20120091-4
Comments
No comments yet. Why don't you start the discussion?