
Christmas lights are more than just decorations—they’re symbols of warmth, celebration, and seasonal joy. But when they begin to flicker unpredictably, that magic can quickly turn into frustration. Random flickering not only disrupts the visual harmony of your holiday setup but may also indicate underlying electrical or mechanical issues. Understanding the root causes and knowing how to fix them ensures your lights shine steadily throughout the season. This guide dives deep into the science behind flickering, identifies common culprits, and provides actionable solutions to keep your display reliable and radiant.
The Science Behind Flickering Lights
Flickering in Christmas lights occurs when there’s an inconsistent flow of electricity through the circuit. Unlike household lighting, which typically runs on parallel circuits, most traditional string lights use series wiring. In a series circuit, each bulb is connected along a single path, meaning if one bulb fails or makes poor contact, it interrupts the entire chain. This design is cost-effective but inherently less stable.
Modern LED strings often incorporate built-in resistors and rectifiers to smooth out current fluctuations, but even these can flicker under certain conditions. Voltage drops, loose connections, incompatible dimmers, or thermal cycling in LEDs can all contribute to erratic behavior. The human eye is particularly sensitive to flicker in the 3–70 Hz range, making subtle fluctuations especially noticeable during quiet evening displays.
“Flicker isn’t just an aesthetic issue—it can be a sign of wear, poor design, or even fire risk in older incandescent sets.” — Dr. Alan Reeves, Electrical Safety Consultant at the National Decorative Lighting Institute
Common Causes of Random Flickering
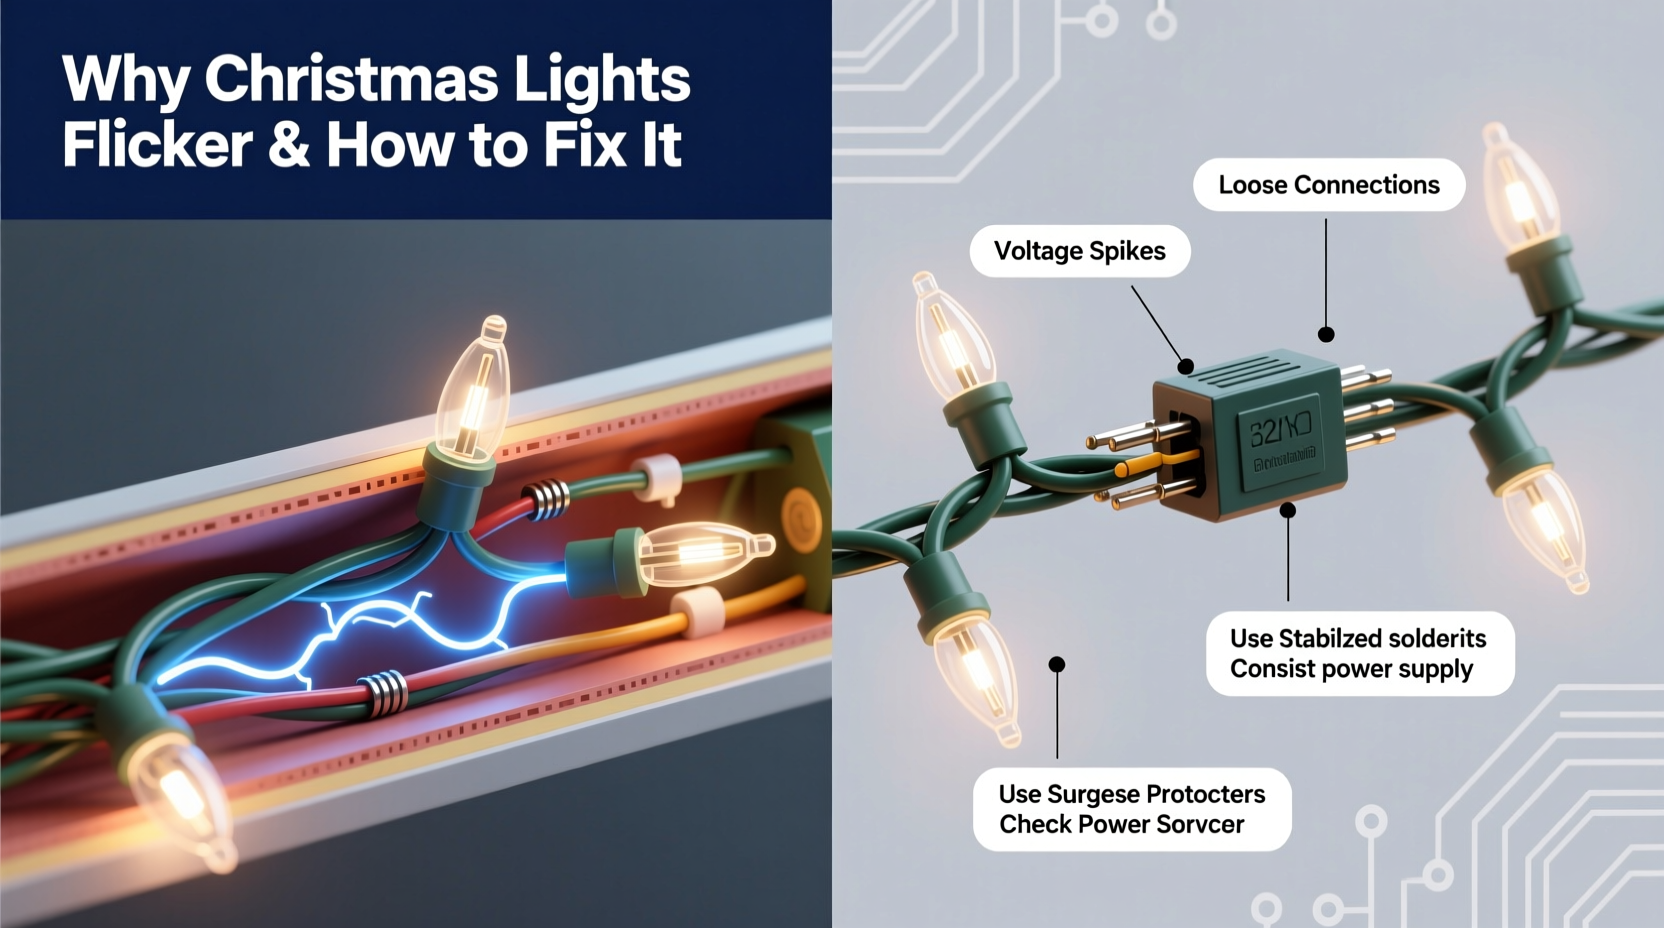
Not all flickering is created equal. Some patterns are rhythmic and predictable; others appear chaotic and random. The latter usually points to intermittent faults rather than a single failed component. Below are the most frequent causes:
- Loose or corroded bulbs: Over time, bulb bases can oxidize or become misaligned in their sockets, creating intermittent contact.
- Damaged wiring: Frayed insulation, pinched cords, or rodent damage can cause short circuits or fluctuating resistance.
- Overloaded circuits: Plugging too many light strings into a single outlet leads to voltage drops, especially with older home wiring.
- Incompatible power sources: Using non-LED-rated extension cords or surge protectors with built-in GFCI can interfere with low-current LED operation.
- Faulty shunt wires (in incandescents): Miniature incandescent bulbs contain shunts meant to bypass a burnt filament. If the shunt fails, the entire strand goes dark—or flickers as it intermittently connects.
- Temperature sensitivity: Cold weather can contract metal contacts, increasing resistance and causing flicker until the string warms up.
- Poor quality controllers: Programmable or color-changing lights rely on microcontrollers that may glitch due to power noise or firmware bugs.
Step-by-Step Guide to Stabilizing Flickering Lights
Resolving flicker requires a methodical approach. Jumping to replace entire strands wastes money and effort when a simple fix might suffice. Follow this sequence to diagnose and resolve the issue efficiently.
- Unplug the lights immediately. Safety first—always disconnect before handling or testing.
- Inspect for visible damage. Run your hands along the wire looking for cuts, kinks, or chew marks. Check plugs and connectors for scorching or bent prongs.
- Test each bulb. Remove and examine bulbs one by one. Look for darkened glass (sign of burnout), loose filaments, or corroded bases. Replace any suspect bulbs with spares of the same voltage and type.
- Clean socket contacts. Use a cotton swab dipped in isopropyl alcohol to wipe inside each socket. Let dry completely before reinserting bulbs.
- Check your power source. Plug the string into a different outlet on a separate circuit. Avoid daisy-chaining more than three standard light strings unless labeled for it.
- Use a multimeter to test continuity. Set to resistance mode and check for consistent readings across the strand. A fluctuating reading indicates a broken internal wire or failing shunt.
- Replace faulty fuses. Most plug ends have small fuse compartments. Use only the correct amperage replacement (usually 0.5A or 3A depending on light type).
- Upgrade to a regulated power supply (for LEDs). Consider using a constant-voltage DC adapter instead of AC outlets for sensitive LED arrays, especially in outdoor setups exposed to moisture.
Do’s and Don’ts When Troubleshooting Flicker
| Do | Don’t |
|---|---|
| Label repaired sections with colored tape to track fixes | Mix different light types (e.g., incandescent and LED) on the same controller |
| Store lights on reels to prevent tangling and wire stress | Force bulbs into sockets—if it doesn’t twist in smoothly, check alignment |
| Use weatherproof connectors for outdoor installations | Leave flickering lights unattended overnight or while away from home |
| Invest in smart LED strings with self-diagnostic features | Use indoor-only lights outdoors—even temporary exposure risks short circuits |
| Test lights before decorating to catch issues early | Ignore buzzing sounds or warm plugs, which signal dangerous overloads |
Real-World Example: Fixing a Persistent Outdoor Display Issue
A homeowner in Vermont reported that her prized rooftop icicle lights flickered erratically every evening after dusk. The pattern wasn’t consistent—sometimes one section blinked, other times the whole string dimmed. She replaced multiple bulbs and even bought a new controller, but the problem returned within days.
After consulting an electrician, she discovered the issue stemmed from two factors: first, the extension cord used was indoor-rated and had developed microfractures due to winter temperature swings. Second, the GFCI outlet on her porch was tripping intermittently because moisture had seeped into the housing, disrupting current flow to the low-power LED array.
The solution involved replacing the cord with a UL-listed outdoor-rated version, installing a weatherproof outlet cover, and adding a line conditioner to smooth voltage delivery. After these changes, the lights operated flawlessly for the remainder of the season—and for three years since, with no recurrence.
Choosing Stable Lights: What to Look For
Prevention is better than repair. When purchasing new lights, prioritize stability and longevity. Here’s what to consider:
- Built-in rectifiers: High-quality LED strings include full-wave rectifiers to convert AC ripple into steady DC, reducing perceptible flicker.
- Shunted vs. non-shunted sockets: Shunted sockets help maintain continuity if a bulb burns out, but only work properly with shunted bulbs. Mismatched components cause flickering.
- Constant-current drivers: Found in premium LED systems, these regulate current regardless of input fluctuations.
- UL certification: Look for the UL mark indicating compliance with U.S. safety standards. Avoid off-brand lights without proper testing.
- Parallel-wired designs: Newer “drop-free” strings wire LEDs in parallel so one failure doesn’t affect others. These are more expensive but far more reliable.
“The best investment you can make is in lights designed for consistency, not just brightness. Look beyond lumens—ask about driver quality and thermal management.” — Lena Torres, Product Engineer at BrightPath Lighting Systems
FAQ: Common Questions About Flickering Christmas Lights
Why do my LED Christmas lights flicker even when they’re new?
New LED lights may flicker if connected to a dimmer switch not rated for LED loads. Many homes have universal dimmers that work poorly with low-wattage LEDs. Try plugging the lights directly into a non-dimmer outlet. If flickering stops, you’ll need an LED-compatible dimmer or should avoid dimming altogether.
Can cold weather cause Christmas lights to flicker?
Yes. Cold temperatures cause metal components to contract, which can loosen connections in sockets or splices. Additionally, battery-powered lights (like net or stake lights) lose voltage output in freezing conditions, leading to dimming or flickering. Store spare batteries at room temperature and install them just before use.
Is flickering Christmas lights a fire hazard?
Occasional flicker due to a loose bulb is generally not dangerous. However, persistent flickering accompanied by heat, melting insulation, or buzzing noises can indicate arcing or overload—both serious fire risks. Unplug immediately and inspect thoroughly. Never ignore signs of overheating.
Essential Checklist for Flicker-Free Holiday Lighting
Use this checklist annually before hanging your lights to minimize issues:
- ✅ Test all strings indoors before installation
- ✅ Replace missing or damaged bulbs and fuses
- ✅ Clean socket contacts with alcohol wipes
- ✅ Use only outdoor-rated cords and connectors outside
- ✅ Avoid overloading circuits—max 80% capacity
- ✅ Install lights on a dedicated circuit if possible
- ✅ Secure connections with waterproof covers
- ✅ Label and store lights properly after the season
Conclusion: Shine Bright Without the Flicker
Randomly flickering Christmas lights don’t have to be an inevitable part of the holiday experience. With a clear understanding of electrical behavior, careful inspection habits, and smart equipment choices, you can achieve a display that’s both beautiful and dependable. Whether you’re maintaining heirloom incandescents or managing a modern smart-light system, attention to detail makes all the difference. Take the time now to assess your setup, apply these proven fixes, and enjoy a flicker-free season filled with steady, joyful light.


 浙公网安备
33010002000092号
浙公网安备
33010002000092号 浙B2-20120091-4
Comments
No comments yet. Why don't you start the discussion?