
LED lighting has revolutionized home, studio, and commercial environments—offering energy efficiency, longevity, and design flexibility. Yet photographers, videographers, content creators, and even casual smartphone users frequently encounter an unexpected side effect: harsh, unnatural glare in images. Unlike incandescent or halogen sources, certain LEDs produce intense specular reflections, rainbow-like fringes, or overexposed halos that degrade image quality, obscure detail, and undermine professional credibility. This isn’t a flaw in your camera—it’s the result of specific optical, electrical, and material interactions between modern LED technology and digital imaging systems. Understanding the root causes empowers you to select better fixtures, adjust shooting techniques intelligently, and implement practical countermeasures—without sacrificing brightness, color accuracy, or energy savings.
The Physics Behind LED Glare: More Than Just Brightness
Camera glare from LEDs stems not from raw luminance alone, but from how light is generated, shaped, and delivered. Traditional filament bulbs emit light isotropically—radiating photons in all directions from a diffuse, thermally excited source. LEDs, by contrast, are directional semiconductor devices. Light originates from a tiny, high-intensity chip (often under 1 mm²), then passes through layers of phosphor coating and secondary optics like lenses or diffusers. When those optics are poorly engineered—or deliberately minimized for cost or beam control—the resulting light distribution becomes highly non-uniform.
Two primary mechanisms drive visible glare:
- Spatial coherence and etendue mismatch: Camera lenses have finite light-gathering capacity (etendue). A small, ultra-bright LED die can exceed the lens’s ability to resolve angular spread cleanly, causing internal reflections between lens elements and sensor microlenses—manifesting as starbursts, ghosting, or veiling glare.
- Temporal modulation artifacts: Many budget and dimmable LEDs use pulse-width modulation (PWM) to regulate brightness. At frequencies below ~1,000 Hz, this rapid on-off cycling interacts with shutter speed and rolling shutter sensors (especially in smartphones and DSLRs), producing banding, flicker-induced streaks, or inconsistent exposure across the frame—often misdiagnosed as “glare.”
Crucially, glare intensifies when the LED’s correlated color temperature (CCT) exceeds 5000K and its spectral power distribution includes strong blue peaks near 450 nm. These shorter wavelengths scatter more readily in lens coatings and camera sensors, increasing chromatic aberration and flare susceptibility. As Dr. Lena Torres, Optical Engineer at the Imaging Science Foundation, explains:
“LED glare isn’t just about intensity—it’s about spectral purity, spatial uniformity, and temporal stability. A 3000K LED with smooth phosphor conversion and analog dimming will often outperform a ‘flicker-free’ 6500K fixture using cheap PWM drivers and bare-die optics.” — Dr. Lena Torres, Optical Engineer, Imaging Science Foundation
Why Your Smartphone Suffers Most (and What It Reveals)
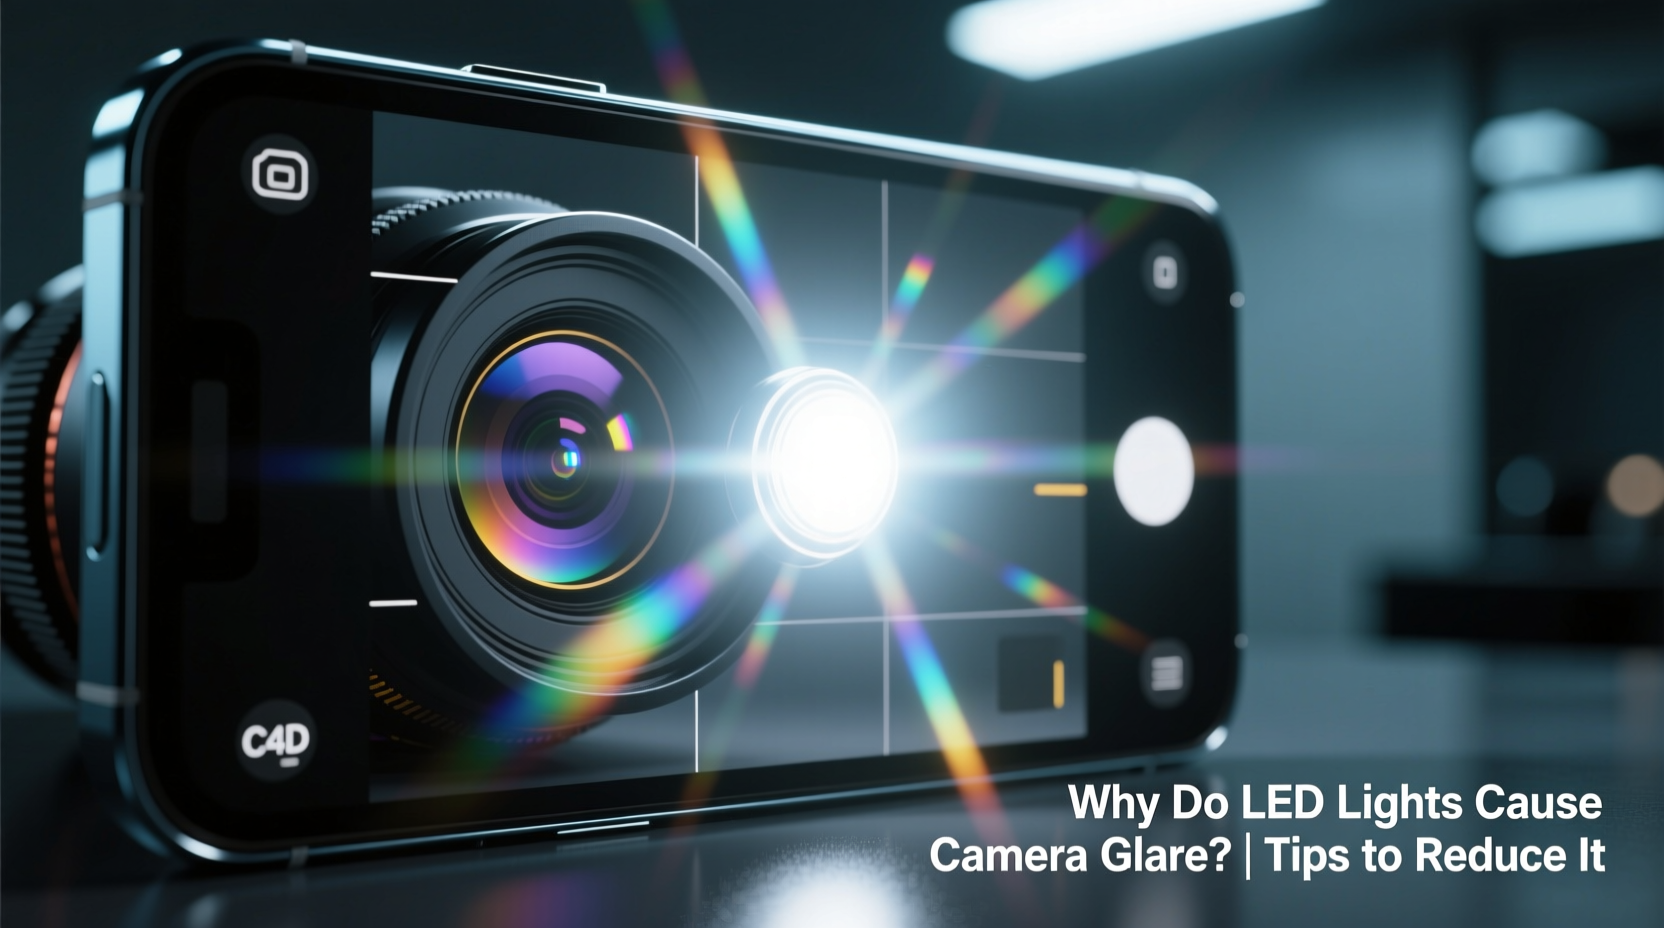
Smartphones magnify LED glare issues due to three converging design constraints: extremely small lens apertures, tightly packed multi-layer sensor stacks, and aggressive computational photography algorithms. A typical flagship phone uses a lens with f/1.6–f/2.2 aperture and a sensor stack only 0.5–0.7 mm thick. When pointed toward even a modest 8W LED panel, the lens elements reflect internally—not once, but multiple times—creating concentric halos or cross-shaped artifacts. Simultaneously, the phone’s auto-exposure system locks onto the brightest point (the LED source), drastically underexposing surrounding subjects and amplifying noise in shadows.
This phenomenon reveals a critical insight: glare isn’t merely aesthetic—it’s a diagnostic signal. Persistent glare often indicates one or more of these underlying issues:
- Poorly diffused LED modules (e.g., exposed COB chips without secondary optics)
- Low CRI (<80) fixtures with narrow spectral spikes that overwhelm sensor color filters
- Non-uniform current regulation causing micro-variations in brightness across the array
- Unshielded driver electronics emitting electromagnetic interference (EMI) that disrupts sensor readout
Proven Strategies to Reduce LED Glare: A Tiered Approach
Eliminating LED glare requires intervention at three levels: fixture selection, environmental setup, and camera technique. Relying on post-processing alone rarely recovers lost highlight detail or eliminates chromatic fringing. Below is a step-by-step mitigation framework, validated across studio, retail, and residential settings.
Step 1: Audit Your Fixtures
Examine each LED source using a spectrometer app (e.g., SpectraCam) or a handheld lux meter with CCT/CRI readout. Discard or retrofit any fixture with:
- CRI < 85 (prioritize ≥90 for accurate skin tones and textures)
- CCT variance > ±200K across the beam (indicates poor binning)
- Flicker percentage > 5% at 100% output (measured via slow-motion video at 240+ fps)
Step 2: Modify Light Delivery
Never aim LEDs directly at the subject or camera. Instead, bounce or diffuse strategically:
- Use matte white foam core or seamless paper as bounce surfaces—not glossy paint or mirrors
- Layer diffusion: First, a 1/4-stop silk; second, a grid cloth for directional control
- Install barn doors or snoots to constrain spill and prevent lens proximity
Step 3: Optimize Camera Settings
Manual control is essential. Avoid auto modes entirely when LEDs are present:
- Set shutter speed to 1/60 s (for 60 Hz AC regions) or 1/50 s (for 50 Hz)—never faster than 1/125 s unless using high-frequency drivers
- Use manual white balance—set Kelvin value to match measured CCT, not auto-WB
- Stop down your lens by 1–2 stops (e.g., f/4 → f/5.6) to reduce internal reflections and improve edge sharpness
Do’s and Don’ts: Fixture Selection & Placement Guide
| Action | Do | Don’t |
|---|---|---|
| Fixture Type | Choose LEDs with integrated secondary optics (e.g., TIR lenses, precision reflectors) and ≥90 CRI | Select bare-die panels, unshielded strip lights, or “high-output” COB arrays without diffusers |
| Mounting Height | Position lights ≥2.5× the subject-to-camera distance (e.g., 3 m away if subject is 1.2 m from camera) | Mount lights directly above or beside the camera axis—creates direct lens flare |
| Dimming Method | Specify 0–10V analog or DALI dimming; verify driver specs list “flicker-free” and “PWM frequency ≥3,000 Hz” | Rely on TRIAC dimmers or consumer-grade smart bulbs with undocumented PWM behavior |
| Color Consistency | Batch-purchase from same manufacturer lot; measure CCT with a calibrated color meter before installation | Mix brands, models, or CCTs (e.g., 4000K ceiling + 5000K desk lamp) in the same scene |
Real-World Case Study: The Retail Product Photography Fix
A midsize e-commerce brand selling ceramic tableware struggled with inconsistent product shots. Their new LED track lighting produced severe glare on glazed surfaces—rendering texture invisible and creating purple halos around rim highlights. Initial attempts included editing in Lightroom (reducing dehaze, applying radial filters), but results looked flat and artificial. A lighting audit revealed three root causes: (1) 6500K fixtures with CRI 78, (2) unfiltered 30° spot beams aimed directly at products, and (3) PWM dimming at 420 Hz interacting with their Canon EOS R5’s electronic shutter.
The solution involved a phased upgrade: First, they replaced track heads with 3500K, CRI 95+ fixtures featuring frosted polycarbonate diffusers and constant-current drivers. Second, they installed adjustable barn doors and angled lights 45° off-axis, bouncing light off vertical white scrims. Third, they switched cameras to mechanical shutter mode at 1/100 s and manually set white balance to 3500K. Result: glare eliminated, surface detail recovered, and post-production time reduced by 65%. Crucially, customer return rates for “appearance mismatch” dropped from 8.2% to 2.7% within two months—proving glare isn’t just visual noise; it erodes trust.
FAQ: Addressing Common Misconceptions
Does higher wattage always mean more glare?
No. Glare correlates more strongly with luminance (candelas per square meter) than total power. A well-diffused 15W LED panel may produce less glare than a poorly designed 5W spotlight because its light is distributed over a larger surface area—lowering peak luminance. Always prioritize luminance data (cd/m²) over wattage when evaluating glare potential.
Will cleaning my lens fix LED glare?
Lens smudges or dust exacerbate flare, but they don’t cause the fundamental issue. If glare disappears after cleaning, the problem was contamination—not LED physics. However, if glare persists (especially symmetrical halos or colored fringes), the source is optical path interaction with the LED’s emission profile, not surface debris.
Can I use ND filters to reduce LED glare?
Neutral density filters reduce overall exposure but won’t suppress internal lens flare or chromatic artifacts—they simply darken the entire image, including shadows and midtones. For true glare control, use physical light shaping (flags, scrims, barn doors) or upgrade to lenses with advanced anti-reflective nanocoatings (e.g., Canon Nano USM, Sony Nano AR II).
Conclusion: Lighting Is a Language—Learn to Speak It Clearly
LED glare isn’t an unavoidable nuisance—it’s feedback. It signals where light quality, delivery, and capture technique are misaligned. By shifting focus from “how bright” to “how clean,” you reclaim creative control: richer tonal gradations, truer colors, and images that communicate intention rather than technical compromise. Start small—swap one problematic bulb for a high-CRI, diffused alternative; adjust your key light’s angle by 15 degrees; shoot at 1/60 s instead of auto. Observe the difference not just in pixels, but in perception: how viewers engage with texture, depth, and authenticity. In an era where visual credibility drives decisions—from online purchases to brand loyalty—mastering light isn’t optional. It’s foundational.


 浙公网安备
33010002000092号
浙公网安备
33010002000092号 浙B2-20120091-4
Comments
No comments yet. Why don't you start the discussion?