
Prelit Christmas trees offer undeniable convenience—no tangled cords, no hours spent wrapping strands of lights around branches. Yet, many owners are disappointed to find that their tree’s glow is inconsistent: dark patches near the trunk, overly bright clusters at the tips, or entire sections dimmer than others. This uneven light distribution not only diminishes visual appeal but can also disrupt the festive ambiance homeowners hope to create. Understanding the root causes behind this common issue—and knowing how to correct it—is essential for achieving that ideal, evenly illuminated holiday centerpiece.
The problem isn’t random. It stems from design limitations, manufacturing choices, and user handling. But with the right knowledge and a few strategic adjustments, even an imperfect prelit tree can shine uniformly and beautifully throughout the season.
Why Uneven Lighting Happens on Prelit Trees
Manufacturers face trade-offs when designing prelit trees. Cost, durability, and ease of assembly all influence how lights are integrated into the tree. Unfortunately, aesthetics like even illumination aren’t always prioritized. Several key factors contribute to patchy lighting:
- Fixed Light Placement: Lights are hardwired at specific intervals along the trunk and major branches during production. If spacing is too wide or clustered toward outer limbs, inner sections remain dark.
- Branch Density Variation: Fuller lower sections may obscure lights, while sparse upper tiers allow bulbs to be more visible, creating brightness imbalances.
- Bulb Type and Wattage: Many prelit trees use LED strings with low lumen output. When combined with poor placement, these bulbs struggle to penetrate deep into the tree’s core.
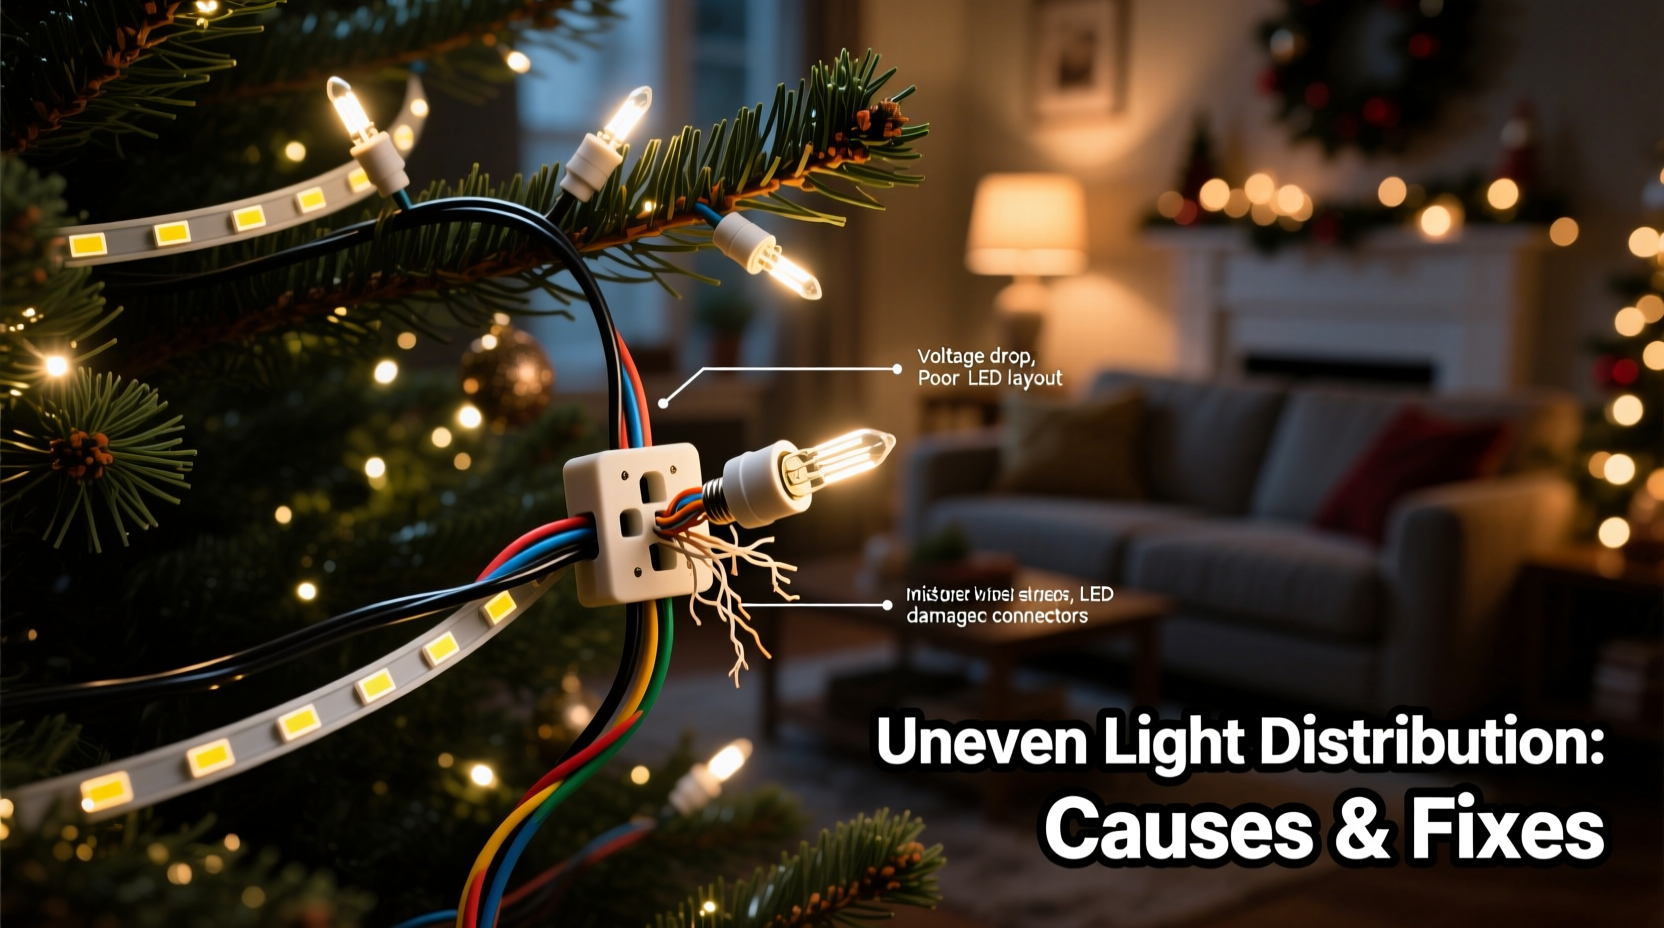
- Electrical Load Distribution: In series-wired systems (common in older models), voltage drops across the circuit can cause downstream bulbs to appear dimmer.
- Tree Shape and Profile: Narrow-profile or pencil trees concentrate lights vertically, leading to horizontal banding rather than radial spread.
“Many budget-friendly prelit trees sacrifice optical performance for cost efficiency. The result? Hotspots and shadows instead of balanced radiance.” — Daniel Meier, Lighting Engineer & Holiday Display Consultant
How to Diagnose Your Tree’s Lighting Issues
Before attempting fixes, assess your tree systematically. A methodical evaluation helps identify whether the issue is mechanical, electrical, or simply one of perception.
- Inspect Each Section: Turn off ambient room lighting and examine the tree from multiple angles. Note where gaps occur—near the base, midsection, or top?
- Check Bulb Functionality: Look for dead bulbs or flickering sections. One failed bulb in a series circuit can affect multiple others.
- Evaluate Branch Fullness: Are densely packed areas blocking light? Do certain limbs cast heavy shadows?
- Test Brightness Gradient: Stand directly in front, then walk around the tree. Is lighting consistent in 360 degrees, or does one side dominate?
- Review Manufacturer Specs: Check if the tree uses parallel or series wiring, total bulb count, and lumens per bulb. This data reveals inherent limitations.
Solutions to Achieve Even Light Distribution
While you can’t rewire the factory-installed string, several proven techniques can dramatically improve uniformity.
1. Fluff and Position Branches Strategically
Most uneven lighting results from poor branch arrangement. Factory-folded trees compress limbs inward, causing overlapping foliage that traps light beneath layers of PVC needles.
To correct this:
- Start at the bottom and work upward, rotating each branch outward at a 45-degree angle.
- Alternate directions between adjacent branches to create a spiral effect, allowing light to escape radially.
- Pull central limbs slightly forward to expose inner-tier bulbs.
2. Add Supplemental Lighting
No prelit tree is immune to coverage gaps. Complement existing lights with additional strands:
- Use warm-white mini LED strings (battery-operated for safety) to fill dark zones.
- Wrap a secondary strand around the trunk or inner core, focusing on shadowed areas.
- Choose clear wires and matching bulb colors to maintain a seamless look.
3. Upgrade or Replace Problematic Strings
If your tree uses outdated incandescent bulbs or has persistent dead sections, consider replacing the entire light set—if accessible. Some premium prelit trees feature removable light strings with plug-in connectors.
In such cases:
- Replace with higher-lumen LED strings designed for full coverage (e.g., 100+ bulbs per tier).
- Select constant-current drivers to prevent voltage drop over long runs.
- Opt for diffused-tip LEDs, which scatter light more evenly than directional bulbs.
4. Adjust Viewing Environment
Perceived brightness depends on surroundings. A tree against a dark wall may appear brighter than one beside a white sofa due to contrast.
Improve visibility by:
- Placing the tree in a corner with reflective surfaces (mirrors, glass furniture) to bounce light back.
- Avoiding direct overhead lighting that washes out the tree’s glow.
- Using dimmable room lights to enhance contrast during evening viewing.
Do’s and Don’ts of Prelit Tree Light Management
| Do’s | Don’ts |
|---|---|
| Fluff branches outward in alternating directions for maximum light dispersion | Leave branches folded inward or stacked tightly together |
| Add battery-powered micro-lights to illuminate dark inner sections | Overload electrical outlets with extra plug-in strands on the same circuit |
| Check for replaceable light strings before discarding a poorly lit tree | Assume all prelit trees are equal—research bulb count and layout before buying |
| Use a timer to reduce wear and maintain consistent daily illumination | Ignore flickering bulbs; they may indicate failing circuits or fire risks |
| Clean bulbs gently with a dry cloth to maintain brightness | Use water or cleaning sprays near electrical components |
Step-by-Step Guide to Fixing Uneven Lighting
Follow this sequence annually when setting up your prelit tree:
- Unpack Carefully: Remove sections without pulling on wires. Inspect for kinks or damaged insulation.
- Assemble and Expand: Attach each tier securely. Begin fluffing from the bottom up.
- Power On Test: Plug in the tree in a dark room. Identify non-working bulbs or dim zones. <4> Adjust Branch Angles: Rotate limbs outward, ensuring inner branches are pulled forward to expose lights.
- Add Fill Lights: Install supplemental LED strands in areas with poor coverage. Secure with twist ties or floral wire.
- Walk Around Evaluation: View the tree from all sides and typical vantage points (e.g., couch level).
- Final Tweaks: Re-fluff any obstructive branches and ensure no wires are exposed or dangling.
Real Example: Transforming a Dim Corner Tree
Sarah from Portland purchased a 7.5-foot prelit fir tree online. Upon setup, she noticed the front glowed brightly, but the back and center were nearly dark. Her living room seating area viewed the tree diagonally from the rear corner, making the issue especially noticeable.
She followed these steps:
- Disassembled and re-fluffed every branch, paying special attention to inward-facing limbs.
- Added two 20-bulb battery-operated LED strands wrapped around the trunk and middle tier.
- Placed a floor mirror behind the tree to reflect light into the shadowed zone.
The result? A fully radiant tree visible from every seat in the room. “It went from looking half-done to magazine-worthy,” she said. “I didn’t realize how much difference proper fluffing and a few extra lights could make.”
When to Consider a Replacement Tree
If your current tree consistently underperforms despite troubleshooting, it may be time to upgrade. Not all prelit trees are created equal. Key indicators for replacement include:
- Frequent bulb failures or unfixable dark sections
- Less than 400 total bulbs on a 7-foot or taller tree
- Series-wired lights with noticeable brightness drop-off
- Lack of serviceable components (non-replaceable strings)
Look for newer models advertising “full-body illumination,” “dual-light technology,” or “inner-core lighting.” These designs integrate secondary strings deeper within the silhouette for better depth coverage.
FAQ
Can I add more lights to a prelit tree safely?
Yes, as long as you avoid overloading electrical circuits. Use battery-powered lights for inner sections, or plug supplemental strands into a separate outlet. Never daisy-chain beyond the manufacturer’s recommended limit.
Why are the lower branches of my prelit tree darker?
This usually happens because lower tiers are denser and trap light beneath overlapping branches. Additionally, gravity pulls flexible wire harnesses downward, sometimes bunching lights near the floor. Proper fluffing and upward redistribution of limbs can correct this.
Do LED prelit trees have better light distribution than incandescent ones?
Not inherently—but LEDs offer advantages. They generate less heat, allowing closer placement to tips without fire risk, and many modern LED trees use parallel wiring to maintain consistent brightness. However, poor design can still lead to uneven lighting regardless of bulb type.
Conclusion: Illuminate with Intention
Uneven light distribution on prelit Christmas trees is a widespread but solvable issue. It stems from compromises made during manufacturing, not inevitable flaws. By understanding how light interacts with branch structure and taking deliberate steps to adjust placement, supplement coverage, and optimize viewing conditions, you can transform a lackluster display into a luminous holiday focal point.
The perfect tree isn’t just about size or brand—it’s about attention to detail. A few minutes of thoughtful fluffing, a handful of extra bulbs, and a critical eye can make all the difference. This season, don’t settle for spotty shine. Take control of your tree’s glow and enjoy a truly radiant celebration.


 浙公网安备
33010002000092号
浙公网安备
33010002000092号 浙B2-20120091-4
Comments
No comments yet. Why don't you start the discussion?