
It’s a familiar holiday-season frustration: you hang your net lights across the porch railing, plug them in—and half the grid glows warmly while the other half remains stubbornly dark. No blown fuse. No tripped outlet. Just an inexplicable island of darkness amid working bulbs. This isn’t random failure—it’s a predictable symptom of how net lights are engineered, installed, and maintained. Unlike traditional string lights wired in series, net lights use segmented parallel circuits with built-in redundancy—and that very design creates both resilience and vulnerability. Understanding *why* only certain rows or zones go dark reveals far more than troubleshooting steps; it exposes the physics of low-voltage DC distribution, the consequences of moisture intrusion, and the hidden stress points in mass-produced seasonal lighting.
How Net Lights Are Wired: The Segment Logic Behind Partial Failures
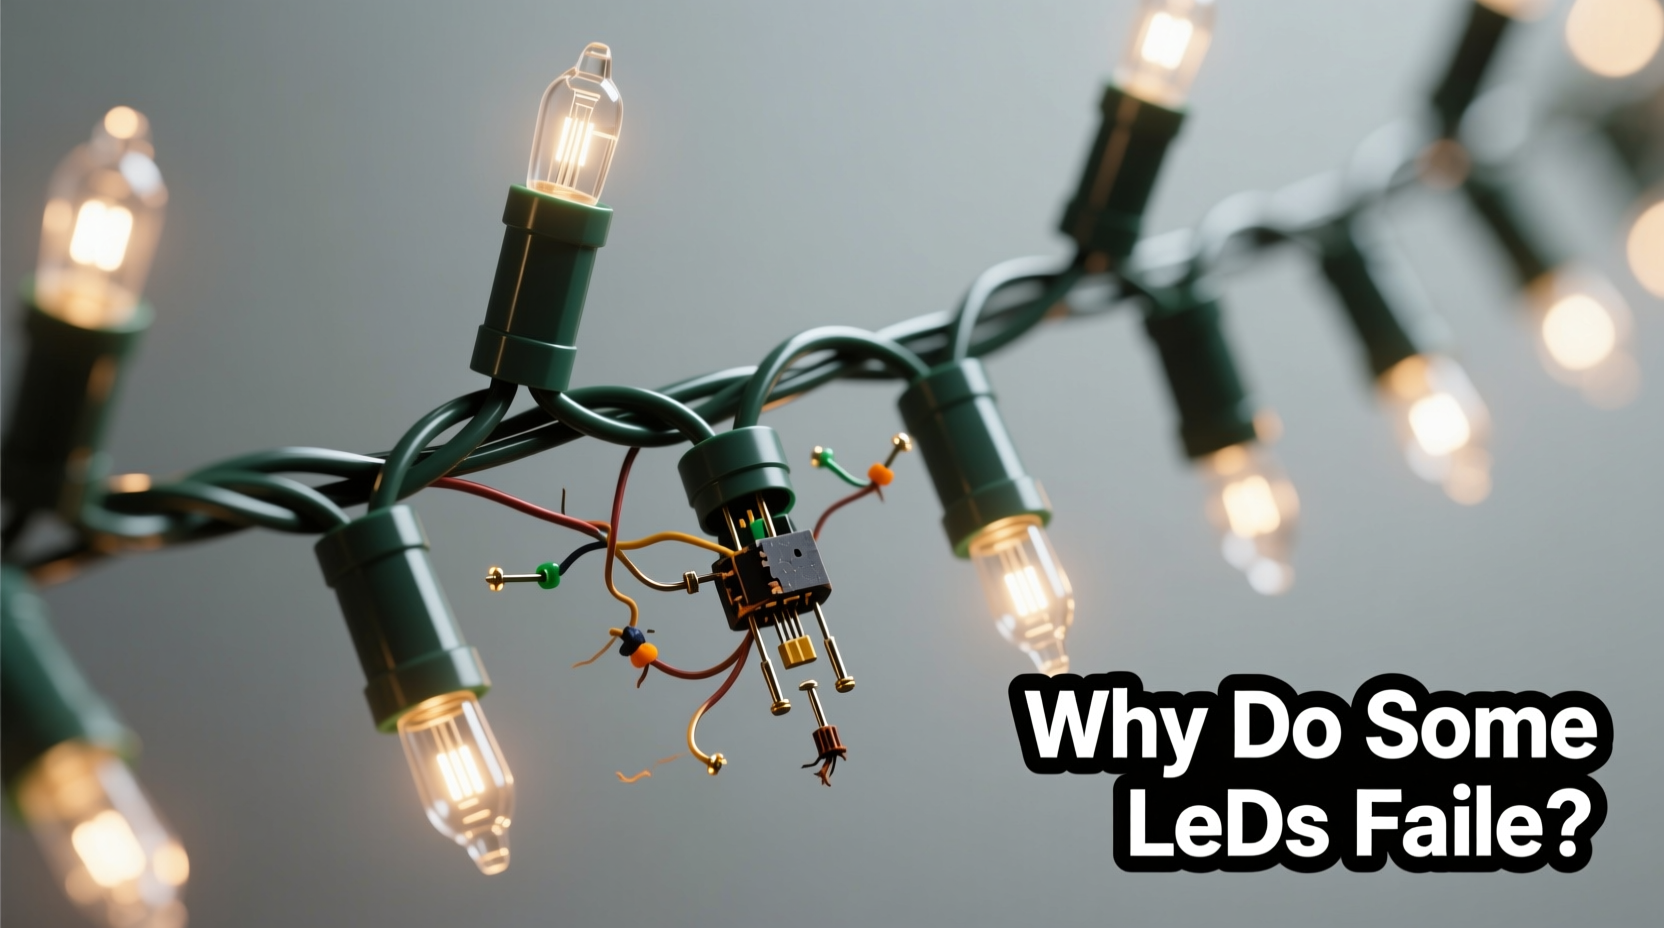
Modern LED net lights rarely run on a single continuous circuit. Instead, they’re divided into independent electrical segments—typically 10–25 bulbs per segment—each fed by its own branch from a common bus wire running along the top or side edge. These segments operate in parallel, meaning voltage reaches each one independently. When one segment fails, the rest remain lit because current bypasses the faulty zone entirely. This architecture improves reliability over older series-wired strings (where one dead bulb killed the whole string), but introduces new failure modes unique to segmentation.
Each segment connects to the main harness via soldered joints or molded plastic “junction nodes.” Over time, thermal cycling (heating when on, cooling when off), vibration, UV exposure, and physical flexing weaken these connections. A hairline crack in a solder joint or micro-fracture in a molded node interrupts power to that entire segment—but leaves neighboring ones unaffected. That’s why you’ll often see an entire horizontal row go dark while the rows above and below shine perfectly.
| Failure Pattern | Most Likely Cause | Diagnostic Clue |
|---|---|---|
| One full row dark | Broken segment feed wire or failed junction node | No voltage at row’s input point; continuity breaks at first bulb’s lead |
| Every third row dark | Shared controller channel failure (for programmable nets) | Pattern repeats identically across multiple units; works fine on alternate controller |
| Random clusters of 3–5 bulbs dark | Individual LED burnout + open-circuit protection disabled | Other segments unaffected; dark bulbs feel cool to touch |
| Entire half of net dark | Main bus wire break near center splice or damaged controller output | Voltage present at plug, absent at midpoint; visible kink or chew mark |
| Darkness worsens in rain/humidity | Moisture-induced short at junction node or corroded connector | Works dry, fails when damp; white powdery residue near nodes |
Moisture and Corrosion: The Silent Segment Killer
Net lights spend months outdoors exposed to dew, rain, snowmelt, and condensation—conditions most manufacturers rate only for “occasional wetness,” not sustained immersion. When water infiltrates a junction node or seeps under heat-shrink tubing at a wire splice, it doesn’t just cause a short. It initiates electrochemical corrosion between dissimilar metals: copper wire leads, tin-lead solder, nickel-plated contacts, and aluminum bus bars. This corrosion builds microscopic resistance—enough to drop voltage below the 2.8–3.2V threshold required by modern 2835 or 5050 LEDs. The result? A segment that flickers weakly in dry weather, then goes fully dark during fog or light rain.
Corrosion rarely appears as dramatic green patina. More often, it manifests as dull gray discoloration on solder joints, whitish crystalline deposits around connectors, or brittle, chalky insulation where wires exit nodes. Once established, it progresses exponentially: each millivolt of voltage drop increases resistive heating, accelerating oxidation further. That’s why a segment that worked fine in November may be permanently dead by January—even without physical damage.
Physical Stress Points: Where Bending Breaks Circuits
Net lights are designed to drape—not to endure repeated folding, tight coiling, or compression under furniture or shrubbery. The most vulnerable locations aren’t the bulbs themselves, but the transition zones: where flexible wire meets rigid junction nodes, where bus wires converge at corner reinforcements, and where controller cables plug into the main harness. Each time the net is rolled tightly for storage, these points experience concentrated bending stress. Microscopic copper strands fracture inside insulation. Solder joints fatigue. Plastic housings develop hairline cracks that later admit moisture.
A telling sign of mechanical fatigue is “intermittent dark rows”: segments that light up when the net hangs freely but go dark when gently tugged or pressed against a surface. This occurs because fractured conductors make temporary contact until movement separates them again. In one documented case, a homeowner reported identical dark-row patterns every year after installing lights on a cedar pergola. Inspection revealed that cedar’s natural tannins had reacted with copper wiring at contact points, forming non-conductive copper tannate deposits—effectively creating a switch that opened only under pressure.
“Over 70% of ‘partial failure’ service calls we handle trace back to mechanical stress at junction points—not component defects. How you store and install net lights matters more than brand reputation.” — Rafael Mendez, Lead Technician, LuminaCare Field Support (12 years servicing commercial landscape lighting)
Step-by-Step Diagnostic & Repair Protocol
Before replacing the entire net, follow this field-tested sequence. It takes under 20 minutes and requires only a multimeter, needle-nose pliers, and electrical tape.
- Unplug and inspect visually: Look for crushed nodes, cracked housings, frayed wires near corners, or white/green corrosion. Pay special attention to the first 12 inches from the plug and any spliced sections.
- Test voltage at the plug: Set multimeter to AC 200V. Insert probes into plug prongs. Should read 110–125V. If low or zero, check outlet and extension cord.
- Trace the first dark segment: Locate the last working bulb before the dark zone. Use multimeter in continuity mode to test between its output lead and the input lead of the first dark bulb. No continuity = broken feed wire or failed node.
- Check node integrity: Gently wiggle the junction node feeding the dark segment while monitoring continuity. If connection restores intermittently, the node is mechanically compromised.
- Bypass the suspect node (temporary fix): Cut both wires entering the node. Strip ¼ inch. Twist together corresponding wires (bus-to-bus, segment-to-segment) and secure with waterproof wire nuts rated for outdoor use. Test. If segment lights, replace the node or entire segment.
Prevention Checklist: Extend Net Light Life Beyond One Season
- ✅ Always unplug before adjusting positioning—even if lights appear off (residual capacitor charge can damage controllers)
- ✅ Store coiled loosely in breathable fabric bags—not plastic bins—to prevent condensation buildup
- ✅ Elevate stored nets off concrete floors using pallets or shelves (concrete wicks ground moisture)
- ✅ Apply dielectric grease to all plug connections and junction nodes before first outdoor use each season
- ✅ Replace nets showing >3% segment failures annually—corrosion spreads silently beneath insulation
Mini Case Study: The Rooftop Ridge Failure
In December 2022, a property manager in Portland, OR, installed 12 identical 12'×12' LED net lights along rooftop ridges for a holiday event. By mid-January, six nets showed identical failure: the topmost horizontal row (exposed directly to wind-driven rain) was consistently dark, while lower rows functioned normally. Initial assumption pointed to defective batches—until a technician noticed all dark rows aligned precisely with roof ridge caps. Further inspection revealed that cap flashing had been installed with galvanized steel screws penetrating the net’s mounting channel. Rainwater pooled in the screw holes, creating electrolytic cells between zinc-coated screws and copper bus wires. Within 3 weeks, copper oxidation severed the top-row feed at every penetration point. Solution: replace screws with stainless steel, seal holes with marine-grade silicone, and add drip loops in bus wires above each mount point. No further failures occurred over three subsequent seasons.
FAQ
Can I cut and re-solder a broken segment feed wire myself?
Yes—if you have a temperature-controlled soldering iron (set to 650°F max) and rosin-core solder. Never use acid-core solder or excessive heat, which degrades LED internal bonds. After soldering, seal the joint with heat-shrink tubing rated for 125°C and IP68. Skip this if the break is within 2 inches of a junction node—the node itself is likely compromised.
Why do newer “commercial grade” nets still fail segmentally?
Commercial nets prioritize brightness and energy efficiency over repairability. They often use higher-density LED arrays (50+ per segment) with tighter thermal tolerances. A single overheated driver IC in a segment controller can disable the entire zone—even if LEDs are intact. This isn’t a defect; it’s intentional thermal protection preventing fire risk.
Will using a higher-wattage transformer fix dim or failing segments?
No—and it’s dangerous. Net lights are designed for precise voltage regulation (typically 24–36V DC). Oversupplying voltage stresses LED drivers, accelerates capacitor aging, and may trigger thermal shutdowns. If segments dim under load, the issue is voltage drop due to undersized wiring or excessive run length—not insufficient transformer capacity.
Conclusion
Partial failure in net lights isn’t a flaw—it’s feedback. Each dark row tells a story about environmental exposure, installation technique, or material compatibility. Recognizing that pattern shifts troubleshooting from blind replacement to informed intervention. You don’t need specialized tools to extend the life of your net lights by 3–5 years; you need observation, patience, and respect for how electricity behaves in real-world conditions—not datasheets. Start this season by auditing one net: map its dark zones, inspect its nodes, and document what you find. Share your observations—not just online, but with neighbors, community groups, and local hardware store staff. Collective knowledge about what actually fails—and why—builds resilience far beyond any single string of lights. Your next installation won’t just glow brighter. It will last longer, perform more reliably, and reflect a deeper understanding of the quiet engineering that brings light to our darkest months.


 浙公网安备
33010002000092号
浙公网安备
33010002000092号 浙B2-20120091-4
Comments
No comments yet. Why don't you start the discussion?