
Smart Christmas light strips have transformed holiday decorating with dynamic colors, app-controlled effects, and programmable patterns. Yet for many users, a frustrating issue arises: certain segments of the strip appear dimmer or brighter than others. This inconsistency can ruin an otherwise polished display. While it may seem like a defect, uneven brightness is often the result of electrical, design, or operational factors that are both diagnosable and correctable. Understanding the root causes empowers users to troubleshoot effectively and enjoy uniform, vibrant lighting across their entire setup.
Understanding How Smart LED Light Strips Work
Unlike traditional incandescent holiday lights, modern smart LED strips use digitally addressable LEDs—individual bulbs that can be controlled separately via microcontrollers. Each LED contains a tiny chip (commonly WS2812B, SK6812, or similar) that receives data signals from a controller and adjusts color and brightness accordingly. The strip operates on low-voltage DC power, typically 5V or 12V, supplied through a dedicated adapter.
The physical layout matters: LEDs are arranged in series along a flexible circuit board. Power travels from one end to the next, and data is passed sequentially from the first LED to the last. Because of this daisy-chained architecture, any disruption in voltage or signal integrity can compound over distance, leading to visible discrepancies in performance—especially in longer runs.
Manufacturers often divide long strips into \"segments\" for control purposes. A segment might consist of 10, 30, or 50 LEDs grouped together in software. However, hardware limitations don’t always align perfectly with these logical divisions, which can expose underlying inconsistencies during operation.
Primary Causes of Inconsistent Brightness
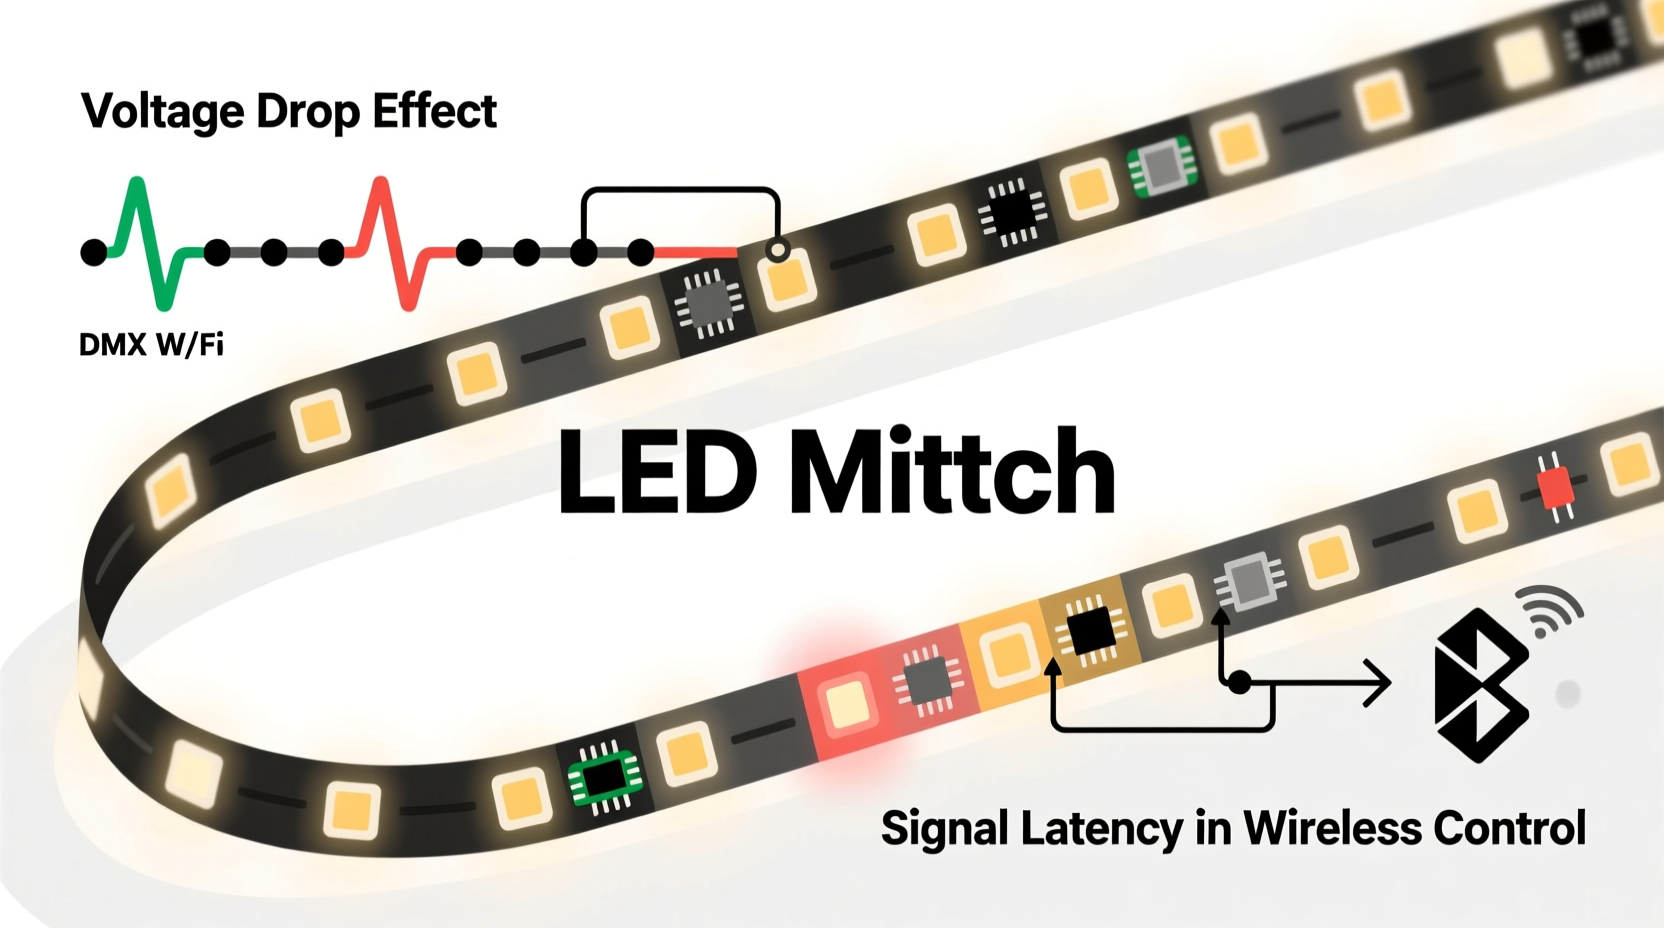
Voltage Drop Across Long Runs
The most common cause of uneven brightness is voltage drop. As electricity travels down the copper traces on the LED strip, resistance in the material causes a gradual loss of voltage. LEDs at the beginning of the strip receive full voltage and shine brightly; those at the far end get less power and appear dimmer.
This effect is more pronounced in 5V strips compared to 12V models because lower voltage systems are more sensitive to resistance. A 5-meter strip running at 5V may see a 0.5–1V drop by the end—enough to visibly reduce output. High-density strips (e.g., 60 LEDs per meter) exacerbate the problem due to higher current draw.
Inadequate Power Supply Capacity
Even with proper voltage, an underpowered adapter cannot deliver enough current to sustain peak brightness across all LEDs simultaneously. For example, a 5-meter strip with 300 WS2812B LEDs draws up to 18A at full white (60mA per LED). A 5A power supply will struggle, causing brownouts and flickering—especially when bright colors like white or yellow are displayed.
Users often assume that as long as the lights turn on, the power supply is sufficient. But brightness inconsistencies emerge under load. When half the strip shows full intensity while the other fades, it's usually a sign the supply can't keep up.
Data Signal Degradation
Addressable LEDs rely on precise timing signals to interpret commands. Over long distances, signal integrity degrades due to electromagnetic interference, poor trace quality, or insufficient pull-up resistors. This can cause misreads, skipped frames, or erratic behavior in downstream LEDs.
While signal issues often manifest as flickering or color errors, they can also lead to perceived brightness differences. If a segment receives corrupted data, it might interpret brightness levels incorrectly—displaying 70% when commanded to show 100%, for instance.
Segment Control vs. Physical Layout Mismatch
Some smart lighting platforms allow users to define virtual segments in software—grouping non-contiguous LEDs together for synchronized effects. However, if these segments cross areas with different power conditions (e.g., one group near the power source, another at the far end), brightness disparities become apparent even though the command was identical.
Additionally, firmware bugs or calibration errors in segmentation logic can cause slight timing offsets or PWM (pulse-width modulation) variations, further contributing to visual inconsistency.
LED Binning and Manufacturing Variance
During production, LEDs are sorted (\"binned\") by brightness, color temperature, and forward voltage. Reputable manufacturers use tight binning tolerances to ensure uniformity. Budget strips may mix bins or skip sorting altogether, resulting in subtle but noticeable differences between individual LEDs—even within the same batch.
Over time, thermal stress and aging can widen these gaps. LEDs near the power input run hotter and degrade faster, potentially dimming sooner than those farther down the line.
“Voltage drop isn’t just theoretical—it’s the silent killer of LED strip performance. Many customers blame their controller when the real culprit is inadequate power delivery.” — Marcus Lin, Embedded Systems Engineer & DIY Lighting Specialist
Solutions and Best Practices for Uniform Brightness
Power Injection: The Most Effective Fix
To combat voltage drop, inject power at multiple points along the strip. Instead of powering only from one end, connect additional wires from the same power supply to midpoints and the far end. This ensures each section receives adequate voltage without relying solely on the strip’s internal traces.
When implementing power injection:
- Use the same gauge wire throughout (18–22 AWG recommended).
- Connect both positive (+) and ground (-) lines to avoid ground loops.
- Ensure all connections share a common ground with the controller.
- Do not power different sections from separate supplies unless they are synchronized and isolated properly.
Select the Right Power Supply
Always oversize your power supply. Calculate total current draw using the formula:
Total Current (A) = Number of LEDs × Max Current per LED
For WS2812B: 60mA at full white → 300 LEDs × 0.06A = 18A minimum.
Add a 20–30% safety margin: aim for a 20–25A supply in this case.
| Strip Length | LED Density | Total LEDs | Recommended PSU |
|---|---|---|---|
| 2m | 30 LEDs/m | 60 | 4A (5V) |
| 5m | 60 LEDs/m | 300 | 20A (5V) |
| 10m (split run) | 30 LEDs/m | 600 | 35A (12V with injection) |
Use 12V Strips for Longer Runs
For installations exceeding 5 meters, switch to 12V addressable strips (e.g., SK6812). These operate at higher voltage, reducing current draw and minimizing resistive losses. They often include built-in power rails or support for constant-voltage injection every few meters.
Signal Boosting and Level Shifting
To preserve data integrity:
- Use a 74HCT245 level shifter when connecting long strips to 3.3V controllers (like ESP8266/ESP32).
- Add a 100–330Ω resistor in series with the data line near the first LED to reduce ringing.
- Keep data wires short and shielded if routed externally.
- Consider using a dedicated signal amplifier module for runs over 10 meters.
Mini Case Study: Fixing a Frustrating Balcony Display
Jamie installed a 10-meter smart LED strip around their apartment balcony using two connected 5-meter reels powered from one end. Initially, the lights worked well on soft pastels. But when switching to a “full white wave” animation, the first 3 meters glowed brightly while the rest faded into a dull orange hue.
After testing, Jamie discovered the included 6A power supply was insufficient. The combined strip drew nearly 15A at peak. Voltage at the end measured just 3.8V—well below the 5V threshold. The solution? Jamie upgraded to a 20A power supply and added power injection at the midpoint and far end. They also rewired the second strip to feed power locally instead of daisy-chaining from the first.
Result: full, consistent brightness across the entire run. The display now performs flawlessly, even during high-intensity animations.
Step-by-Step Guide to Diagnose and Fix Brightness Issues
- Observe the Pattern: Note where dimming occurs. Is it gradual (voltage drop)? Sudden (connection fault)? Random (signal error)?
- Test at Full White: Set all LEDs to maximum white output—the most demanding mode.
- Measure Voltage: Use a multimeter to check voltage at the start, middle, and end of the strip under load. Anything below 4.5V (for 5V strips) indicates a problem.
- Check Power Supply Rating: Verify the adapter meets or exceeds calculated current needs.
- Inspect Connections: Look for cold solder joints, loose wires, or corroded contacts.
- Implement Power Injection: Connect additional power leads to midpoints and far ends.
- Upgrade Wiring: Replace thin or undersized wires with heavier gauge conductors.
- Reboot and Recalibrate: Restart the controller and re-upload firmware if anomalies persist.
FAQ
Can I connect two power supplies to one LED strip?
You can, but only if both supplies are identical, synchronized, and share a common ground. It’s safer and simpler to use a single higher-capacity supply with power injection. Using mismatched supplies risks current imbalance and damage.
Why do only certain colors look dim?
Different colors draw different currents. White uses all three sub-pixels (red, green, blue), drawing the most power. Red-only segments consume less, so voltage drop may not affect them as much. If only white or cyan dims, it’s likely a power delivery issue under high load.
Does ambient temperature affect brightness consistency?
Yes. LEDs become slightly dimmer in cold environments but recover when warmed. More critically, prolonged heat exposure near power inputs accelerates lumen depreciation. Install strips in well-ventilated areas and avoid coiling excess length tightly.
Checklist: Ensuring Consistent Brightness in Smart Light Strips
- ✅ Calculate total current draw based on LED count and density
- ✅ Use a power supply rated 20–30% above maximum demand
- ✅ Implement power injection for runs over 2m (5V) or 5m (12V)
- ✅ Match data signal voltage to controller output (use level shifter if needed)
- ✅ Avoid chaining more than two standard 5m reels without additional power
- ✅ Test under full-white load before permanent mounting
- ✅ Inspect for damaged segments or poor solder joints
- ✅ Consider upgrading to 12V strips for large-scale installations
Conclusion
Inconsistent brightness in smart Christmas light strips isn’t magic—it’s physics meeting engineering limits. By understanding the interplay of voltage, current, signal integrity, and manufacturing quality, you can diagnose and resolve these issues systematically. The difference between a patchy, disappointing display and a stunning, uniform glow often comes down to proper power management and attention to detail.


 浙公网安备
33010002000092号
浙公网安备
33010002000092号 浙B2-20120091-4
Comments
No comments yet. Why don't you start the discussion?