
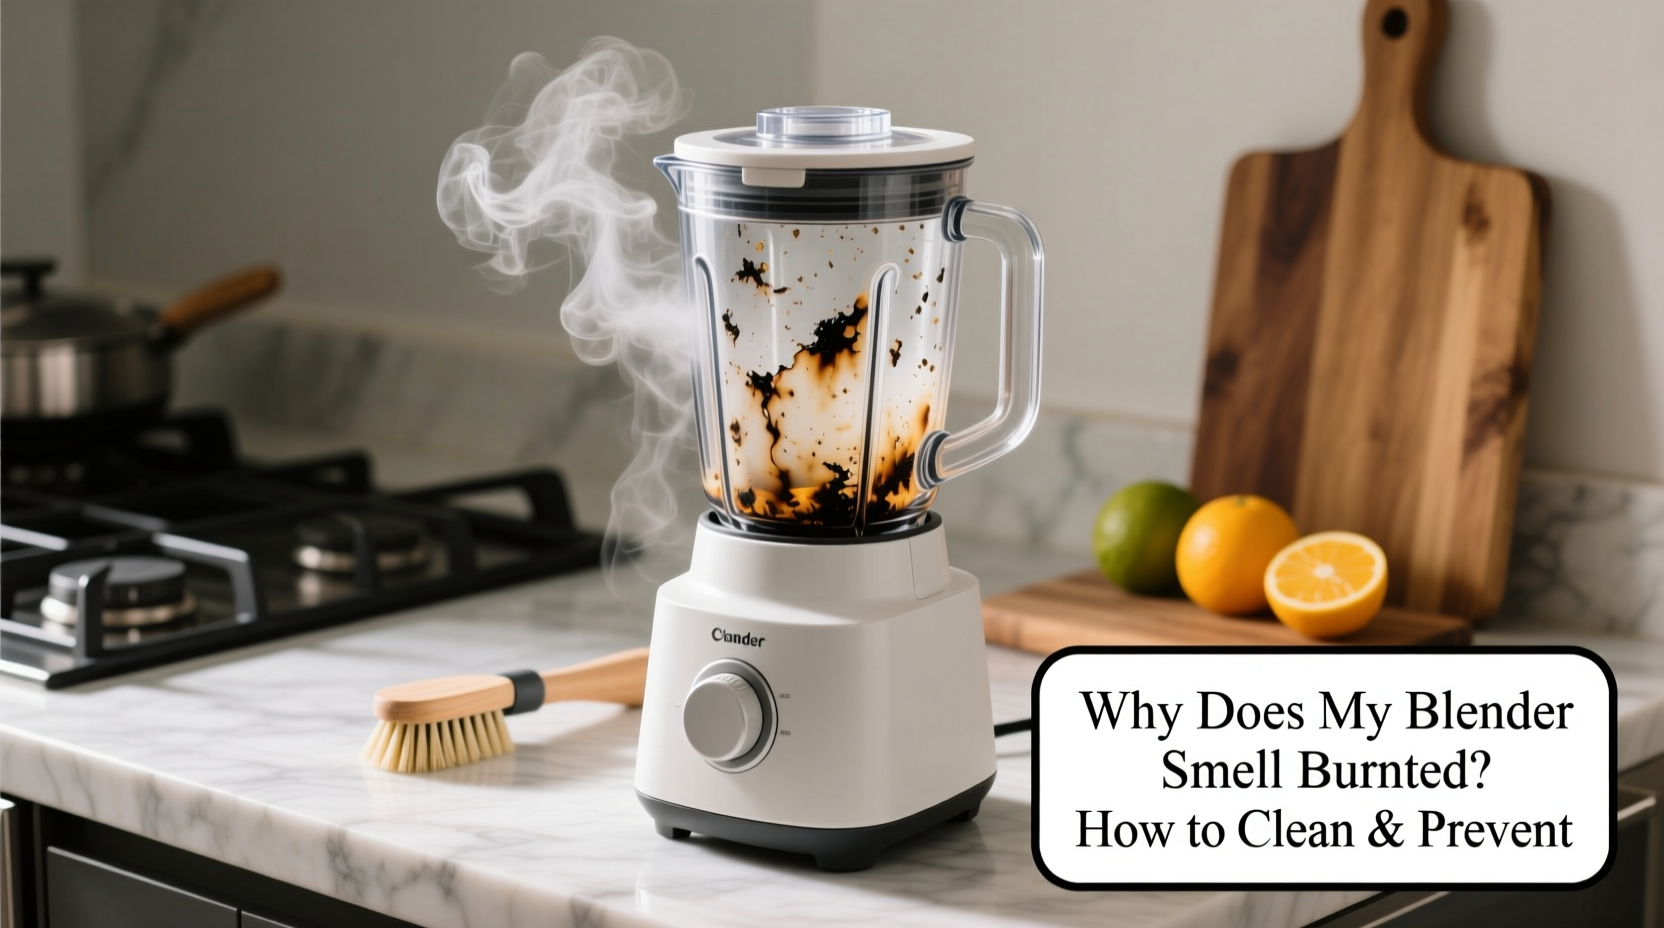
A burnt smell coming from your blender after use is more than just unpleasant—it’s a warning sign. Whether you’re making smoothies, soups, or nut butters, the last thing you want is a whiff of smoke or scorched plastic when you lift the lid. This odor isn’t normal and usually points to underlying mechanical, electrical, or maintenance issues. Left unaddressed, it can lead to permanent damage or even safety hazards. The good news? Most causes are preventable with proper care, timely cleaning, and correct usage habits.
Understanding why this happens—and how to fix and avoid it—can extend your blender’s lifespan and keep your kitchen safe. From motor strain to food residue buildup, several factors contribute to that telltale burnt scent. This guide breaks down the root causes, provides a step-by-step cleaning protocol, and shares expert-backed prevention strategies.
What Causes a Burnt Smell in Blenders?
The burning odor from a blender typically stems from one of three sources: overheating due to motor strain, degraded internal components, or leftover food debris burning during operation. Identifying the source is crucial for effective troubleshooting.
- Overheated Motor: Blending thick mixtures like frozen fruit, nut butter, or dough for extended periods forces the motor to work harder. Without adequate cooling time between uses, the motor can overheat, producing a distinct burnt smell similar to hot wires or melting insulation.
- Worn Carbon Brushes (in older models): In blenders with brushed motors, carbon brushes wear down over time. When they degrade, they spark excessively, creating a smoky, acrid odor often mistaken for burning food.
- Food Residue Buildup: Bits of food trapped under the blade assembly or along the seal can dry out and burn the next time the blender runs, especially if high heat settings are used for soups or sauces.
- Faulty Wiring or Internal Damage: Rare but serious, damaged wiring inside the base can short-circuit or overheat, emitting a sharp chemical or plastic-burning smell. This requires immediate discontinuation of use.
- Blade Friction Due to Poor Lubrication: Some high-performance blenders have sealed bearings that require periodic maintenance. If these dry out, friction increases, generating excess heat and odors.
“Persistent burning smells in small appliances are rarely cosmetic—they indicate stress on critical components. Ignoring them risks both performance loss and fire hazard.” — Dr. Alan Reeves, Appliance Safety Engineer, Consumer Home Tech Institute
Step-by-Step Guide to Deep Clean Your Blender
Cleaning your blender thoroughly—not just rinsing the jar—is essential to eliminate odor-causing residues and prevent future burning smells. Follow this detailed process to restore cleanliness and function.
- Unplug the Blender: Always disconnect power before cleaning to avoid accidental activation or electrical shock.
- Disassemble the Blade Unit: Flip the blender jar upside down. Use a wrench or pliers (wrapped in cloth to avoid scratches) to unscrew the blade assembly from the bottom. Be cautious—blades are extremely sharp.
- Inspect the Gasket (Rubber Seal): Remove the rubber or silicone gasket located beneath the blades. Check for cracks, warping, or trapped food particles. Mold or decay here is a common source of lingering odors.
- Soak Components: Place the blade unit, gasket, and screw in warm, soapy water for 15–30 minutes. Add a tablespoon of baking soda to help neutralize odors.
- Scrub Thoroughly: Use an old toothbrush to clean around the threads, underside of the blades, and inside the gasket groove. Pay attention to crevices where gunk accumulates.
- Rinse and Dry Completely: Rinse all parts with clean water and air-dry on a towel. Never reassemble while damp—moisture can promote mold or cause electrical issues.
- Clean the Jar Interior: Fill the jar halfway with warm water and a drop of dish soap. Blend for 30 seconds, then rinse. For stubborn stains or odors, blend a mixture of water and white vinegar (1:1 ratio) or a paste of baking soda and water.
- Wipe the Base: Dampen a microfiber cloth with rubbing alcohol and wipe the motor base, especially the contact points where the jar sits. Avoid getting liquid into vents or openings.
- Reassemble Carefully: Once all parts are dry, reattach the gasket, blade, and screw securely. Over-tightening can damage the threads; under-tightening may cause leaks.
Do’s and Don’ts: Preventing Future Burnt Smells
Prevention is far more effective than repair. Many burnt-blender incidents stem from routine misuse. The following table outlines best practices versus common mistakes.
| Do’s | Don’ts |
|---|---|
| Allow 30–60 seconds of rest between blending cycles to cool the motor. | Run the blender continuously for more than 60 seconds without pause. |
| Add enough liquid (at least 1 cup) when blending solids to reduce strain. | Blend dry ingredients like coffee beans or spices unless your model is designed for it. |
| Clean the blade seal and gasket weekly, even if the jar looks clean. | Ignore small odors—they often worsen over time. |
| Use pulse mode for thick mixtures to prevent motor overload. | Force the blender to crush ice or frozen fruit without liquid or gradual speed increase. |
| Store the blender with the jar detached to allow ventilation. | Leave blended food sitting in the jar for hours, especially acidic mixes like citrus or tomato. |
Real Example: How One User Fixed a Chronic Burning Issue
Sarah, a home cook from Portland, noticed a faint burning smell each time she made her morning green smoothie. At first, she dismissed it as “just the motor working hard.” But after two months, the odor intensified, and the blender began making grinding noises. She stopped using it and contacted the manufacturer.
Customer support advised her to disassemble the blade unit. Upon inspection, she found a hardened clump of chia seeds and banana pulp wedged beneath the rubber gasket—unseen during regular rinsing. After soaking and scrubbing the parts, the smell vanished. The support team also reminded her to pulse instead of continuous blending and to add more liquid. Since then, her blender has run smoothly for over a year without issue.
Sarah’s experience highlights a key point: what seems like a mechanical failure may actually be preventable residue buildup. Regular deep cleaning, not just surface rinsing, makes all the difference.
When to Repair or Replace Your Blender
Not all burnt smells can be resolved with cleaning. Some indicate irreversible damage. Knowing when to let go of your blender is important for safety and efficiency.
If your blender exhibits any of the following, consider retiring it:
- Smoke or visible sparks from the base during operation.
- Persistent burning smell even after thorough cleaning and drying.
- Motor struggles to start or runs inconsistently despite correct loading.
- Unusual vibrations, loud grinding, or wobbling that wasn’t present before.
For blenders under warranty, contact the manufacturer—many offer free diagnostics or replacements. Older models with brushed motors may benefit from professional servicing, but for most modern units, replacement is safer and more cost-effective.
FAQ: Common Questions About Burnt Blender Smells
Can a burnt smell go away on its own?
No. A persistent burnt odor will not resolve without intervention. Temporary smells from food residue might fade after cleaning, but motor-related burning indicates ongoing stress and won’t disappear without corrective action.
Is it safe to continue using a blender that smells burnt?
No. Continuing to use a blender with a burning smell risks damaging the motor, causing electrical shorts, or even starting a fire. Stop using it immediately, unplug it, and inspect or replace it.
Why does my new blender smell burnt after first use?
Some new blenders emit a faint \"new machine\" odor during initial use due to lubricants burning off internal components. This should dissipate after 1–2 uses. If the smell persists or resembles smoke, contact the retailer—it may be defective.
Checklist: Eliminate and Prevent Blender Odors
Use this actionable checklist to maintain a fresh, safe blender:
- ✅ Unplug the blender before cleaning.
- ✅ Disassemble the blade and gasket weekly.
- ✅ Soak and scrub all parts with warm, soapy water.
- ✅ Inspect the rubber seal for mold or damage.
- ✅ Run a vinegar or baking soda cleaning cycle monthly.
- ✅ Allow motor rest time between blends.
- ✅ Avoid overloading with dense or frozen ingredients.
- ✅ Store the jar separately from the base.
- ✅ Replace worn gaskets or blades as needed.
- ✅ Retire the blender if burning smells persist post-cleaning.
Conclusion: Protect Your Blender, Protect Your Kitchen
A blender that smells burnt isn’t just inconvenient—it’s a signal that something is wrong. Whether it’s neglected maintenance, improper use, or internal wear, addressing the issue promptly preserves both the appliance and your safety. Simple habits like disassembling the blade unit, allowing motor cooldown, and avoiding dry blending can prevent most problems before they start.
Your blender works hard for you. Treat it with the care it deserves, and it will deliver smooth results for years. Don’t wait for smoke or failure—act at the first sign of trouble. A few minutes of preventive maintenance today can save you money, hassle, and risk tomorrow.


 浙公网安备
33010002000092号
浙公网安备
33010002000092号 浙B2-20120091-4
Comments
No comments yet. Why don't you start the discussion?