
Baking bread at home is both rewarding and challenging. Nothing feels quite as satisfying as pulling a golden, crusty loaf from the oven—unless it rises beautifully only to sink in the center moments later. If your bread consistently collapses in the middle, you're not alone. This issue frustrates even experienced bakers, but it's rarely due to one single cause. More often, it's a combination of factors related to yeast activity, dough structure, and oven conditions. Understanding the root causes can help you troubleshoot and bake loaves that rise evenly and hold their shape.
The Science Behind Bread Collapse
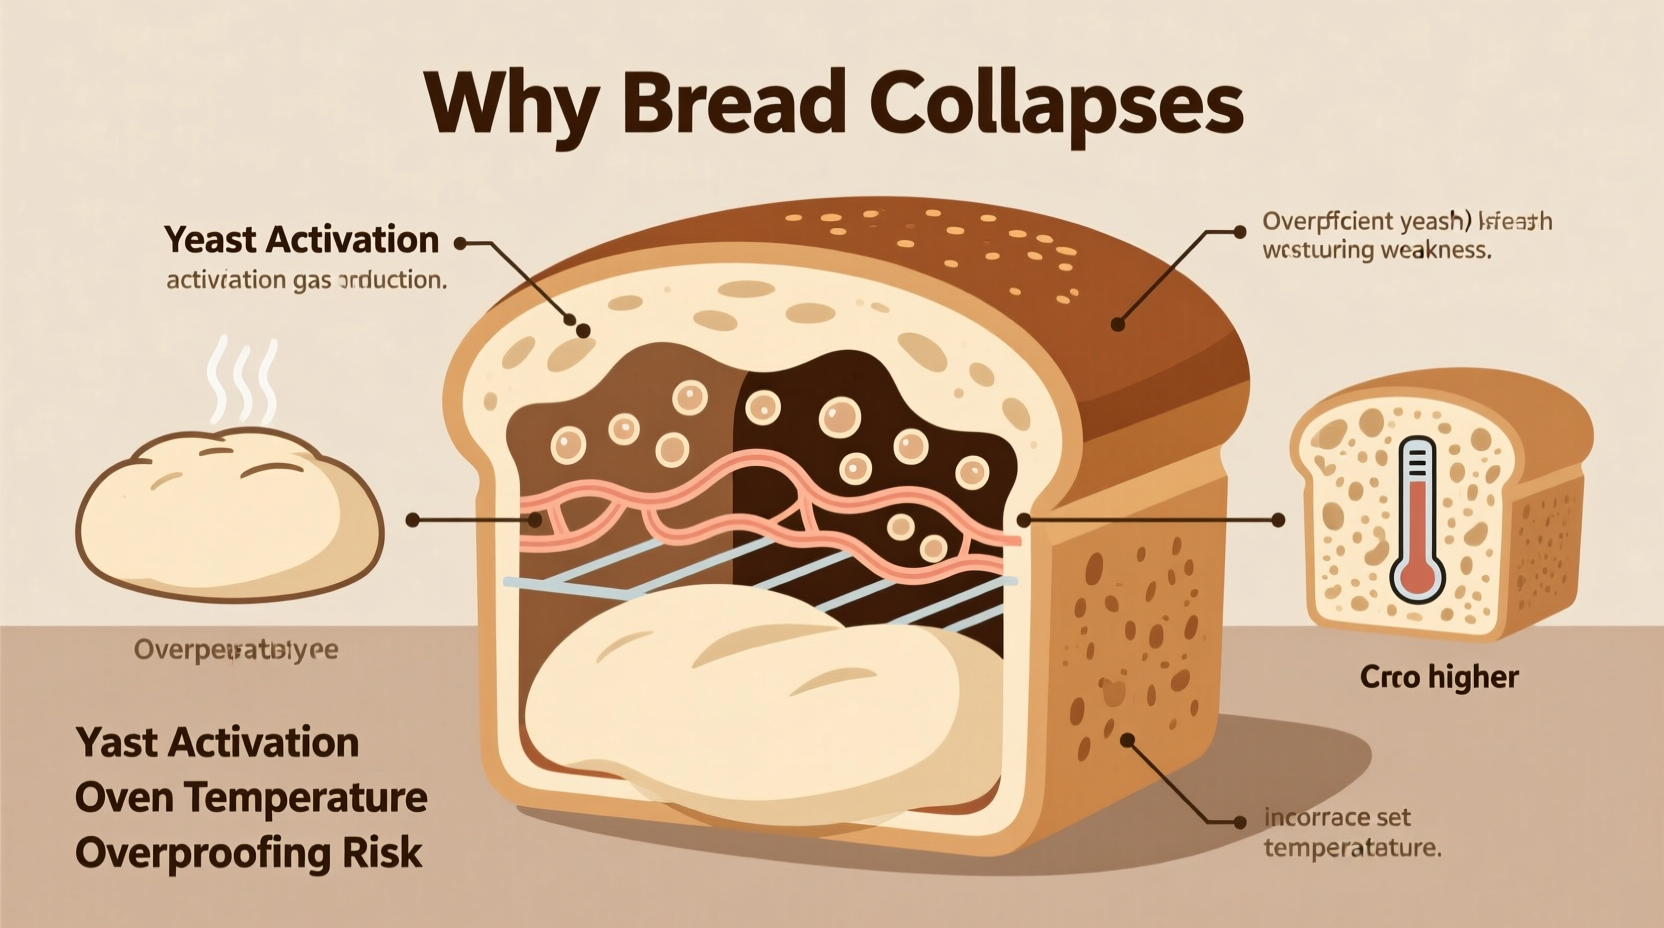
Bread rises because yeast ferments sugars in the dough, producing carbon dioxide gas. These gases get trapped in the gluten network, causing the dough to expand. During baking, this expansion continues in a phase known as “oven spring,” where heat accelerates gas production and steam forms inside the loaf. Eventually, the structure sets as proteins coagulate and starches gelatinize. If any part of this process is disrupted—especially during the final rise or early baking phase—the loaf may collapse.
A collapse in the middle typically means the internal structure couldn’t support the expansion. The sides may have set faster than the center, or excess gas built up and ruptured the weakest point. While over-proofing is a common culprit, yeast health and oven temperature play equally critical roles.
Yeast-Related Causes of Collapse
Yeast is the engine of your dough. When it's underperforming or overactive, structural integrity suffers. Here are the most common yeast-related problems that lead to collapsed loaves:
1. Over-Proofing Due to Excessive Yeast or Warm Environment
Using too much yeast or letting dough rise in a very warm environment speeds up fermentation. While this might seem efficient, it weakens the gluten structure. Over-proofed dough becomes fragile, full of large gas pockets, and loses elasticity. When baked, the weakened walls can't withstand oven spring and burst, leading to a sunken center.
2. Under-Proofing Followed by Sudden Expansion
Conversely, if dough is under-proofed, it still has significant fermentative power when it hits the oven. This causes a rapid, uncontrolled rise. The exterior may set quickly while the center expands violently, tearing through the crust and collapsing afterward.
3. Inconsistent Yeast Activity
Degraded or improperly stored yeast leads to uneven fermentation. Some areas of the dough may rise more than others, creating imbalanced tension. When heat is applied, these weak zones fail first.
“Yeast isn’t just about rise—it’s about timing and balance. A well-timed fermentation builds strength, not just volume.” — Dr. Laura Chen, Food Scientist & Artisan Baker
Oven Temperature Errors That Cause Collapse
The oven is where structure is finalized. Even perfectly proofed dough can fail if the baking environment isn’t right. Temperature issues are among the most overlooked reasons for bread collapse.
1. Oven Too Hot: Premature Crust Formation
An excessively hot oven causes the outer crust to harden too quickly. Meanwhile, the interior continues expanding due to trapped steam and gas. With no way to release pressure, the center pushes upward and eventually ruptures, deflating as it cools. This often results in a dome that caves in post-bake.
2. Oven Too Cold: Delayed Structure Setting
If the oven is too cool, the dough takes longer to set. Without sufficient heat, gluten and starch don’t coagulate fast enough. The loaf may rise initially but then sag as it fails to stabilize. Additionally, poor oven spring reduces overall volume, making the bread dense and prone to collapse.
3. Inaccurate Oven Thermometer
Most home ovens have inaccurate thermostats. A dial set to 375°F (190°C) might actually be running at 340°F or 410°F. This inconsistency makes it nearly impossible to replicate successful bakes. Always use an independent oven thermometer for accuracy.
| Error | Symptom | Solution |
|---|---|---|
| Over-proofed dough | Loose, bubbly texture; collapses when touched | Reduce proofing time; use cooler room temp |
| Oven too hot | Cracked top, sunken center, thick crust | Lower temperature by 25°F; preheat properly |
| Oven too cold | Dense crumb, pale crust, slow rise | Verify temp with thermometer; extend bake time |
| Uneven heat distribution | One side rises higher; lopsided collapse | Rotate loaf halfway; avoid overcrowding |
| Opening oven too early | Sudden drop in temperature; collapse mid-bake | Wait until last 10 minutes to check |
Step-by-Step Guide to Prevent Collapse
Follow this detailed sequence to minimize the risk of collapse and improve loaf consistency:
- Weigh ingredients precisely. Use a kitchen scale for flour, water, and yeast. Volume measurements vary widely and disrupt hydration balance.
- Use fresh, active yeast. Proof instant or active dry yeast in warm water (105–110°F) with sugar to confirm viability before mixing.
- Control fermentation temperature. Ideal bulk fermentation is between 75–78°F (24–26°C). Avoid placing dough near heaters or direct sunlight.
- Monitor proofing closely. Perform the fingertip test: gently press the dough. If the indentation slowly springs back halfway, it’s ready. If it snaps back quickly, it needs more time. If it stays indented, it’s over-proofed.
- Preheat thoroughly. Allow at least 30–45 minutes for your oven to reach and stabilize at the target temperature. Use an oven thermometer to verify.
- Bake at the correct temperature. Most standard breads bake best at 375–425°F (190–220°C), depending on size and hydration. Start with recipe guidelines and adjust based on results.
- Resist opening the oven door. Wait until at least the last 10 minutes of baking to check progress. Sudden temperature drops destabilize rising dough.
- Ensure complete baking. Internal temperature should reach 190–210°F (88–99°C) for most breads. Use a digital probe thermometer to confirm doneness.
- Cool properly. Let bread rest on a wire rack for at least 30–60 minutes. Cutting too soon releases trapped steam and can cause internal collapse.
Real Example: From Failure to Perfect Loaf
Sarah, a home baker in Portland, struggled for months with sourdough loaves that rose beautifully in the oven only to deflate dramatically. Her starter was active, her shaping technique solid, but the center always caved in. After tracking her process, she discovered two key issues: her oven ran 40°F hotter than the dial indicated, and she was leaving the dough to proof overnight at room temperature (72°F), which led to over-fermentation.
She adjusted by lowering the oven setting to 405°F (instead of 450°F) and moving the dough to the refrigerator for a cold, slow proof. She also began using a baking stone and Dutch oven for consistent heat. Within two weeks, her loaves were rising evenly and holding their shape. The difference? Precision in temperature control and timing.
Essential Checklist for Stable Bread Structure
- ✅ Use a kitchen scale for accurate measurements
- ✅ Test yeast activity before use
- ✅ Maintain consistent dough temperature (75–78°F)
- ✅ Perform the fingertip test before baking
- ✅ Preheat oven for at least 30 minutes
- ✅ Verify oven temperature with a standalone thermometer
- ✅ Avoid opening the oven during the first 20–25 minutes
- ✅ Bake to proper internal temperature (190–210°F)
- ✅ Cool completely before slicing
- ✅ Keep a baking journal to track variables and outcomes
Frequently Asked Questions
Can I save a collapsing loaf once it starts sinking in the oven?
No—once structural failure begins during baking, it cannot be reversed. However, understanding why it happened allows you to adjust future bakes. Focus on proofing time, oven temperature, and dough strength.
Does high altitude affect bread collapse?
Yes. At higher elevations, lower atmospheric pressure causes gases to expand faster. This can lead to over-rising and collapse. Bakers at altitude often reduce yeast by 25%, decrease sugar, increase liquid slightly, and lower oven temperature by 25°F to compensate.
Why does my bread rise in the oven but fall as it cools?
This usually indicates incomplete baking or over-proofing. If the internal structure hasn’t fully set, the steam condenses as the loaf cools, causing shrinkage. Always check internal temperature—underbaked bread may look done on the outside but remain gummy inside.
Conclusion: Build Confidence Through Consistency
Bread that collapses in the middle isn’t a lost cause—it’s feedback. Each failed loaf reveals clues about yeast behavior, proofing duration, and oven performance. By treating baking as a process of observation and adjustment, you gain control over variables that once seemed unpredictable. Focus on precision, patience, and repetition. Track your changes. Measure your temperatures. Respect the timeline.
With attention to yeast health and oven accuracy, you’ll transform inconsistent results into reliable, beautiful loaves. Don’t let a sunken center discourage you. Instead, see it as a step toward mastery. The perfect rise isn’t magic—it’s method.


 浙公网安备
33010002000092号
浙公网安备
33010002000092号 浙B2-20120091-4
Comments
No comments yet. Why don't you start the discussion?