
Baking bread at home is a rewarding experience, but few things are more disheartening than pulling a golden loaf from the oven only to watch it deflate moments later. A sunken center doesn’t just look unappetizing—it often signals issues with texture, structure, or flavor. While it might seem like bad luck, bread collapse is rarely random. It’s usually the result of identifiable mistakes in mixing, proofing, baking, or even ingredient selection. Understanding the science behind gluten development, yeast activity, and heat transfer can transform your baking from hit-or-miss to consistently successful.
The middle of a loaf bears the brunt of structural stress during baking. As steam expands and gases rise, the center must support the dome while maintaining enough elasticity to expand without tearing. When that balance fails, the loaf caves inward. The good news? Most causes of collapse are preventable with precise technique and attention to detail.
Understanding Why Bread Collapses: The Science Behind the Collapse
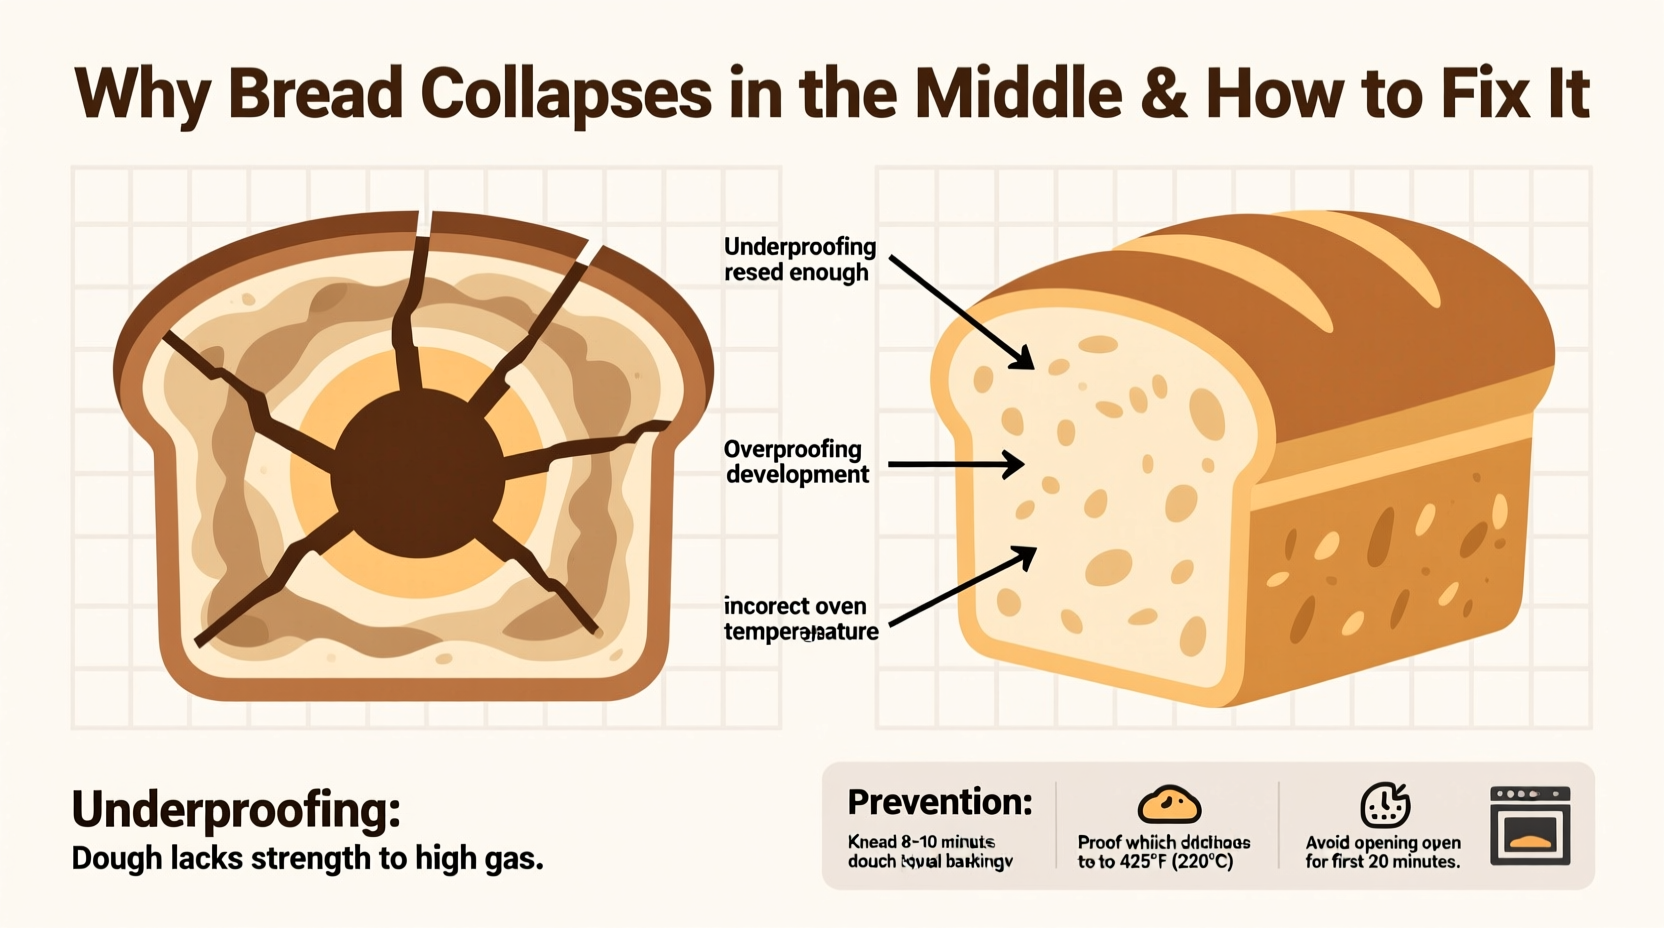
Bread structure relies on three key components: gluten network, gas retention, and starch gelatinization. During fermentation, yeast produces carbon dioxide, which gets trapped in the elastic gluten matrix formed during kneading. As the dough bakes, this gas expands, moisture turns to steam, and the proteins and starches set into a firm crumb. If any part of this process is compromised, the loaf may not support its own rise.
A collapse typically occurs when the internal structure isn’t strong enough to hold the volume achieved during oven spring—the final burst of expansion in the first 10–15 minutes of baking. Once the crust forms and the interior begins to set, the loaf should stabilize. But if the crumb remains too weak or wet, or if overproofing has weakened the gluten, the center can sink as the steam escapes and pressure drops.
Common Causes of Bread Collapse (and How to Fix Them)
1. Overproofing the Dough
One of the most frequent culprits behind collapsed bread is overproofing. When dough proofs too long, the yeast exhausts available sugars and produces excess gas. This overstretches the gluten network, making it fragile. In the oven, the weakened structure can't withstand the rapid expansion and bursts, leading to deflation.
To avoid overproofing, follow recommended times but rely more on visual cues than the clock. The dough should be puffy and nearly doubled, not ballooned. For enriched doughs (with butter, eggs, or sugar), reduce proofing time slightly, as they rise slower but collapse more easily.
2. Underdeveloped Gluten
Gluten gives bread its strength and elasticity. If the dough hasn’t been kneaded sufficiently—or mixed too briefly in a machine—the network won’t trap gas effectively. Even if the loaf rises well during proofing, it may lack the tensile strength to maintain shape during baking.
For high-hydration doughs like ciabatta or sourdough, consider using stretch-and-fold techniques during bulk fermentation instead of prolonged kneading. This builds strength gently without overheating the dough.
3. Excessive Moisture or Low Oven Temperature
An oven that’s too cool prevents rapid crust formation, delaying the point at which the loaf stabilizes. Meanwhile, excess moisture inside the dough turns to steam too slowly, creating internal pressure that can rupture the crumb. Wet doughs are especially prone to collapse if not baked hot enough.
Always preheat your oven thoroughly—at least 45 minutes for best results—and bake at the recommended temperature (usually 375°F–450°F). Use a baking stone or Dutch oven to trap heat and create a crisp, supportive crust early in the bake.
4. Opening the Oven Too Early
Peeking into the oven during the first half of baking can cause a sudden drop in temperature. This interrupts oven spring and destabilizes the still-soft crumb. The result? A premature collapse before the structure sets.
Resist the urge to open the door until at least two-thirds through the baking time. If you need to check doneness, use the oven light and wait for the timer.
5. Incorrect Ingredient Ratios
Too much yeast speeds up fermentation and increases gas production beyond what the dough can handle. Too much water compromises structure, especially in low-protein flours. And skipping salt? That weakens gluten and accelerates fermentation, both of which increase collapse risk.
Maintain balanced recipes. Stick to 1–2% salt by flour weight, 0.5–1% instant yeast, and hydrations appropriate for your flour type (typically 60–75%).
“Many home bakers don’t realize that overproofing is silent sabotage. The dough looks great—big and airy—but internally, the gluten is already failing.” — Dr. Lydia Chen, Cereal Chemist and Baking Science Researcher, University of Minnesota
Step-by-Step Guide to Preventing Bread Collapse
Follow this structured approach to minimize risks and achieve reliably risen loaves:
- Weigh ingredients accurately. Volume measurements vary; use a kitchen scale for consistency.
- Knead or fold until windowpane stage. Stretch a small piece of dough thin enough to see light through without tearing.
- Monitor bulk fermentation closely. Set a timer, but also check for smoothness, slight jiggle, and increased volume.
- Shape tightly for sandwich loaves. Create surface tension by rolling and sealing the dough firmly on the counter.
- Proof until ready—not until scheduled. Use the poke test: press lightly. If it springs back slowly and leaves a shallow imprint, it’s ready.
- Preheat oven and vessel fully. Bake in a 450°F oven with a Dutch oven or steam pan for the first 20 minutes.
- Bake to internal temperature. Use a thermometer: bread is done at 190°F–210°F depending on type (lean doughs ~205°F, enriched ~190°F).
- Cool completely before slicing. Cutting too soon releases steam and can make the crumb gummy or cause late collapse.
Tips and Best Practices for Structural Integrity
Flour choice matters. Bread flour has higher protein (12–14%) than all-purpose (10–11%), forming stronger gluten. For rustic loaves, blend in some bread flour even if the recipe calls for AP.
Steam is crucial during the first phase of baking. It keeps the crust flexible so the loaf can expand fully. Create steam by placing a metal tray with lava rocks in the oven and pouring ½ cup of boiling water onto it at the start of baking.
For sandwich breads baked in pans, fill the loaf tin no more than ¾ full before proofing. Overfilling increases upward pressure without lateral support, raising collapse risk.
Do’s and Don’ts: Quick Reference Table
| Do’s | Don’ts |
|---|---|
| Use a scale for precise measurements | Measure flour by scooping directly from the bag (compacts it) |
| Preheat oven 45+ minutes ahead | Put dough in a cold or underheated oven |
| Check doneness with a thermometer | Guess bake time based on color alone |
| Let bread cool 1–2 hours before slicing | Cut into hot bread immediately |
| Store cooled bread cut-side down on a board | Seal warm bread in plastic (traps steam, sogs crust) |
Real Example: From Frequent Failure to Flawless Loaves
Sarah, a home baker in Portland, struggled for months with her sourdough. Every loaf rose beautifully in the banneton, had great oven spring, then sank dramatically within five minutes of coming out of the oven. She adjusted hydration, changed flours, and even bought a new Dutch oven—but the problem persisted.
After tracking her process, she realized she was letting the dough proof overnight at room temperature—about 14 hours. Her starter was active, and the kitchen stayed warm, causing the dough to overferment. By reducing bulk fermentation to 4 hours and retarding the shaped loaf in the fridge for 12 hours, she gained control. The resulting loaves held their shape, had open crumb, and stayed lofty after cooling. The fix wasn’t equipment or ingredients—it was timing.
Frequently Asked Questions
Can I rescue a collapsed loaf?
If the bread collapses after baking but is fully cooked, it’s safe to eat. The texture may be denser, but it works well toasted, in sandwiches, or as croutons. However, if the center is gummy or underbaked, slice and rebake at 350°F for 10–15 minutes to dry it out.
Why does my bread rise in the oven and then fall?
This usually points to overproofing or insufficient oven temperature. The dough uses up its rising power before baking, so the initial oven spring pushes it beyond structural limits. Alternatively, a weak gluten network can’t sustain the expansion, causing a post-spring collapse.
Does altitude affect bread collapse?
Yes. At high altitudes, lower air pressure causes gases to expand faster, increasing the risk of overexpansion and collapse. Reduce yeast by 25%, decrease sugar slightly, increase liquid by 2–4 tablespoons per cup of flour, and monitor proofing times closely.
Final Checklist Before Baking
- ✅ Flour weighed accurately (not scooped)
- ✅ Gluten fully developed (passes windowpane test)
- ✅ Dough properly proofed (passed poke test, not over-risen)
- ✅ Oven fully preheated (including baking vessel, if used)
- ✅ Steam introduced at start of bake
- ✅ Internal temperature reached 190°F–210°F
- ✅ Bread cooled completely before slicing
Conclusion: Bake with Confidence
Bread collapse isn’t a mystery—it’s a message from your dough. Each failed loaf teaches you something about fermentation, structure, or heat management. By paying attention to proofing times, gluten development, and baking conditions, you’ll turn inconsistent results into a repeatable process. Don’t fear mistakes; treat them as data. With each bake, you’re refining your intuition and technique. Now that you know what causes the collapse and how to stop it, the next loaf you pull from the oven should rise proudly—and stay that way.


 浙公网安备
33010002000092号
浙公网安备
33010002000092号 浙B2-20120091-4
Comments
No comments yet. Why don't you start the discussion?