
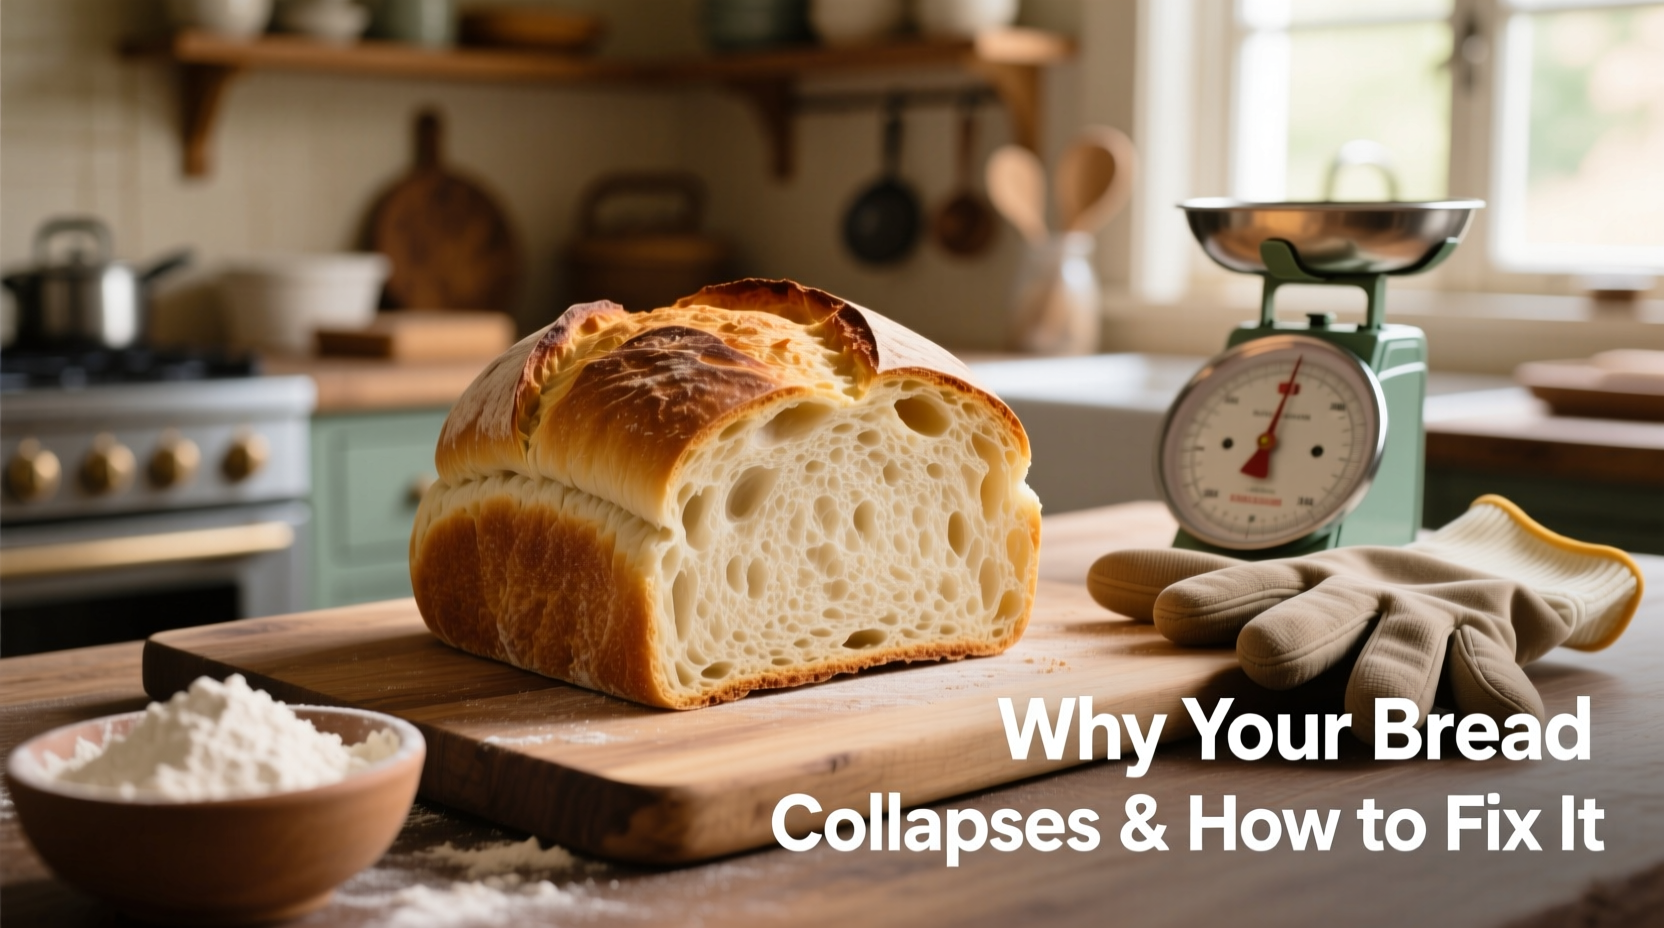
Baking bread is both a science and an art. When you pull a loaf from the oven only to find it sunken in the center, it can be disheartening—especially after hours of careful proofing and anticipation. A collapsed middle doesn’t always mean your bread is ruined, but it does point to underlying issues in your technique, ingredients, or environment. Understanding the root causes and applying precise corrections can transform inconsistent results into bakery-quality loaves. This guide breaks down the most common reasons bread collapses mid-bake and delivers actionable solutions so you can achieve consistent, well-structured results.
Understanding Why Bread Collapses During Baking
A collapsing loaf typically occurs when the internal structure of the bread cannot support its own weight during or immediately after baking. While some minor settling is normal as steam escapes, a deep crater in the center indicates a structural failure. The problem usually stems from one or more of these factors: overproofing, inadequate gluten development, incorrect oven temperature, underbaking, or sudden changes in temperature post-bake.
The key to preventing collapse lies in understanding the stages of bread baking. As the dough heats, yeast becomes hyperactive before dying off (oven spring), gases expand, and the starches gelatinize to set the crumb. If any part of this process is compromised, the loaf may rise dramatically and then fall as it cools.
Common Causes and How to Fix Them
1. Overproofed Dough
Overproofing is the leading cause of collapsed loaves. When dough proofs too long, the gluten network weakens and gas bubbles grow excessively large. During baking, this fragile structure expands rapidly and then collapses as the walls rupture.
To test if your dough is properly proofed, perform the \"poke test\": gently press a fingertip into the dough. If the indentation springs back slowly and leaves a slight impression, it’s ready. If it doesn’t spring back at all, it’s overproofed. If it springs back immediately, it needs more time.
2. Weak Gluten Development
Gluten provides the scaffolding that holds gas bubbles during fermentation and baking. Inadequate kneading, low-protein flour, or insufficient mixing can result in poor gluten formation. Without sufficient strength, the dough lacks the elasticity to retain volume.
For better gluten development, use bread flour instead of all-purpose when possible. Knead thoroughly by hand or machine until the dough passes the \"windowpane test\"—stretch a small piece between your fingers; if it forms a thin, translucent membrane without tearing, the gluten is well-developed.
3. Incorrect Oven Temperature
An oven that’s too hot can cause the exterior to set too quickly while the interior continues expanding, leading to cracking or collapse. Conversely, an oven that’s too cool delays crust formation, allowing the loaf to over-expand and then deflate.
Always preheat your oven fully—ideally for at least 30 minutes—and use an oven thermometer to verify accuracy. Most standard breads bake best between 375°F and 450°F (190°C–230°C), depending on hydration and ingredients.
4. Underbaked Loaf
If the internal structure hasn’t fully set due to insufficient baking time, the crumb remains gummy and unable to support itself. As the loaf cools, moisture migrates and causes the center to sink.
Relying solely on appearance or baking time is risky. Use an instant-read thermometer: soft sandwich bread should register around 190°F (88°C), while denser sourdoughs need 205–210°F (96–99°C). This ensures full starch gelatinization and structural integrity.
5. Sudden Temperature Changes After Baking
Placing a hot loaf directly into a drafty area or refrigerating it too soon can cause rapid cooling, leading to condensation inside the crumb and structural collapse.
Allow bread to cool gradually on a wire rack at room temperature, away from vents or open windows. Resist the urge to slice it too early—wait at least 30 minutes for sandwich bread and up to two hours for dense sourdoughs.
“Structure begins long before the oven. If your dough isn’t strong enough to hold gas during proofing, it won’t survive baking.” — Daniel Leader, Founder of Bread Alone Bakery
Step-by-Step Guide to Prevent Collapse
Follow this sequence to minimize the risk of collapse and ensure a reliable outcome every time you bake:
- Weigh Ingredients Accurately: Use a digital scale to measure flour, water, and other components. Volume measurements vary widely and can throw off hydration balance.
- Mix Thoroughly: Knead or mix until gluten is fully developed. For no-knead recipes, ensure adequate bulk fermentation with stretch-and-folds every 30 minutes during the first two hours.
- Control Proofing Time: Monitor ambient temperature and humidity. A warm kitchen speeds up fermentation; a cold one slows it. Adjust proofing duration accordingly—most doughs need 1–2 hours for final proof, but sourdough may take longer.
- Preheat Oven and Baking Surface: Place a baking stone or steel in the oven during preheating. This promotes even heat distribution and strong oven spring.
- Bake with Steam (if applicable): Introduce steam in the first 10–15 minutes of baking to delay crust formation and allow maximum expansion. Use a Dutch oven or place a pan of water on the lower rack.
- Verify Internal Temperature: Insert a thermometer into the center of the loaf. Don’t rely on color alone—pale crusts can still indicate doneness if the internal temp is correct.
- Cool Properly: Transfer bread to a wire rack immediately after baking. Avoid stacking or covering with towels, which trap moisture and soften the crust prematurely.
Do’s and Don’ts: Table Summary
| Do | Don't |
|---|---|
| Use bread flour for higher protein content | Use expired or improperly stored flour |
| Proof in a warm, draft-free space (75–78°F) | Leave dough near air conditioning or heaters |
| Score the loaf before baking to control expansion | Bake un-scored high-hydration doughs |
| Use an oven thermometer for accuracy | Trust your oven’s built-in thermostat blindly |
| Let bread cool completely before slicing | Cut into steaming-hot bread |
| Store cooled bread in a paper bag or bread box | Keep bread in plastic wrap immediately after cooling |
Real Example: From Collapse to Confidence
Sarah, a home baker in Portland, struggled for months with her sourdough. Despite following online tutorials, her loaves consistently caved in the center. She assumed she needed a better oven, but the real issue was overproofing. Living in a cool climate, she extended her bulk fermentation overnight, not realizing that her starter was peaking earlier than expected.
After switching to a temperature-controlled proofer and using the poke test religiously, she began timing her ferments based on dough behavior rather than the clock. She also started baking in a preheated Dutch oven, which improved oven spring. Within three weeks, her loaves rose evenly and held their shape. “I learned that patience has limits,” she said. “Letting dough go too far ruins everything.”
Bread Baking Checklist
- ✅ Weigh all ingredients using a digital scale
- ✅ Develop gluten fully (pass windowpane test)
- ✅ Perform the poke test before baking
- ✅ Preheat oven and baking vessel for at least 30 minutes
- ✅ Score the top of the loaf with a sharp blade
- ✅ Bake with steam for the first third of baking time
- ✅ Check internal temperature before removing from oven
- ✅ Cool on a wire rack for at least 30 minutes
- ✅ Store properly to maintain crust texture
Frequently Asked Questions
Can I save a collapsed loaf?
Yes. While the appearance is affected, flavor and texture are often unaffected. Slice and toast the bread, use it for croutons, or repurpose it into bread pudding. If the center is gummy, it was likely underbaked—slice thickly, toast, or briefly return to a low oven to dry out.
Why does my bread rise beautifully in the oven and then fall?
This is classic overproofing. The dough expands rapidly during oven spring, but the weakened gluten structure can’t sustain the growth. The result is a dramatic rise followed by collapse. Next time, reduce proofing time and monitor dough closely.
Does altitude affect bread collapse?
Yes. At high altitudes, lower atmospheric pressure causes gases to expand faster, increasing the risk of over-rising and collapse. Bakers above 3,000 feet may need to reduce yeast by 25%, shorten proofing times, increase oven temperature by 15–25°F, and slightly decrease water to compensate for faster evaporation.
Final Tips for Consistently Perfect Loaves
Great bread isn’t about perfection on the first try—it’s about learning from each bake. Keep a simple baking journal noting variables like room temperature, proofing duration, flour brand, and oven settings. Over time, patterns will emerge, helping you anticipate and prevent issues before they happen.
Remember that consistency trumps complexity. Master one recipe before experimenting with others. A basic country loaf baked with attention to detail will outperform a fancy artisan recipe rushed through the steps.
And don’t underestimate the value of rest. Well-rested dough develops flavor and strength. Autolyse (resting flour and water for 20–60 minutes before adding yeast and salt) improves gluten formation and reduces mixing time.
“The best baker isn’t the one with the fanciest tools, but the one who watches, listens, and learns from the dough.” — Ken Forkish, Author of *Flour Water Salt Yeast*
Conclusion: Bake with Confidence
A collapsed loaf doesn’t mean failure—it means feedback. Each bake teaches you something new about your ingredients, equipment, and environment. By addressing the root causes of sinking centers—overproofing, weak structure, improper baking, or abrupt cooling—you gain control over the entire process. Apply the fixes outlined here, follow the checklist, and trust the science behind the craft. Soon, perfectly risen, golden-crusted loaves will become your norm, not the exception.


 浙公网安备
33010002000092号
浙公网安备
33010002000092号 浙B2-20120091-4
Comments
No comments yet. Why don't you start the discussion?