
Baking bread is both a science and an art. When your loaf rises beautifully during fermentation only to deflate dramatically in the oven, it can be deeply frustrating. A collapsed loaf doesn’t just look unappetizing—it often signals structural or timing flaws that affect texture and flavor. Understanding the root causes behind oven collapse is essential for consistent, reliable results. This guide breaks down the most common reasons bread fails in the oven, with actionable solutions focused on yeast activity, dough strength, proofing control, and precise baking practices.
Understanding Oven Spring and Why Collapse Happens
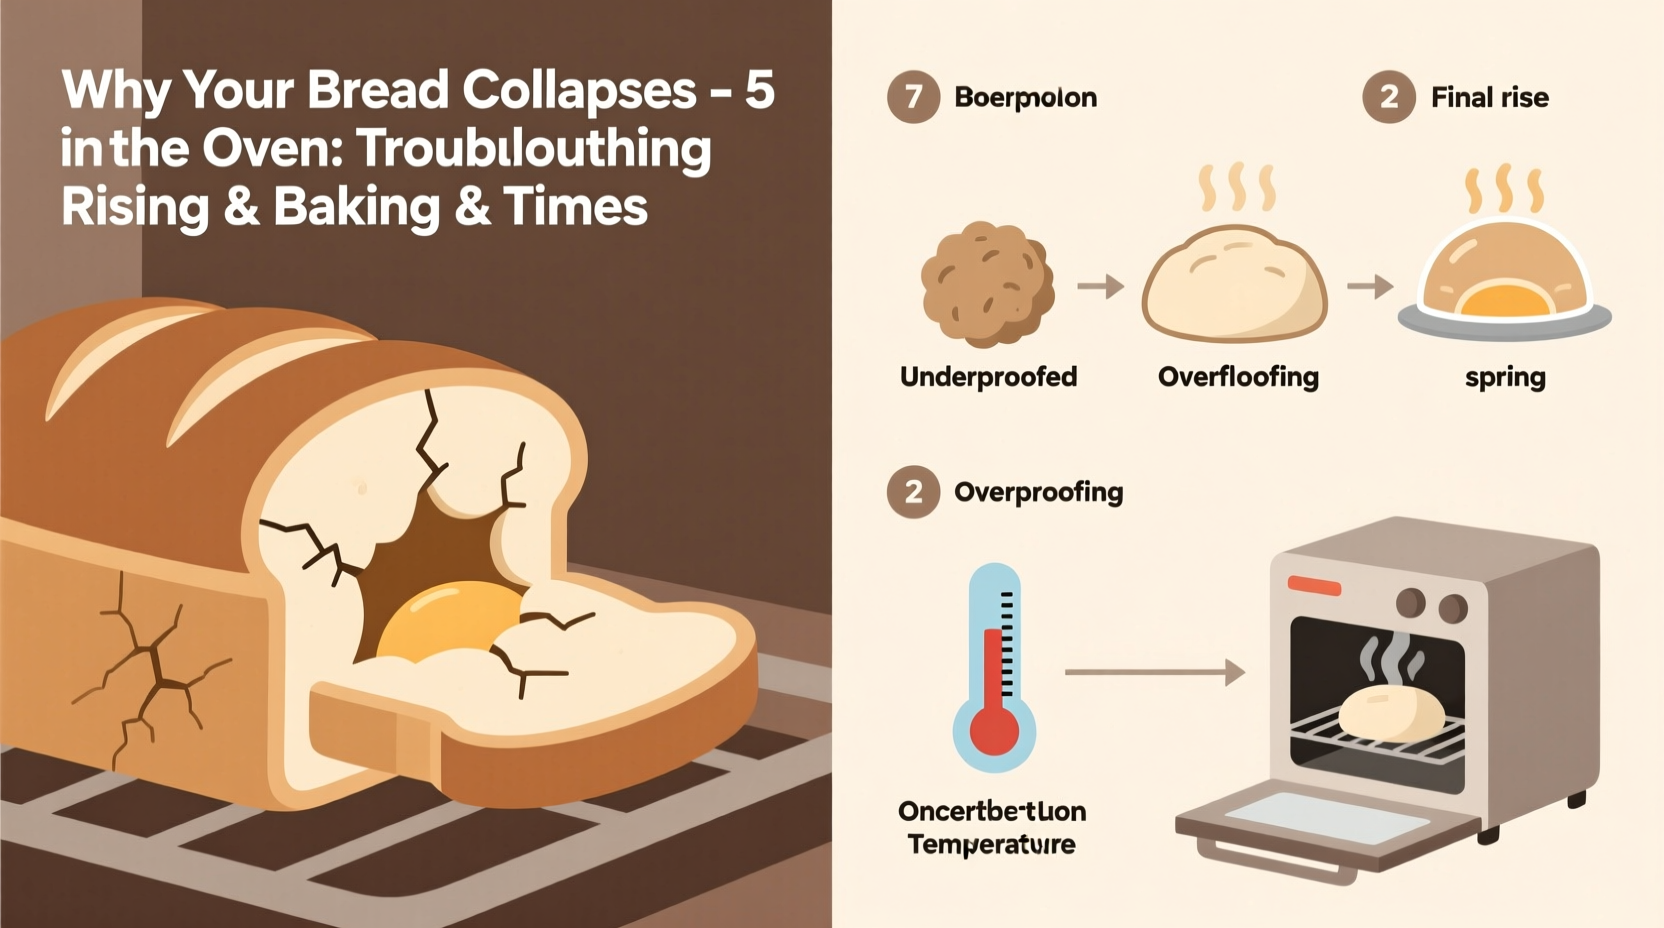
Oven spring refers to the final burst of expansion that occurs when bread enters a hot oven. The heat rapidly increases gas production in the dough while steam softens the crust, allowing the loaf to expand before the structure sets. Collapse happens when this delicate balance is disrupted—either the internal structure can't support expansion, or gases escape uncontrollably.
Several factors contribute to structural failure at this critical stage:
- Over-proofing: Dough fermented too long loses elasticity and gas retention.
- Weak gluten development: Under-kneaded dough lacks the network needed to trap air.
- Rapid temperature changes: Sudden exposure to high heat without proper oven spring control.
- Incorrect slashing: Poor scoring prevents controlled expansion, causing random bursting.
- Under-baking: Loaves removed too early haven’t set their crumb structure.
The key to preventing collapse lies in managing fermentation, strengthening dough integrity, and respecting thermal transitions during baking.
Common Causes of Bread Collapse and How to Fix Them
1. Over-Proofing: The Silent Killer of Structure
One of the leading causes of collapse is over-proofing—allowing the dough to ferment too long before baking. During bulk fermentation and final proof, yeast consumes sugars and produces carbon dioxide. While this creates rise, excessive fermentation weakens the gluten matrix. Eventually, the bubbles grow so large they thin the walls between them, making the dough fragile.
When such dough hits the oven, trapped gases expand rapidly. But instead of stretching evenly, the weakened structure ruptures, causing the loaf to sink.
To avoid this:
- Follow recommended proofing times as guidelines, not absolutes.
- Adjust fermentation based on room temperature—warmer environments speed up yeast activity.
- Use the refrigerator for cold fermentation to slow yeast action and improve flavor control.
“Many home bakers treat proofing like a timer game. It’s not about time—it’s about dough maturity.” — Daniel Leader, artisan baker and author of *Local Breads*
2. Inadequate Gluten Development
Gluten forms the elastic scaffold that holds gas bubbles during proofing and baking. Without sufficient development, the dough cannot withstand internal pressure. Signs of poor gluten development include stickiness, lack of smoothness, and inability to pass the windowpane test.
The windowpane test involves stretching a small piece of dough between your fingers. If it forms a thin, translucent membrane without tearing, gluten is well-developed. If it breaks easily, kneading or folding may be insufficient.
Solutions:
- Knead longer by hand or machine until smooth and elastic (typically 8–12 minutes).
- Use stretch-and-fold techniques every 30 minutes during bulk fermentation for stronger structure.
- Allow autolyse—rest flour and water for 20–30 minutes before adding yeast and salt—to enhance gluten formation naturally.
3. Improper Oven Temperature or Lack of Steam
Steam plays a crucial role in early baking. It keeps the surface of the loaf moist, delaying crust formation so the bread can expand fully during oven spring. Without steam, the crust hardens too quickly, restricting rise and increasing risk of blowouts or collapse.
Additionally, an oven that isn’t hot enough won’t generate adequate initial expansion. Conversely, extreme heat shock can destabilize delicate dough.
Best practices:
- Preheat your oven for at least 45 minutes, especially if using a baking stone or Dutch oven.
- Use a Dutch oven for enclosed steam environment—ideal for sourdough and rustic loaves.
- If baking freeform, place a metal pan on the bottom rack and pour 1 cup of boiling water into it right after loading the bread.
4. Incorrect Scoring Technique
Scoring isn’t just decorative—it controls where and how the loaf expands. Deep, confident cuts allow steam and gases to escape predictably. Shallow or hesitant slashes can cause the dough to burst unpredictably along weak points, sometimes leading to partial collapse.
Use a sharp blade (lame, razor, or very sharp knife) and make decisive cuts at a 30–45° angle, about ½ inch deep. Avoid cutting too deeply into the base of the loaf, which compromises structural integrity.
5. Under-Baking or Premature Removal
A loaf may appear golden and tempting, but removing it from the oven too soon risks collapse as it cools. The internal crumb needs time to set through gelatinization of starches and protein coagulation. If the structure hasn’t stabilized, cooling contraction pulls the center down.
Always verify doneness with a thermometer: most breads should reach an internal temperature of 190–210°F (88–99°C), depending on hydration and type. Dense rye or enriched doughs require higher temps (up to 205–210°F), while lean white breads are done around 190–200°F.
Troubleshooting Rising and Baking Times
Rising times listed in recipes are estimates. Real-world variables like ambient temperature, humidity, flour type, and starter activity mean you must adapt dynamically.
How Long Should Dough Rise?
There is no universal answer. Instead, assess readiness by physical cues:
| Indicator | Optimal Sign | Warning Sign |
|---|---|---|
| Volume Increase | 50–100% increase during bulk; doubles in final proof | No rise after 4 hours (check yeast/starter health) |
| Surface Texture | Smooth, domed, with visible bubbles | Cracked or deflated surface = over-proofed |
| Finger Poke Test | Slow rebound with light imprint | No rebound = over-proofed; full rebound = under-proofed |
| Feel | Airly but resilient | Extremely soft, sticky, or collapsing |
For example, a dough left to rise in a warm kitchen (80°F/27°C) might complete bulk fermentation in 3–4 hours. The same recipe in a cooler space (68°F/20°C) could take 6–8 hours.
Step-by-Step Guide to Prevent Collapse
Follow this sequence to ensure structural integrity from mixing through cooling:
- Mix and Autolyse: Combine flour and water; rest 20–30 minutes before adding salt and leavening. Enhances gluten development.
- Knead or Fold: Knead until smooth or perform 3–4 sets of stretch-and-folds spaced 30 minutes apart during bulk fermentation.
- Monitor Bulk Fermentation: Watch for 50–100% volume increase, bubbling, and jiggly texture. Don’t rely solely on clock.
- Shape Gently: Pre-shape, rest 20 minutes, then final shape with tension on the surface. Avoid degassing excessively.
- Final Proof: Use basket or bowl lined with cloth. Proof until nearly doubled and passes poke test. For cold proof, refrigerate 8–16 hours.
- Preheat Thoroughly: Heat oven and baking vessel (Dutch oven, stone) for at least 45 minutes at 450–475°F (230–245°C).
- Score Confidently: Make 1–3 deep, angled slashes just before loading.
- Bake with Steam: Enclose in Dutch oven or use steam pan method for first 20–25 minutes.
- Finish Baking: Remove lid or steam source, continue baking until deep golden brown and internal temp reaches target.
- Cool Completely: Wait at least 1–2 hours before slicing. Cutting too early releases steam and collapses crumb.
Real Example: Recovering a Collapsed Sourdough Batch
Sarah, a home baker in Portland, consistently experienced sunken sourdough loaves despite following online tutorials precisely. Her dough rose beautifully overnight in the fridge but flattened dramatically upon removal from the Dutch oven.
After reviewing her process, two issues were identified:
- She was leaving the dough in the refrigerator for 20+ hours—a duration suitable for stronger starters but excessive for hers.
- She scored the dough with a dull knife, creating shallow, jagged cuts that failed to open properly.
Adjustments made:
- Reduced cold proof to 12 hours.
- Used a fresh razor blade for scoring at a 40° angle, ½ inch deep.
Result: The next loaf achieved symmetrical oven spring and held its shape perfectly. Internal crumb was open and even. Sarah now tracks proofing time relative to starter strength and ambient temperature, adjusting accordingly each week.
Do’s and Don’ts Checklist
Quick-reference guide to avoid common pitfalls:
| Do | Don’t |
|---|---|
| Use the poke test to judge proofing | Rely only on recipe time for proofing |
| Preheat oven and baking vessel thoroughly | Put dough into a cold or inadequately heated oven |
| Score with a sharp, single-edged blade | Use a serrated knife or cut too shallowly |
| Cool bread completely before slicing | Cut into hot bread—even if it smells amazing |
| Verify doneness with a thermometer | Assume color equals doneness |
Frequently Asked Questions
Can I save a collapsed loaf?
Yes—though appearance suffers, flavor is usually unaffected. Slice and toast the bread, or repurpose into croutons, breadcrumbs, or bread pudding. If under-baked, return to a 350°F (175°C) oven for 10–15 minutes to finish setting the crumb.
Why did my bread rise in the oven then fall?
This typically indicates over-proofing. The dough entered the oven already at maximum expansion. Heat caused final gas release, but the structure couldn’t support further rise, leading to collapse. Adjust proofing time downward and use visual cues over timers.
Does altitude affect bread collapse?
Yes. At high elevations (above 3,000 feet / 900 meters), lower atmospheric pressure allows gases to expand faster. Yeast becomes more active, increasing risk of over-proofing. Reduce yeast by 25%, shorten proofing times, and consider slightly increasing oven temperature by 15–25°F (10–15°C) to set structure faster.
Master Your Bake: Take Control of the Process
Bread collapse isn’t a dead end—it’s feedback. Each deflated loaf tells you something about fermentation, structure, or timing. By shifting focus from rigid schedules to observational baking, you gain deeper mastery over the craft. Track variables like room temperature, starter vigor, and dough behavior. Refine one element at a time. Soon, consistent oven spring and stable loaves will become the norm, not the exception.


 浙公网安备
33010002000092号
浙公网安备
33010002000092号 浙B2-20120091-4
Comments
No comments yet. Why don't you start the discussion?