
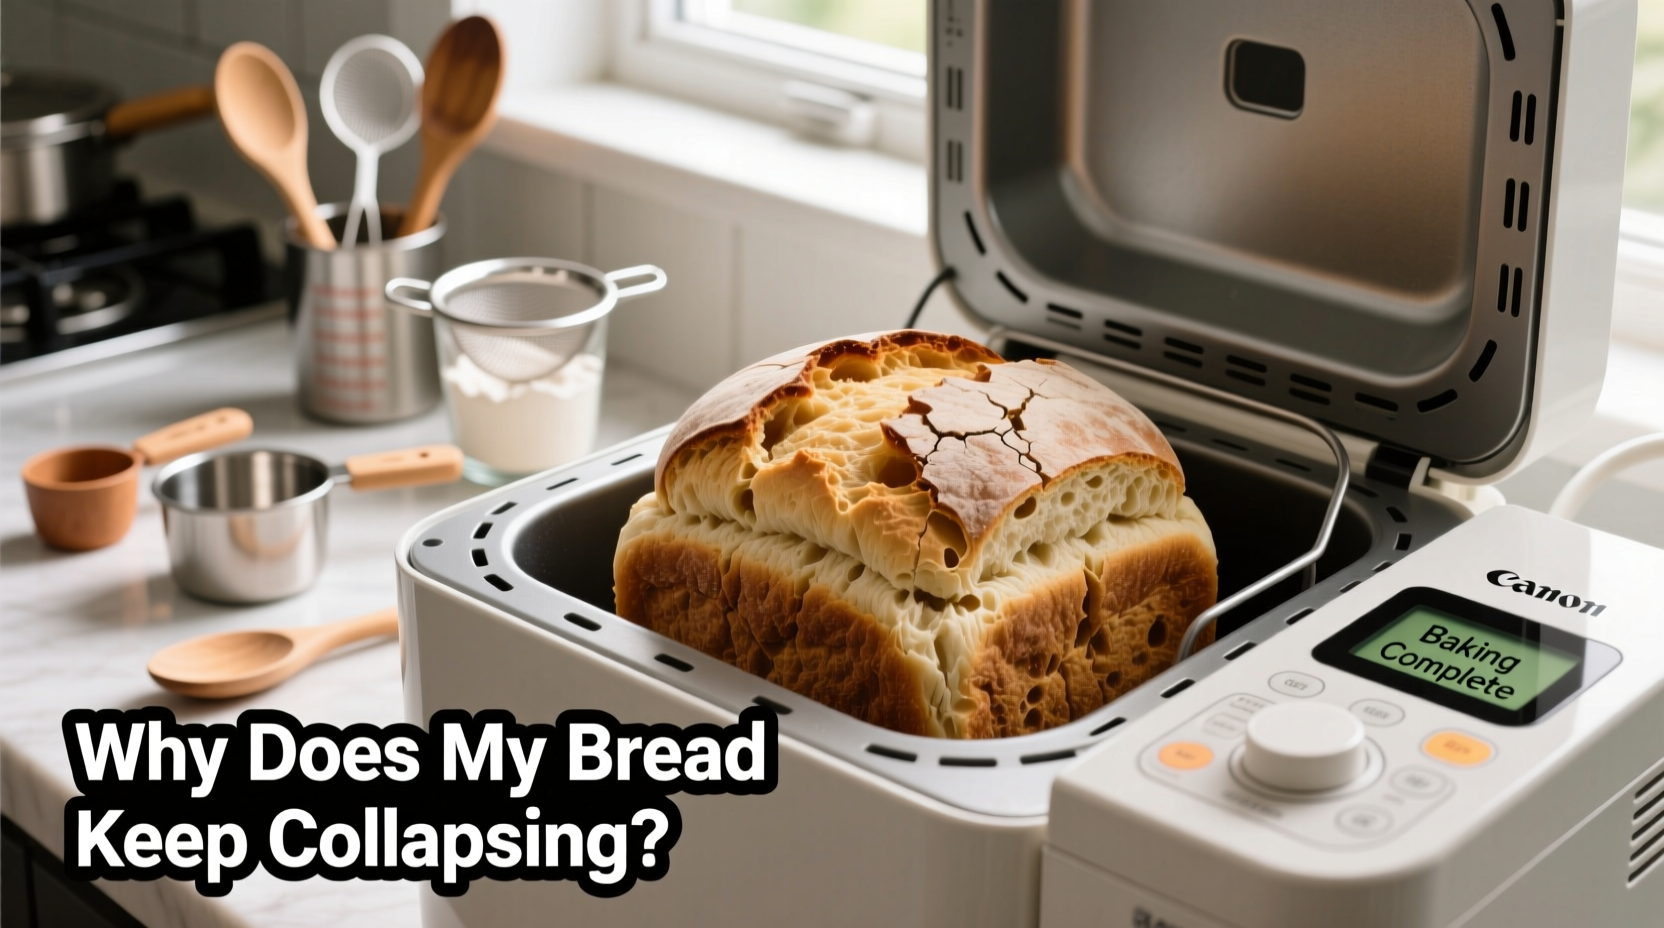
Baking bread in a machine offers convenience, consistency, and minimal cleanup—but when your loaf repeatedly collapses, it can be both frustrating and mystifying. You followed the recipe, measured the ingredients carefully, and yet halfway through or just after baking, the crown of your loaf caves in. This issue isn’t uncommon, and more importantly, it’s usually preventable. The collapse often stems from one or more subtle missteps in ingredient ratios, timing, temperature, or machine settings. Understanding the science behind bread structure and the unique environment of a bread machine is key to solving this problem for good.
The Science Behind Bread Collapse
Bread rises due to carbon dioxide produced by yeast during fermentation. As the dough expands, gluten strands stretch and form a network that traps gas bubbles. When properly balanced, this network supports the loaf throughout rising and baking. However, if the structure is too weak or the internal pressure becomes excessive, the loaf collapses—either during the final rise, mid-bake, or immediately after removal from the machine.
In a bread machine, the entire process—from mixing to baking—occurs in a single sealed chamber with preset cycles. Unlike conventional ovens where you can monitor and adjust, the bread machine operates on automation. This means small errors in ingredients or settings are amplified, often leading to structural failure. Common culprits include excess moisture, insufficient gluten development, incorrect yeast quantity, or premature oven spring followed by deflation.
Why Timing and Temperature Matter
The bread machine follows a strict timeline: mix, knead, rise, bake. If any phase is too short or too long, or if the internal temperature fluctuates, the loaf may not set properly before the crust hardens. For example, if the oven heats too slowly, the dough may over-rise before the structure sets, causing it to fall. Conversely, rapid heating without sufficient proofing can lead to uneven expansion and cracking—or worse, collapse.
Common Causes of Collapsing Bread (and How to Fix Them)
1. Too Much Liquid
Excess moisture creates a slack dough that lacks structural integrity. While soft, moist bread is desirable, too much liquid prevents gluten from forming a strong matrix. In high-humidity environments, even slight over-measurement can tip the balance.
Flour absorbs moisture differently based on type, humidity, and storage. Measuring by volume (cups) instead of weight increases inconsistency. A cup of flour can vary by up to 30 grams depending on how it's scooped.
2. Insufficient Gluten Development
If the dough doesn’t develop enough gluten during kneading, it can't hold gas effectively. Some bread machines have shorter kneading cycles than traditional methods, which may leave the dough underdeveloped—especially with whole grain or low-protein flours.
Using all-purpose flour instead of bread flour can also contribute to weak structure, as bread flour has higher protein content (typically 12–14%) compared to all-purpose (around 10–11%).
3. Overuse of Yeast
More yeast doesn’t mean better rise. Excessive yeast produces gas too quickly, causing the dough to expand beyond its structural limits before the oven heat sets the crumb. In bread machines, this often results in a dramatic rise followed by a sudden collapse.
Most bread machine recipes call for 1.5 to 2 teaspoons of instant yeast for a standard 1.5-pound loaf. Doubling the amount—even accidentally—can destabilize the fermentation timeline.
4. Incorrect Machine Settings
Selecting the wrong cycle for your recipe can cause collapse. For example, using a “basic” cycle for a dough rich in butter and eggs (like brioche) may fail because those ingredients require gentler handling and longer rising times. Similarly, using “whole wheat” mode for white bread can over-knead and damage gluten.
5. Opening the Lid During Baking
Peeking into the machine during the bake cycle causes rapid temperature drops. This can shock the rising loaf, weakening the structure and leading to collapse. Even a brief lift of the lid can disrupt oven spring—the final burst of expansion during early baking.
“Consistency in ingredients and environment is everything in bread machine baking. Small imbalances become magnified in an automated system.” — Dr. Lydia Chen, Food Scientist and Fermentation Specialist
Troubleshooting Checklist: Preventing Loaf Collapse
- ✅ Measure ingredients by weight using a digital scale for accuracy
- ✅ Use bread flour instead of all-purpose for better gluten formation
- ✅ Verify yeast freshness—expired yeast leads to uneven rise
- ✅ Avoid substituting liquids (e.g., buttermilk for water) without adjusting other ingredients
- ✅ Don’t open the lid during mixing, rising, or baking phases
- ✅ Select the correct cycle based on dough type (basic, whole wheat, sweet, etc.)
- ✅ Ensure the kneading paddle is securely in place and turning freely
- ✅ Let the bread cool fully in the machine for 10–15 minutes before removal
Do’s and Don’ts: Ingredient and Process Guide
| Category | Do’s | Don’ts |
|---|---|---|
| Flour | Use bread flour; store in airtight container | Don’t use self-rising or cake flour |
| Liquid | Use room-temperature water/milk; measure precisely | Don’t add extra liquid to make “softer” dough |
| Yeast | Use fresh instant yeast; store in fridge | Don’t double yeast to speed up rise |
| Fats & Sugars | Add softened butter or oil; limit sugar to 2 tbsp per loaf | Don’t overload with honey, eggs, or butter |
| Machine Use | Run a test cycle with water to check heater function | Don’t open lid during operation |
A Real-World Example: Sarah’s Sourdough Struggle
Sarah, a home baker in Portland, loved her bread machine for weekday loaves. But every time she tried a sourdough setting, the loaf would rise beautifully—then sink halfway through baking. Frustrated, she posted in an online baking group. One user suggested checking her starter hydration. She realized she was adding her liquid starter directly without adjusting the recipe’s water content. By reducing added water by ¼ cup and using a stiffer starter, her next loaf held its shape perfectly. The lesson? Even natural leaveners must be balanced within the machine’s closed ecosystem.
Her experience highlights how ingredient interactions matter more in automated systems. What works in hand-kneaded sourdough may not translate directly to machine cycles.
Step-by-Step Guide to a Stable Loaf
- Weigh Ingredients: Use a kitchen scale. Standard 1.5-lb loaf: 3 cups (360g) bread flour, 1 cup (240ml) water, 1.5 tsp yeast, 1.5 tsp sugar, 1.5 tbsp butter, 1 tsp salt.
- Check Yeast: Test yeast by mixing ½ tsp with warm water and sugar. It should bubble within 5–10 minutes.
- Add Ingredients in Order: Follow your machine’s manual—usually liquids first, then dry, then yeast last (to avoid contact with liquid prematurely).
- Select Correct Cycle: Use “Basic” or “White” for standard loaves. Choose “French” if you want less rise and no crust coloration.
- Monitor First Bake: Watch through the window (without opening) to see rise height. Ideal rise reaches just below the top of the pan before baking begins.
- Cool Properly: Remove loaf after 10–15 minutes in machine. Transfer to wire rack. Cutting too soon releases steam and can cause center collapse.
- Evaluate Results: If loaf collapses, reduce liquid by 1 tbsp next time or increase flour by 1 tbsp. Adjust incrementally.
When the Machine Itself Is the Problem
Even with perfect ingredients, mechanical issues can cause collapse. Over time, heating elements degrade, thermostats drift, or sensors fail. If your bread consistently collapses despite correct recipes, consider these diagnostics:
- Inconsistent Heating: If the crust is pale but the center is gummy, the oven may not reach proper temperature.
- Short Bake Cycle: Some older models end baking too soon, leaving the interior unset. Try extending cooling time before removal.
- Worn Kneading Paddle: A loose or broken paddle won’t develop gluten. Replace if wobbly or cracked.
Run a test with a known-good recipe from the manual. If it fails repeatedly, the machine may need servicing or replacement.
Frequently Asked Questions
Why does my bread rise and then fall before baking ends?
This typically indicates over-proofing caused by too much yeast, too much moisture, or a delayed bake phase. The dough expands beyond its capacity and collapses when it can no longer support itself. Reduce yeast by ¼ tsp or decrease liquid slightly to stabilize the structure.
Can I use whole wheat flour without my bread collapsing?
Yes, but whole wheat flour absorbs more water and contains less gluten. Use a blend of 50% whole wheat and 50% bread flour, and add 1 tbsp vital wheat gluten per cup of whole wheat flour. Also, select the “Whole Wheat” cycle, which usually includes longer kneading and rising times.
Should I take the bread out immediately when the cycle ends?
No. Let the loaf sit in the machine for 10–15 minutes after baking. This allows residual heat to finish setting the crumb and reduces condensation that can soften the crust and weaken structure. Removing it too soon can cause the center to sink.
Final Tips for Consistent Success
Success in bread machine baking hinges on precision and understanding the machine’s limitations. Unlike artisanal hand-baking, there’s no room for improvisation. Stick to tested recipes, especially when troubleshooting. Gradually introduce variations only after achieving consistent results with basics.
Environmental factors like altitude and humidity also play a role. At higher elevations, reduce yeast by 25% and increase liquid slightly to compensate for faster evaporation and quicker rise times.
“The bread machine isn’t magic—it’s a tool that amplifies both skill and error. Master the fundamentals, and it becomes one of the most reliable ways to bake daily bread.” — James Roderick, Artisan Baker and Appliance Consultant
Conclusion: Rise Above the Collapse
A collapsing loaf doesn’t mean you’re a bad baker—it means you’re diagnosing a complex biochemical process in real time. With careful adjustments to ingredients, settings, and technique, you can consistently produce beautiful, well-structured bread. Start with accurate measurements, respect the machine’s programming, and learn from each bake. Soon, collapse will be a thing of the past, replaced by golden, dome-topped loaves that rise proudly—and stay that way.


 浙公网安备
33010002000092号
浙公网安备
33010002000092号 浙B2-20120091-4
Comments
No comments yet. Why don't you start the discussion?