
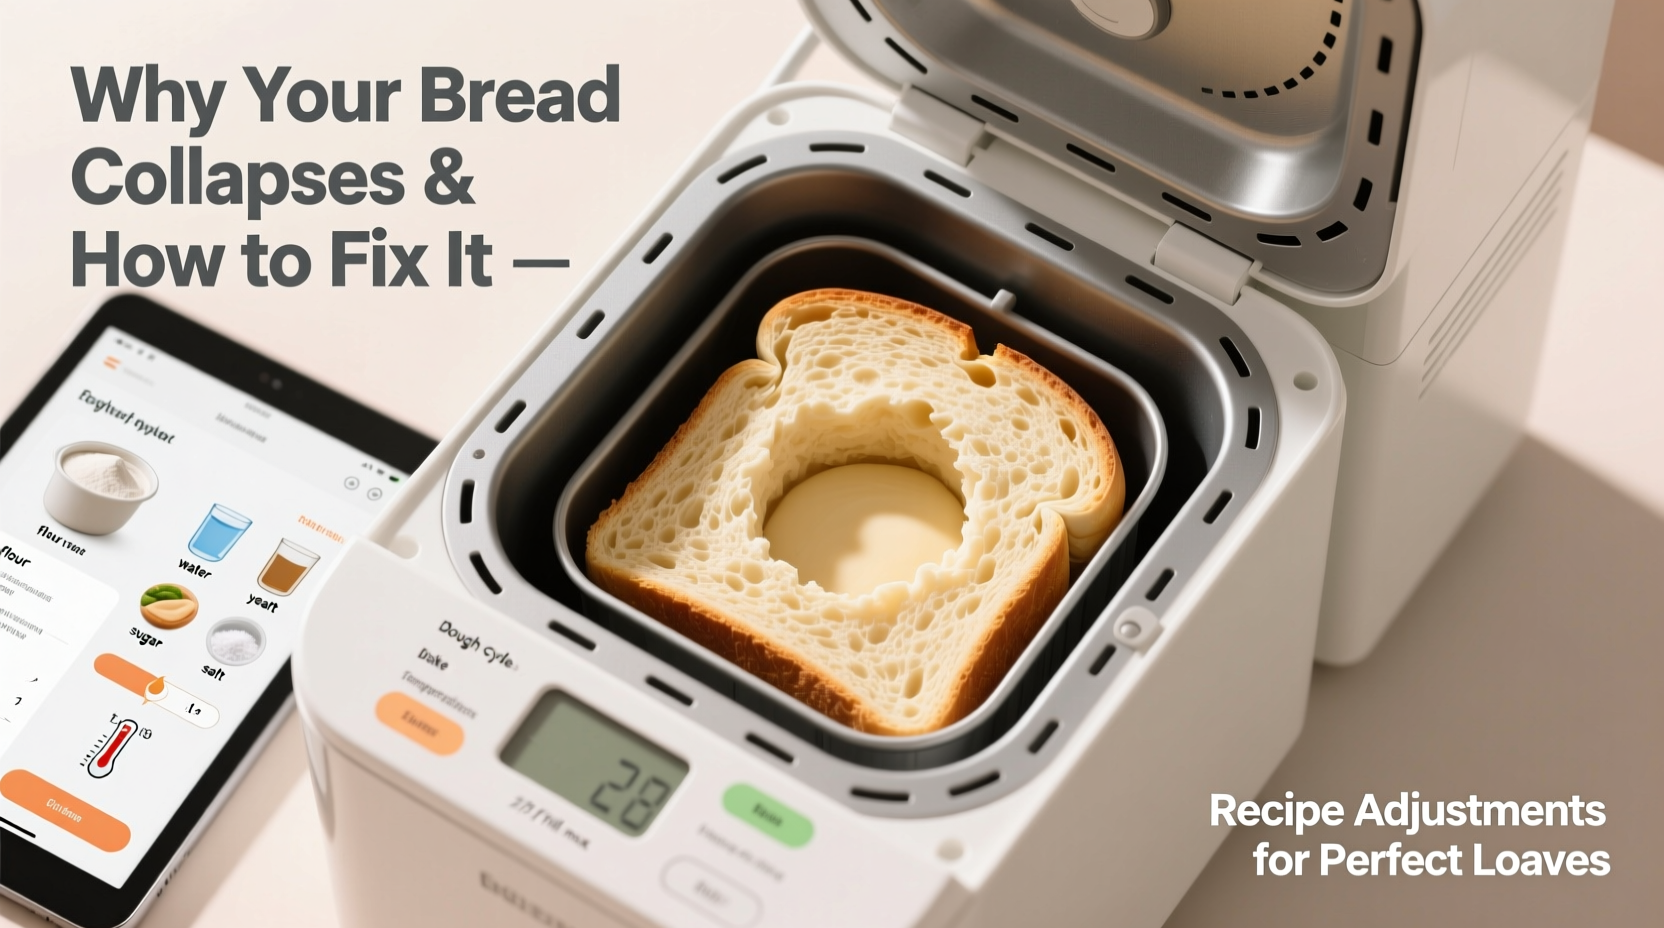
Baking bread in a machine offers convenience, consistency, and minimal effort—until your loaf rises beautifully only to sink into a sunken, dense mess by the end of the cycle. A collapsed center is one of the most common frustrations for home bakers using bread machines. While disheartening, this issue is rarely random. It stems from identifiable imbalances in ingredients, timing, or machine function. The good news: with targeted recipe adjustments and a deeper understanding of the science behind bread structure, you can consistently produce high, even loaves.
The Science Behind Bread Collapse
Bread rises due to carbon dioxide produced by yeast during fermentation. As the dough expands, gluten proteins form an elastic network that traps gas bubbles. During baking, heat sets the structure—starches gelatinize, proteins coagulate, and the crumb solidifies. If any part of this process is compromised, the loaf may rise too quickly, lack internal strength, or fail to set before steam escapes, leading to collapse.
A collapse in the center typically indicates structural failure during or just after the final rise. This can happen if:
- The dough over-rises and exhausts its gas-producing capacity.
- Gluten development is insufficient to support expansion.
- Too much moisture weakens the crumb structure.
- The oven (or bread machine heating element) doesn’t reach proper temperature for timely crust formation.
“Structure and timing are everything in bread. A collapsed loaf isn’t a lost cause—it’s a signal that something in the balance needs correction.” — Dr. Laura Bennett, Food Scientist & Baking Consultant
Common Causes and Their Fixes
Before adjusting recipes, rule out mechanical issues. Ensure your bread machine’s kneading paddle turns freely, the lid seals properly, and the heating element functions. But more often than not, the root lies in formulation. Below are the most frequent culprits and how to correct them.
1. Excess Yeast or Sugar
Too much yeast causes rapid fermentation, producing gas faster than the gluten can contain it. Similarly, excess sugar feeds yeast aggressively but also softens the dough, weakening structure. Both lead to early peak rise followed by collapse.
2. Insufficient Gluten Development
Weak gluten means poor gas retention. In bread machines, this often results from incorrect flour type or inadequate hydration. All-purpose flour lacks the protein content of bread flour (12–14%), making it prone to collapse in high-hydration or long-cycle recipes.
3. Too Much Liquid
Water or milk beyond what the flour can absorb creates a slack, sticky dough that cannot hold its shape. Excess moisture also delays crust formation, allowing the loaf to sag as steam escapes late in the bake cycle.
4. Incorrect Cycle Selection
Using a “basic” cycle for enriched doughs (with eggs, butter, or milk) can cause imbalance. These ingredients slow yeast activity but add fat, which interferes with gluten. The machine may misjudge rise time, leading to under-kneading or premature baking.
5. High Altitude or Humidity
At higher elevations, lower atmospheric pressure allows dough to rise faster. Humid environments increase flour moisture absorption unpredictably. Both factors disrupt the delicate equilibrium the machine expects.
Recipe Adjustments That Prevent Collapse
Fixing a collapsing loaf isn’t about guesswork—it’s about recalibrating ratios. Below are proven adjustments backed by baking science and real-world testing.
1. Optimize Flour Type and Ratio
Switch from all-purpose to bread flour. Its higher protein content builds stronger gluten networks. If you must use all-purpose, add 1–2 tablespoons of vital wheat gluten per cup of flour.
| Flour Type | Protein Content | Suitability for Bread Machines |
|---|---|---|
| All-Purpose Flour | 10–12% | Fair – best for short cycles or low-hydration recipes |
| Bread Flour | 12–14% | Excellent – ideal for consistent rise and structure |
| Whole Wheat Flour | 13–14% | Poor alone – blend with 50% white flour to avoid density |
2. Reduce Liquids Slightly
Decrease water or milk by 1–2 tablespoons. Dough should form a smooth ball during kneading—not stick to the sides, nor remain too stiff. If your machine struggles to knead, add liquid by teaspoon, not tablespoon.
3. Balance Leavening Agents
Stick to 2¼ teaspoons of yeast for a 1.5-lb loaf. For longer cycles (e.g., “dough” or “delayed start”), reduce yeast to 1½ teaspoons to prevent over-proofing. Avoid doubling recipes unless your machine supports larger loads.
4. Adjust Fat and Sugar Proportions
Fat (butter, oil) and sugar enrich flavor but weaken gluten. Limit sugar to 2–3 tablespoons and oil to 1–2 tablespoons per loaf. For sweet breads, consider adding 1 extra tablespoon of bread flour to compensate.
5. Use Add-Ins at the Right Time
Nuts, seeds, dried fruit, or chocolate chips added too early can inhibit gluten development. Most bread machines have a “mix-in” beep around 5–10 minutes before the final rise. Add heavy or sharp items then to prevent tearing the dough.
Step-by-Step Guide to Troubleshooting a Collapsing Loaf
Follow this sequence to diagnose and correct sinking bread:
- Review Your Recipe: Check yeast, liquid, and flour amounts. Compare against manufacturer guidelines.
- Inspect Dough During Kneading: Around 10 minutes in, open the lid (if safe). The dough should be smooth, elastic, and clean the sides of the pan. If sticky, reduce liquid next time; if dry, add moisture gradually.
- Monitor Rise Height: Before baking begins, the dough should be domed slightly above the top of the pan—not doubled or overflowing. Excessive rise suggests too much yeast or sugar.
- Check Crust Formation: A pale, soft crust after baking indicates under-baking. Try the “deep” or “crust” setting if available.
- Test Internal Temperature: Insert a thermometer into the center. Fully baked bread reads 190–200°F (88–93°C). Below this, the structure hasn’t set.
- Allow Proper Cooling: Never cut hot bread. Steam trapped inside continues cooking the crumb. Wait at least 30 minutes.
Real Example: Fixing Sarah’s Cinnamon-Raisin Loaf
Sarah loved her weekly cinnamon-raisin bread but noticed the center caved in every time. Her recipe used all-purpose flour, ¼ cup sugar, ⅓ cup oil, and 1 packet of yeast. She added raisins at the beginning.
After analysis, she made these changes:
- Replaced all-purpose flour with bread flour.
- Reduced sugar to 3 tablespoons and oil to 2 tablespoons.
- Decreased yeast to 1¾ teaspoons.
- Added raisins at the mix-in signal.
Result: Her next loaf rose evenly, held its shape, and sliced cleanly. The structural integrity improved dramatically because the gluten could support the enriched dough, and the slower rise prevented gas exhaustion.
Do’s and Don’ts for Stable Bread Machine Loaves
| Action | Do | Don't |
|---|---|---|
| Flour Selection | Use bread flour or AP + vital wheat gluten | Use cake or pastry flour |
| Liquid Amount | Start with ¾ of liquid, add slowly if needed | Pour in all liquid at once without checking |
| Yeast Quantity | Stick to 2¼ tsp for 1.5-lb loaf | Double yeast to speed up rising |
| Cycle Choice | Select “sweet” or “whole wheat” for enriched doughs | Use “basic” cycle for banana or pumpkin bread |
| Cooling | Cool completely on wire rack | Remove from pan immediately and slice while hot |
Expert-Recommended Checklist for Success
Use this checklist before starting your next loaf:
- ✅ Verified flour is bread-grade or supplemented with gluten
- ✅ Reduced sugar and fat to moderate levels (≤ 3 tbsp sugar, ≤ 2 tbsp oil)
- ✅ Measured yeast precisely—no heaping scoops
- ✅ Liquids reduced by 1–2 tbsp from original recipe
- ✅ Mix-ins scheduled for automatic dispenser or manual addition at beep
- ✅ Chose appropriate cycle (e.g., “Sweet” for enriched doughs)
- ✅ Machine pan and paddle are clean and turning freely
Frequently Asked Questions
Why does my bread rise and then fall before the bake cycle even starts?
This usually means the dough has over-proofed. The yeast has produced maximum gas, and the gluten can’t stretch further. When the structure peaks, it collapses. To fix: reduce yeast, lower sugar, or use a shorter cycle. Also, check if your machine’s “proof” phase is too warm or long.
Can humidity really affect my bread machine results?
Yes. High humidity increases moisture in flour, making dough wetter than intended. Store flour in an airtight container, and in humid climates, reduce liquids by 1–2 teaspoons. Weighing ingredients (grams) instead of measuring by volume improves accuracy.
Is it okay to open the lid during the knead cycle?
Most machines allow brief lid opening during kneading to check dough consistency or scrape down sides. Avoid doing so during rising or baking, as heat loss disrupts the process. Always consult your manual first—some models pause automatically when opened.
Final Thoughts and Call to Action
A collapsing bread machine loaf is a solvable problem, not a dead end. By understanding the interplay between ingredients and machine behavior, you gain control over outcomes. Small tweaks—reducing liquid, choosing better flour, adjusting yeast—lead to dramatic improvements. Baking is both art and science, and the bread machine rewards precision.
Next time your loaf sinks, don’t discard the recipe. Diagnose, adjust, and retest. Keep notes on each change and its result. Over time, you’ll develop intuition for what your machine needs. Share your breakthroughs with others facing the same struggle—because great bread shouldn’t come with disappointment.


 浙公网安备
33010002000092号
浙公网安备
33010002000092号 浙B2-20120091-4
Comments
No comments yet. Why don't you start the discussion?