
Baking a cake should be a joyful experience—one that ends with a golden, fragrant dessert ready to be frosted and celebrated. But too often, the final moment of triumph turns into frustration when the cake cracks, crumbles, or refuses to leave the pan. You’ve followed the recipe, timed the oven perfectly, and still, the cake clings stubbornly to the sides like it’s rooted there. Why does this happen? And more importantly, how can you prevent it—every single time?
The truth is, even experienced bakers face this issue. Sticking isn’t always about skill—it’s often about technique, materials, and subtle oversights in preparation. The good news? With the right approach, you can achieve flawless release consistently, whether you’re making a delicate sponge, a dense chocolate bundt, or a simple sheet cake.
Understanding Why Cakes Stick: The Science Behind the Problem
Cake sticking occurs when moisture from the batter bonds with the surface of the pan during baking. As the cake sets, proteins and starches coagulate and adhere to microscopic imperfections in the metal or nonstick coating. Without a proper barrier, this adhesion becomes nearly impossible to reverse without damage.
Several factors contribute to this issue:
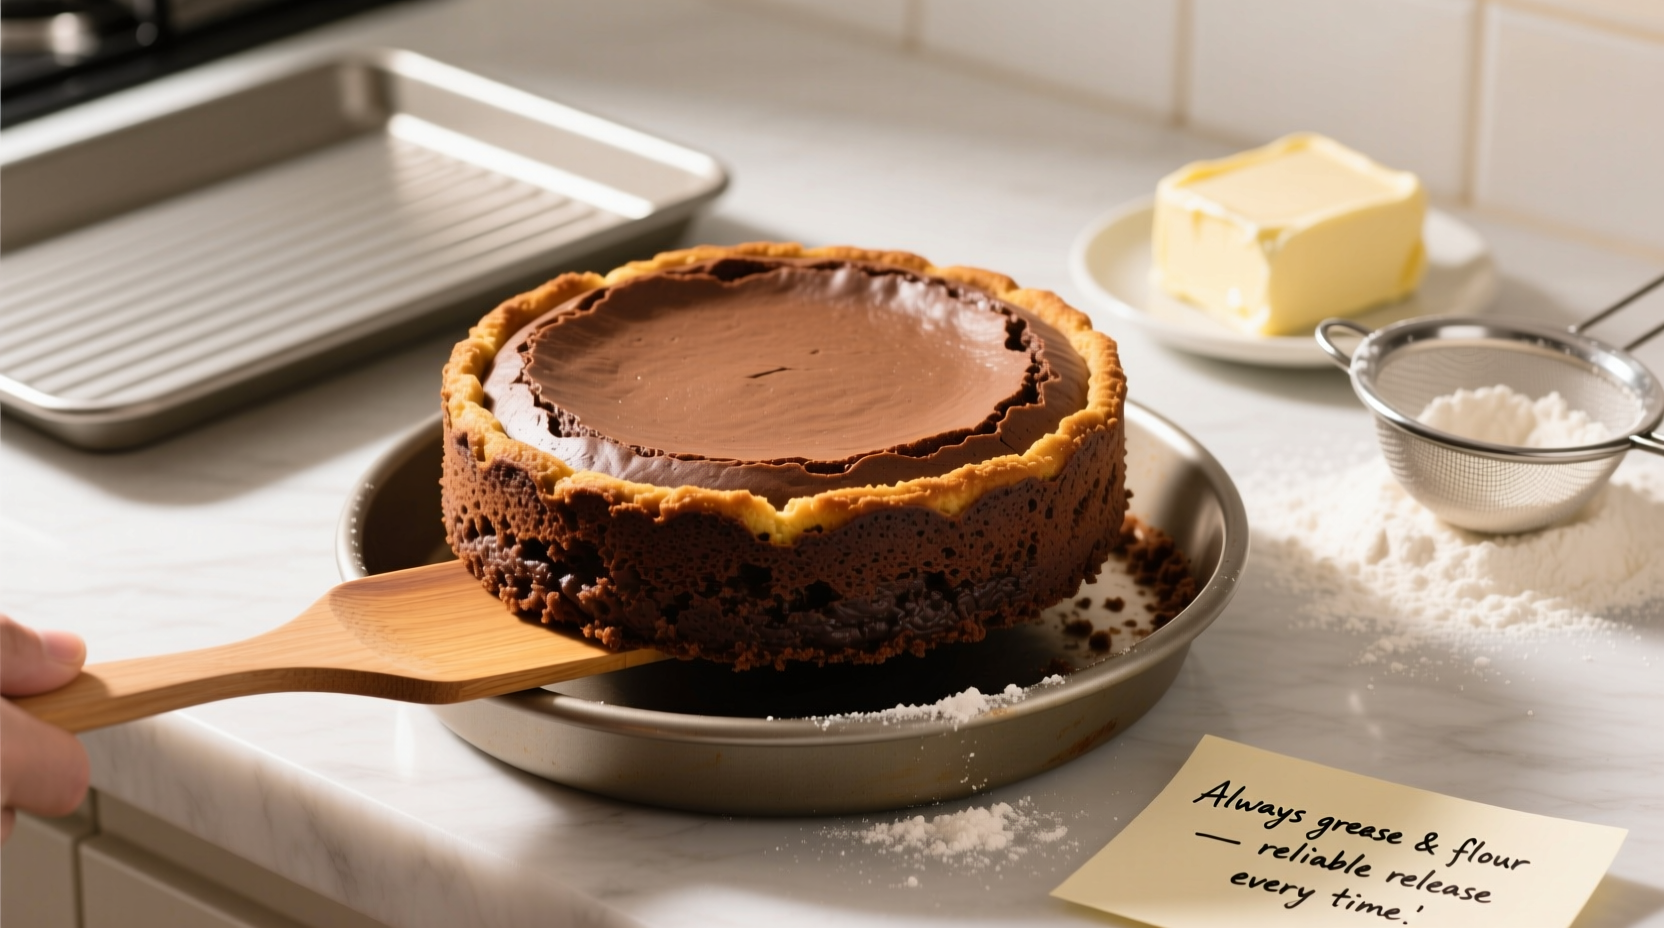
- Poor pan preparation: Skipping greasing, flouring, or lining means no protective layer exists between cake and pan.
- Incorrect cooling: Removing a cake too soon causes structural weakness; waiting too long allows condensation to form, increasing stickiness.
- Low-quality pans: Thin, warped, or scratched bakeware heats unevenly and may have compromised nonstick surfaces.
- High-sugar or high-fat recipes: These cakes caramelize more readily on contact with hot metal, increasing the chance of sticking.
- Acidic ingredients: Buttermilk, yogurt, or citrus-based batters react slightly with aluminum, creating a bond if not properly shielded.
“Even the best recipe fails if the cake won’t come out of the pan. Proper pan prep isn’t optional—it’s part of the recipe.” — Chef Lena Torres, Pastry Instructor at Boston Culinary Institute
The Ultimate Step-by-Step Guide to Guaranteed Cake Release
Follow this detailed method for foolproof cake removal, regardless of pan type or recipe. This sequence combines physical barriers, thermal control, and timing precision.
- Choose the right pan: Use heavy-gauge aluminum or light-colored steel pans. Avoid dark nonstick unless specified by the recipe, as they promote over-browning and crust formation that increases sticking risk.
- Wash and dry thoroughly: Residue from previous uses—even invisible oils—can interfere with new grease application. Wash with warm soapy water and dry completely.
- Apply fat evenly: Using softened butter, shortening, or baking spray, coat the entire interior surface. Pay special attention to corners, seams, and bottom edges. For butter, use a pastry brush to ensure full coverage.
- Add a flour layer (for most cakes): Sprinkle 1–2 tablespoons of all-purpose flour into the greased pan. Tilt and tap the pan until the flour coats all surfaces. Tap out excess. For chocolate cakes, use cocoa powder instead to avoid white residue.
- Line the bottom (optional but recommended): Cut a round of parchment paper to fit the base exactly. Place it after greasing so it adheres. Re-grease lightly over the parchment for double protection.
- Fill and bake: Pour in batter and smooth the top. Bake according to recipe instructions, rotating halfway through for even heat distribution.
- Cool strategically: Let the cake cool in the pan for 10–15 minutes (or as directed). This allows structure to set while still being warm enough to release easily.
- Loosen edges: Run a thin offset spatula or butter knife around the perimeter. Be gentle to avoid cutting into the cake.
- Invert onto a cooling rack: Place the rack over the pan and flip in one confident motion. If using a springform, remove the collar first, then slide a knife under the base before lifting off.
- Remove parchment (if used): Once fully cooled, peel away the liner. If it resists, place the cake bottom-side up on a warm towel for 30 seconds to loosen.
Do’s and Don’ts: A Quick Reference Table
| Do’s | Don’ts |
|---|---|
| Use room-temperature butter for greasing—it spreads more evenly | Use cooking sprays with lecithin or propellants on nonstick pans—they build up over time and become sticky |
| Refrigerate layered cakes briefly before frosting to firm them up | |
| Leave a cake in the pan overnight unless the recipe specifies (e.g., fruitcakes) | |
| Use parchment paper for any cake prone to sticking (cheesecakes, brownies, flourless) | Grease only the sides and skip the bottom—this creates a seal that traps steam and weakens release |
| Tap the pan gently on the counter after filling to eliminate air pockets | Overmix the batter—excess gluten development makes cakes tougher and more likely to tear |
| Store unused pans in a dry place to prevent moisture corrosion | Stack pans without protection—scratches ruin nonstick coatings and create sticking points |
Real-World Example: From Disaster to Perfection
Sarah, a home baker in Portland, had been struggling with her signature lemon pound cake for months. Despite using a premium nonstick Bundt pan, the cake consistently tore apart upon removal, leaving chunks behind. She tried different greasing methods—butter alone, spray, oil and flour—but nothing worked reliably.
After consulting a local bakery owner, she discovered two key oversights: First, she was removing the cake too quickly—after just five minutes. Second, she wasn’t lining the pan’s intricate center tube. By adjusting her cooling time to 15 minutes and adding a parchment circle to the base plus a strip down the central column, her next attempt released perfectly, revealing every detailed curve intact.
“It felt like magic,” Sarah said. “But really, it was just consistency and attention to detail. Now I never skip the parchment.”
Advanced Techniques for Tricky Cakes
Some cakes are inherently more fragile due to their composition. Flourless chocolate cakes, cheesecakes, and dense spice loaves require extra care. Here’s how to handle them confidently:
- Flourless cakes: Rely entirely on parchment. Grease the pan, line the bottom, then grease the parchment. Dust with cocoa powder. After baking, chill completely before attempting removal.
- Cheesecakes: Use a springform pan lined on both bottom and sides with parchment. Wrap the outside in foil if water-bathing. Cool in the turned-off oven with the door cracked to prevent cracking and ease release.
- Brownies and bars: Line the entire pan with parchment, leaving overhang on two opposite sides. This creates a “sling” for easy lifting without scraping or cutting.
- Bundt and tube pans: Brush melted butter into every crevice with a small brush. Use a specialized baking spray with flour (like Baker’s Joy) for complex molds.
Essential Checklist: Never Have a Stuck Cake Again
Print or bookmark this checklist for every bake:
- ✅ Inspect the pan for scratches or warping
- ✅ Wash and dry thoroughly before use
- ✅ Grease entire interior surface evenly
- ✅ Apply flour or cocoa powder (unless making a meringue-based cake)
- ✅ Line the bottom with parchment (cut to size)
- ✅ Fill batter to appropriate level (usually ½ to ⅔ full)
- ✅ Bake until a tester comes out clean
- ✅ Cool in pan for 10–15 minutes
- ✅ Loosen edges with a thin spatula
- ✅ Invert onto a wire rack promptly
- ✅ Peel off parchment once cooled
Frequently Asked Questions
Can I use parchment paper instead of greasing?
While parchment prevents sticking on flat surfaces, it’s safest to grease both the pan and the parchment. This ensures the paper stays in place during baking and provides a dual-layer defense against adhesion.
Why did my cake stick even though I used nonstick spray?
Many aerosol sprays contain additives that carbonize over time, forming a sticky residue. Over repeated use, this buildup negates the nonstick effect. Clean your pan with a paste of baking soda and water monthly to remove deposits, or switch to brushing on pure oil or butter.
Is it okay to grease a nonstick pan?
Yes—and you should. Nonstick doesn’t mean no-stick under all conditions. High sugar content, prolonged baking, or acidic ingredients can still cause bonding. A light coat of fat enhances performance and extends the pan’s lifespan.
Making Success Predictable
The difference between a stuck cake and a seamless release often comes down to habits, not luck. Baking is chemistry, and every step influences the outcome. When you treat pan preparation as non-negotiable—just like measuring flour or preheating the oven—you shift from hoping for success to expecting it.
Consistency matters more than complexity. You don’t need specialty tools or gourmet ingredients to win this battle. You need a clean pan, a stick of butter, a sheet of parchment, and the discipline to follow a proven method every time.


 浙公网安备
33010002000092号
浙公网安备
33010002000092号 浙B2-20120091-4
Comments
No comments yet. Why don't you start the discussion?