
Candle tunneling—when only the center of the wax melts while the outer edges remain untouched—is one of the most common frustrations for candle lovers. It not only shortens the lifespan of your candle but also diminishes its fragrance throw and aesthetic appeal. While it may seem like a minor issue, repeated tunneling can render even high-quality candles unusable before they’re halfway burned. The good news? Tunneling is both preventable and fixable—even in the middle of a burn cycle.
Understanding the science behind wax behavior, wick dynamics, and proper burning habits is key to reversing tunneling and maximizing your candle’s performance. This guide breaks down the root causes, offers actionable solutions for ongoing burns, and provides long-term strategies to ensure every candle you light performs at its best.
What Causes Candle Tunneling?
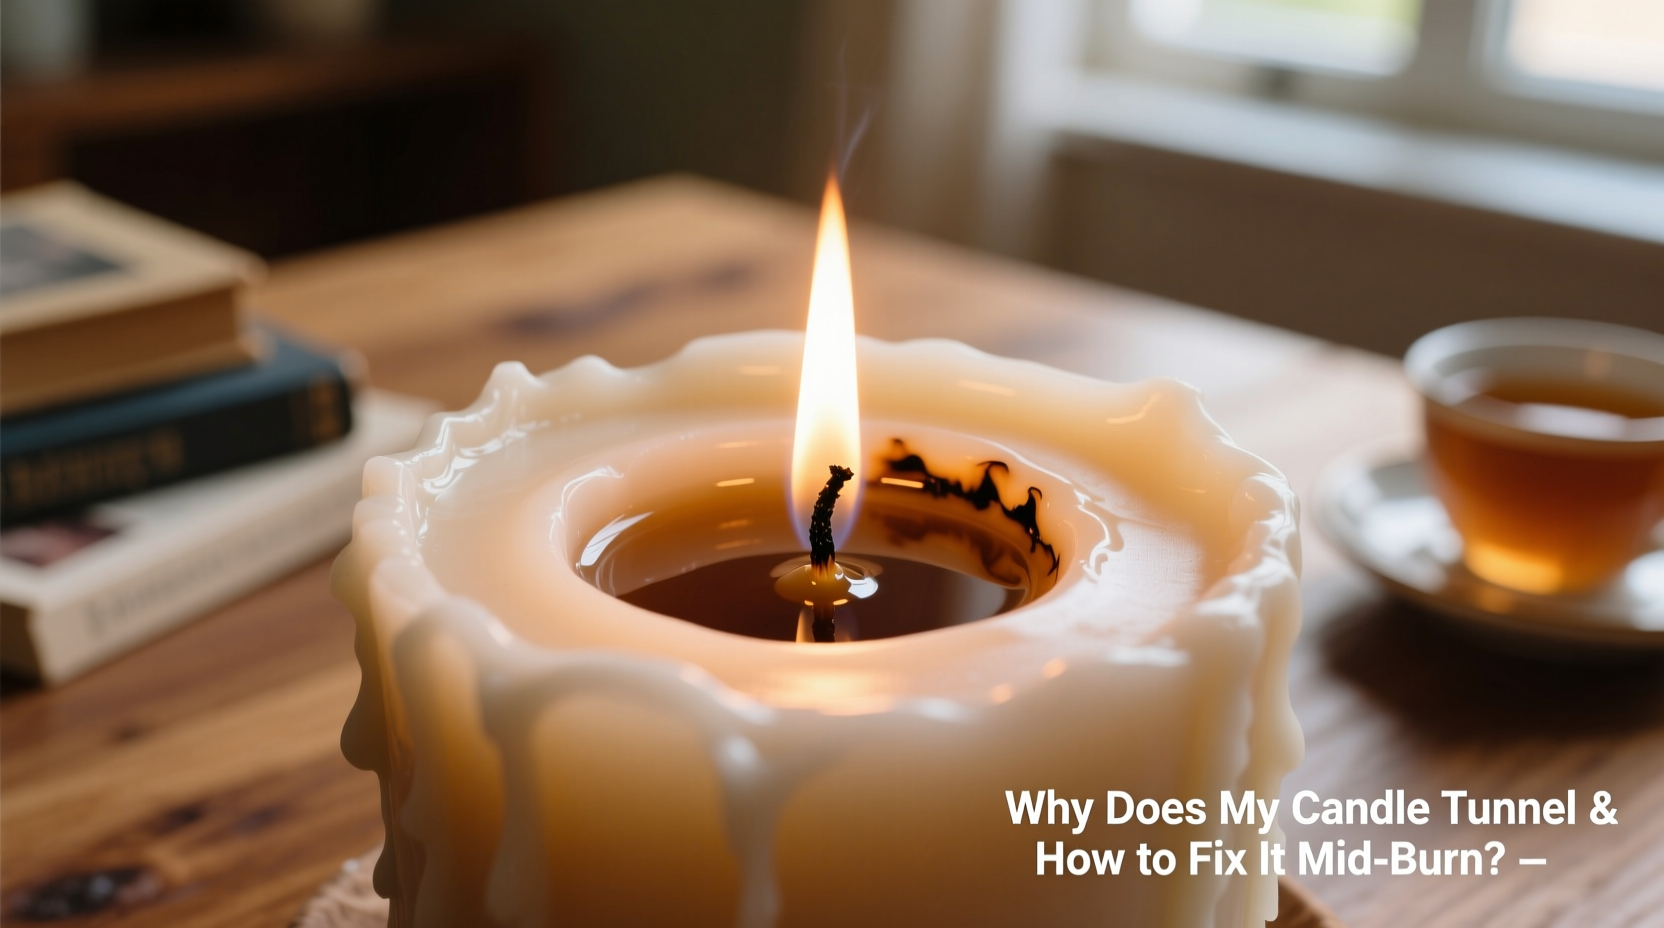
Tunneling occurs when the flame doesn’t melt the wax all the way to the edge of the container during the first burn or subsequent uses. Instead, it creates a narrow well, leaving thick walls of unmelted wax along the sides. Over time, this wasted wax accumulates, eventually trapping the wick and extinguishing the flame prematurely.
The primary culprit is an inadequate initial burn. When a candle is lit for the first time, the melted wax pool must reach the outer rim of the container to “set” the memory of the burn. If extinguished too early, the candle will continue to burn only within that small diameter on future uses—a phenomenon known as \"candle memory.\"
Other contributing factors include:
- Wick size mismatch: A wick that’s too small won’t generate enough heat to melt wax laterally.
- Poor wax quality: Some soy or paraffin blends have higher melting points or inconsistent formulations that resist full melt pools.
- Burning duration: Lighting a candle for less than 1–2 hours prevents the wax from liquefying evenly.
- Drafty environments: Air currents cool the surface unevenly, inhibiting side-wall melting.
- Container material: Thick glass or ceramic retains cold and slows lateral heat transfer.
“Candle tunneling is almost always a result of improper first burns. Once established, it's difficult to reverse—but not impossible.” — Laura Bennett, Artisan Candle Maker & Founder of Hearthlight Co.
How to Fix a Tunneling Candle Mid Burn
If your candle has already started tunneling, don’t discard it yet. With careful intervention, you can restore proper melt pool formation and salvage both function and fragrance. The goal is to gently re-melt the hardened wax walls without damaging the wick or overheating the container.
Step-by-Step: Repairing a Tunnel During Active Use
- Stop burning immediately. Extinguish the flame if the current burn isn't creating a full melt pool.
- Allow the candle to cool completely. Wait at least 4–6 hours so the wax solidifies uniformly.
- Trim the wick to ¼ inch. A properly trimmed wick ensures clean, hot combustion.
- Use aluminum foil to trap heat. Loosely wrap foil around the rim of the jar, shaping it into a tent with a small opening over the wick. This reflects heat downward and accelerates side-wall melting.
- Burn for 2–4 hours. Monitor closely. The foil method increases internal temperature, helping the wax reach the edges.
- Repeat if necessary. Some deeply tunneled candles require two or three corrected burns to fully recover.
Alternative Method: Oven Revival (For Stubborn Tunnels)
When the tunnel is deep and persistent, gentle external heating can help. This method works best for glass-container candles.
- Preheat oven to 175°F (80°C).
- Remove any debris or old wick fragments from the tunnel.
- Place the candle (without lid) on a baking sheet.
- Heat for 10–15 minutes, watching until the top layer of wax begins to soften and the edges start to melt inward.
- Remove carefully and let cool slightly.
- Light the candle and allow it to burn for 2–3 hours to establish a new, wider melt pool.
This technique essentially resets the wax structure, giving you a second chance to create a full melt pool. However, avoid exceeding 175°F to prevent cracking the container or degrading fragrance oils.
Preventing Tunneling Before It Starts
Prevention is far simpler—and safer—than repair. By following best practices from the very first burn, you can avoid tunneling altogether.
| Do’s | Don’ts |
|---|---|
| Burn for 1 hour per inch of diameter (e.g., 3-inch candle = 3 hours) | Extinguish after only 30–45 minutes |
| Trim wick to ¼ inch before each lighting | Use scissors instead of a wick trimmer (can leave debris) |
| Place candle on a level, draft-free surface | Burn near open windows, fans, or vents |
| Allow full melt pool to form before extinguishing | Blow out candle if edges are still solid |
| Store candles upright in cool, dry place | Leave in direct sunlight or hot cars |
Choosing Candles Less Prone to Tunneling
Not all candles are created equal. Some are engineered with tunnel resistance in mind. Look for these features when purchasing:
- Multiples wicks: Larger candles often use two or more wicks to distribute heat evenly.
- High-quality wax blends: Premium soy, coconut-soy, or beeswax typically melt more uniformly than low-grade paraffin.
- Centered, stable wicks: Cotton or wood wicks that stay upright promote consistent flames.
- Manufacturer burn instructions: Reputable brands provide guidance on ideal burn times and care.
Real Example: Recovering a Deeply Tunneled Soy Candle
Sarah, a candle enthusiast from Portland, purchased a popular 14-ounce soy candle marketed for 80-hour burn time. Excited to try it, she lit it for just 45 minutes each evening due to her work schedule. After five uses, she noticed a growing tunnel nearly half an inch wide around the wick. By week three, the flame was struggling to stay lit, and wax buildup reached over an inch high on all sides.
She researched solutions and decided to try the foil method. After cooling the candle overnight, she trimmed the wick, wrapped heavy-duty foil loosely over the jar with a small vent above the wick, and burned it for 3.5 hours. The next day, she repeated the process. On the third burn—without foil—she achieved a full melt pool across the surface. Over the next few weeks, with consistent 3-hour burns, the candle recovered completely and lasted nearly its promised lifespan.
Sarah now follows a strict rule: no candle gets lit unless she has at least two free hours. She also keeps a log of burn times for her collection to maintain consistency.
Expert Tips for Long-Term Candle Health
Maintaining candle performance goes beyond avoiding tunneling. Here are advanced practices used by professional candle makers and collectors:
- Rotate your collection: Avoid burning the same candle multiple days in a row. Let wax reset between uses.
- Check wick alignment: If the wick drifts off-center, gently reposition it with a wick dipper or tweezers while the wax is soft.
- Avoid topping up fragrance oils: Adding essential oils to a burning candle can cause flare-ups and uneven burning.
- Keep containers clean: Wipe the inside rim between burns to remove carbon buildup that insulates wax.
“The biggest mistake people make is treating candles like disposable items. They’re delicate systems of wax, wick, and heat. Treat them with intention, and they’ll reward you with months of ambiance.” — Marcus Tran, Master Chandler at Luminary Artisans
Frequently Asked Questions
Can I fix tunneling without relighting the candle?
Yes, but only partially. You can use the oven method to gently melt the sides and then reshape the surface. However, to establish a proper burn memory, you’ll still need to light it afterward and allow a full melt pool to form.
Does the type of wax affect tunneling risk?
Absolutely. Pure paraffin tends to melt more evenly but lacks natural appeal. Soy wax is eco-friendly but can be temperamental—especially if poured too quickly or cooled too fast during manufacturing. Coconut-soy blends offer the best balance: clean burn, strong scent throw, and reduced tunneling risk.
How do I know when a melt pool is “full enough”?
A successful melt pool reaches the inner edge of the container and remains liquid for at least 30 minutes before you extinguish the flame. If the outer ½ inch of wax is still solid, the burn was too short.
Final Checklist: Stop Tunneling for Good
- ✅ Burn for at least 1 hour per inch of candle diameter on first use.
- ✅ Trim wick to ¼ inch before every lighting.
- ✅ Avoid drafts and air currents near burning candles.
- ✅ Use the foil trick to correct existing tunnels.
- ✅ Consider oven revival for severely tunneled candles.
- ✅ Rotate candles and avoid back-to-back burns.
- ✅ Store candles in a cool, dark place when not in use.
Conclusion: Take Control of Your Candle Experience
Candle tunneling doesn’t have to be inevitable. With a little knowledge and attention to detail, you can rescue a damaged candle and prevent future issues. Whether you're enjoying a luxury centerpiece or a cozy bedroom accent, every candle deserves the chance to perform as intended. By mastering the balance of time, heat, and care, you extend not just burn time—but enjoyment.


 浙公网安备
33010002000092号
浙公网安备
33010002000092号 浙B2-20120091-4
Comments
No comments yet. Why don't you start the discussion?