
Candles are more than just sources of light—they enhance ambiance, provide comfort, and often carry sentimental or aromatic value. But nothing undermines that experience faster than a candle that burns unevenly, leaving behind a ring of wasted wax along the edges while a narrow tunnel forms down the center. This phenomenon, known as \"candle tunneling,\" not only shortens the life of your candle but can also compromise scent throw and flame stability. Understanding why tunneling happens—and how to prevent or correct it—is essential for anyone who values their candle collection.
Tunneling isn’t always a sign of poor quality. Even well-made candles can fall victim to improper burning habits or environmental factors. The good news? Most cases are preventable or reversible with the right knowledge and care. Let’s explore the science behind candle combustion, identify the root causes of tunneling, and walk through proven solutions to ensure every candle burns cleanly and completely.
Understanding How Candles Burn
When a candle is lit, the heat from the flame melts the wax near the wick. This liquid wax is drawn up through the wick via capillary action, where it vaporizes and combusts, sustaining the flame. For optimal performance, the melted wax pool should expand across the entire surface of the candle before solidifying. This initial melt cycle is crucial—especially during the first burn—and sets the stage for all future burns.
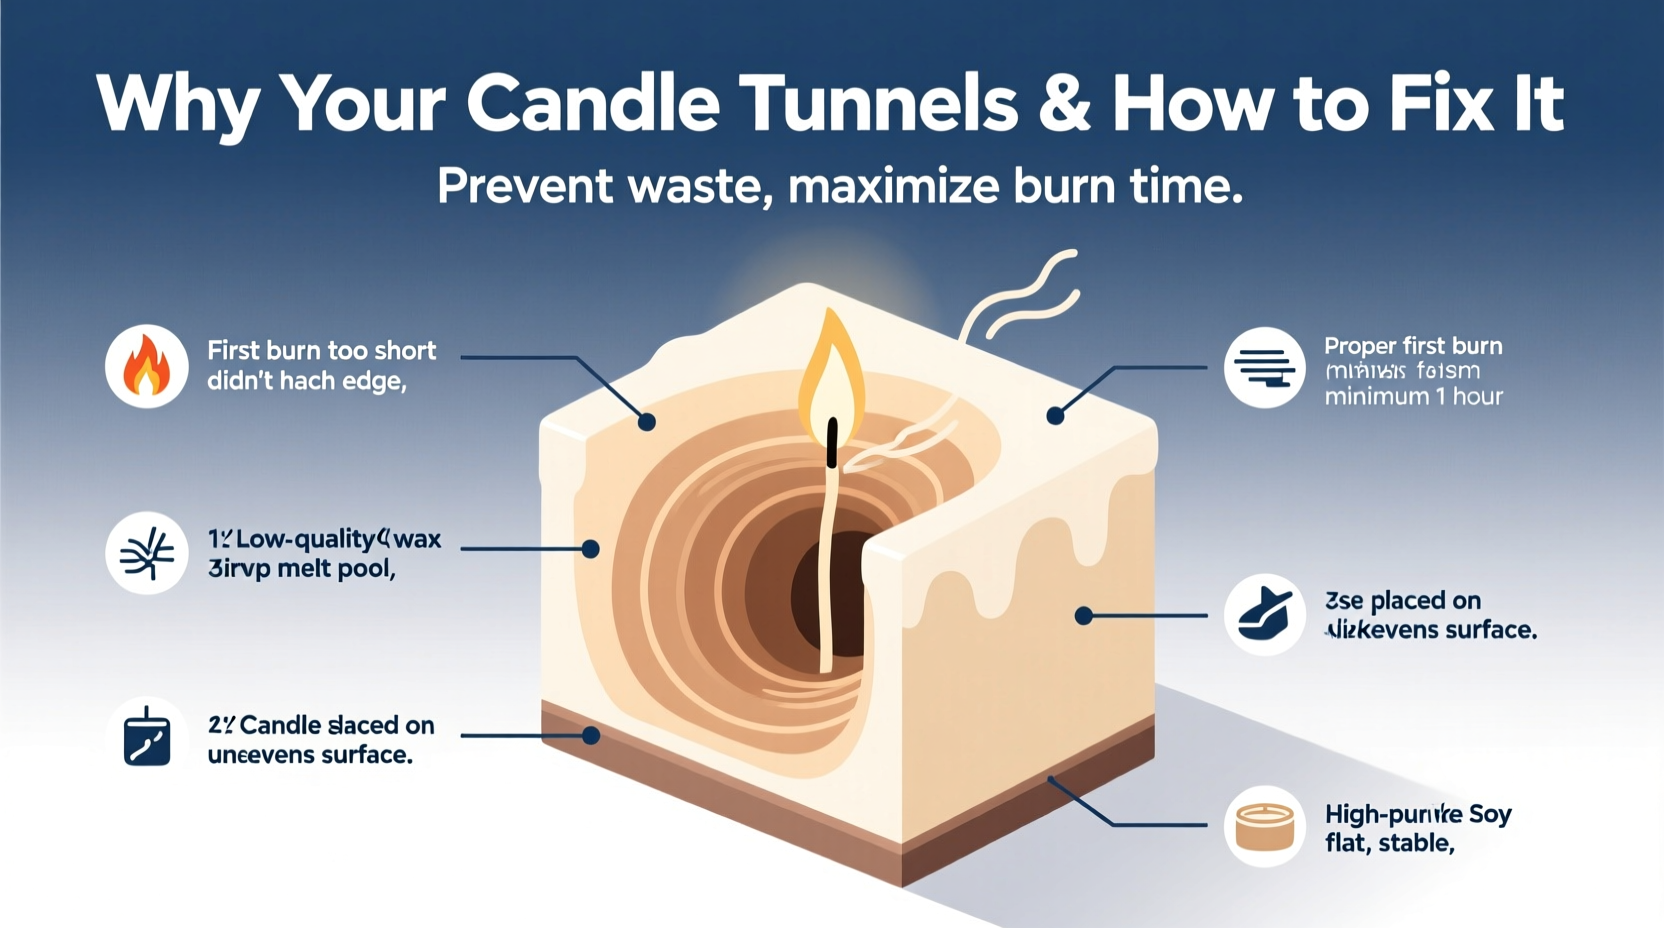
The width of this melt pool determines whether your candle will burn evenly or begin to tunnel. If the wax only melts around the wick and doesn't reach the edges, subsequent burns will continue to deepen that central well, trapping unused wax on the sides. Over time, this creates a deep tunnel that may eventually suffocate the wick or make relighting difficult.
“Your first burn sets the memory of the candle. Get it right, and you’ll avoid tunneling for its entire lifespan.” — Jordan Lee, Master Candle Artisan & Founder of Hearth & Wick Co.
Common Causes of Candle Tunneling
Tunneling rarely results from a single factor. More often, it's a combination of user habits, candle composition, and environmental conditions. Here are the most frequent culprits:
- Insufficient first burn time: Lighting a candle for too short a period prevents the wax from melting fully to the edges. A general rule is one hour of burn time per inch of candle diameter.
- Wick that’s too small: Some candles come with wicks undersized for the container, leading to weak heat output and shallow melt pools.
- Poor wax quality or formulation: Paraffin blends or low-quality soy may not flow properly, inhibiting even melting.
- Frequent extinguishing: Blowing out a candle before it achieves a full melt pool trains it to burn only in that limited zone.
- Drafty environments: Air currents can cool one side of the candle faster, causing uneven pooling.
- Container material: Thick glass or metal containers absorb heat, reducing the warmth available to melt outer wax layers.
How to Fix an Already-Tunneled Candle
If your candle has already started tunneling, don’t discard it—recovery is possible. The goal is to encourage the wax at the edges to melt and catch up with the depressed center. Here’s a step-by-step method to restore balance:
- Stop burning immediately: Continuing to burn a tunneled candle worsens the issue.
- Wrap foil around the rim: Use aluminum foil to cover the top of the container, shaping it to fit snugly while leaving an opening over the tunnel. This traps heat and directs it downward.
- Light the candle and monitor closely: Burn for 2–3 hours, checking periodically. The foil helps the outer wax soften and melt inward.
- Extinguish and assess: Once the wax pool reaches the edges, blow out the flame and let it cool completely.
- Repeat if necessary: Deep tunnels may require two or three correction cycles.
This technique works best with container candles. Pillars or tapers may need alternative approaches, such as using a heat gun gently around the perimeter (with caution) to soften the wax without lighting the wick.
Alternative Fix: The Oven Method (Use with Caution)
For severely tunneled candles, some users report success with the oven method:
- Preheat oven to 170°F (77°C).
- Remove the lid or any non-flammable parts.
- Place the candle in the oven for 5–10 minutes until the top layer softens (not liquefies).
- Remove carefully and let cool slowly to re-level the wax surface.
Warning: Never leave unattended. Glass containers can crack due to thermal shock. Only use this method with heat-resistant vessels and never with plastic lids or flammable components nearby.
Preventing Tunneling: Best Practices for Even Burning
Prevention is simpler and safer than repair. Follow these guidelines to ensure every candle burns evenly from the start:
| Practice | Action | Why It Matters |
|---|---|---|
| First Burn Duration | Burn 1 hour per inch of diameter | Establishes a full melt pool and “teaches” the candle to burn evenly |
| Wick Trimming | Trim to 1/4 inch before each use | Ensures consistent flame height and efficient wax consumption |
| Burning Environment | Avoid drafts and air vents | Prevents flickering and uneven cooling of wax |
| Burn Time Per Session | Never exceed 4 hours | Prevents overheating and soot buildup |
| Cooling Period | Let candle cool fully between burns | Allows wax to reset and maintain structural integrity |
Real Example: Recovering a Beloved Scented Candle
Sarah had been using a premium lavender-vanilla soy candle for weeks, lighting it for just 30 minutes each evening. After a month, she noticed a growing hole forming in the center, with nearly half an inch of wax buildup around the rim. Concerned about wasting a $30 candle, she researched solutions and decided to try the foil method.
She wrapped heavy-duty foil around the jar, cut a hole over the wick, and burned the candle for 2.5 hours. To her surprise, the wax began to melt outward, reaching the edges by the second hour. She repeated the process two more times over the next week, extending regular burn sessions to 3 hours. By the fourth burn, the candle was self-correcting, producing a full melt pool naturally. Sarah now follows the one-hour-per-inch rule and enjoys her candle’s full fragrance potential without waste.
Do’s and Don’ts of Candle Maintenance
| Do | Don’t |
|---|---|
| Trim the wick before every burn | Leave long wicks (causes smoking and mushrooming) |
| Burn long enough to achieve full melt pool | Burn for less than 1 hour on first use |
| Keep away from fans, vents, or open windows | Place in drafty areas |
| Store unused candles in cool, dark places | Leave in direct sunlight (causes fading and softening) |
| Use a wick dipper to extinguish flames | Blow out candles (can scatter hot wax and reduce wick integrity) |
FAQ: Common Questions About Candle Tunneling
Can I prevent tunneling in all types of candles?
Most container candles can be protected from tunneling with proper first burns and maintenance. Pillar and taper candles are less prone to tunneling but can develop uneven tops if not burned correctly. Always follow manufacturer guidelines when available.
Is tunneling a sign of a defective candle?
Not necessarily. While a poorly sized wick or subpar wax blend can contribute, tunneling is often caused by user behavior. However, if a new candle tunnels despite correct burning practices, it may indicate a manufacturing flaw.
What if my candle won’t stay lit after tunneling?
A deep tunnel can drown the wick in liquid wax. Try carefully removing some excess wax with a spoon (after cooling), then re-light. Alternatively, use a toothpick to prop the wick upright while burning to keep it above the wax line.
Conclusion: Take Control of Your Candle’s Lifespan
Candle tunneling is a common frustration, but it’s rarely inevitable. With awareness of proper burning techniques and a little proactive care, you can enjoy clean, even burns that maximize both scent and longevity. Remember: the first burn is the most important. Give your candle the time and attention it needs to establish a healthy melt pool, and maintain that standard with every subsequent use.
Whether you’re reviving a tunneled favorite or starting fresh with a new purchase, these strategies empower you to get the most from every candle. Small habits—like trimming the wick, avoiding drafts, and tracking burn times—add up to significant improvements in performance and enjoyment.


 浙公网安备
33010002000092号
浙公网安备
33010002000092号 浙B2-20120091-4
Comments
No comments yet. Why don't you start the discussion?