
Candles are more than just sources of light—they create ambiance, evoke memories, and offer comfort through scent and flicker. But nothing ruins the experience faster than a candle that burns straight down the middle, leaving thick walls of untouched wax along the edges. This common phenomenon, known as \"candle tunneling,\" not only wastes wax but shortens the candle’s lifespan significantly. The good news: tunneling is almost always preventable—and often fixable. Understanding why it happens and how to respond gives you full control over your candle’s performance.
The Science Behind Candle Tunneling
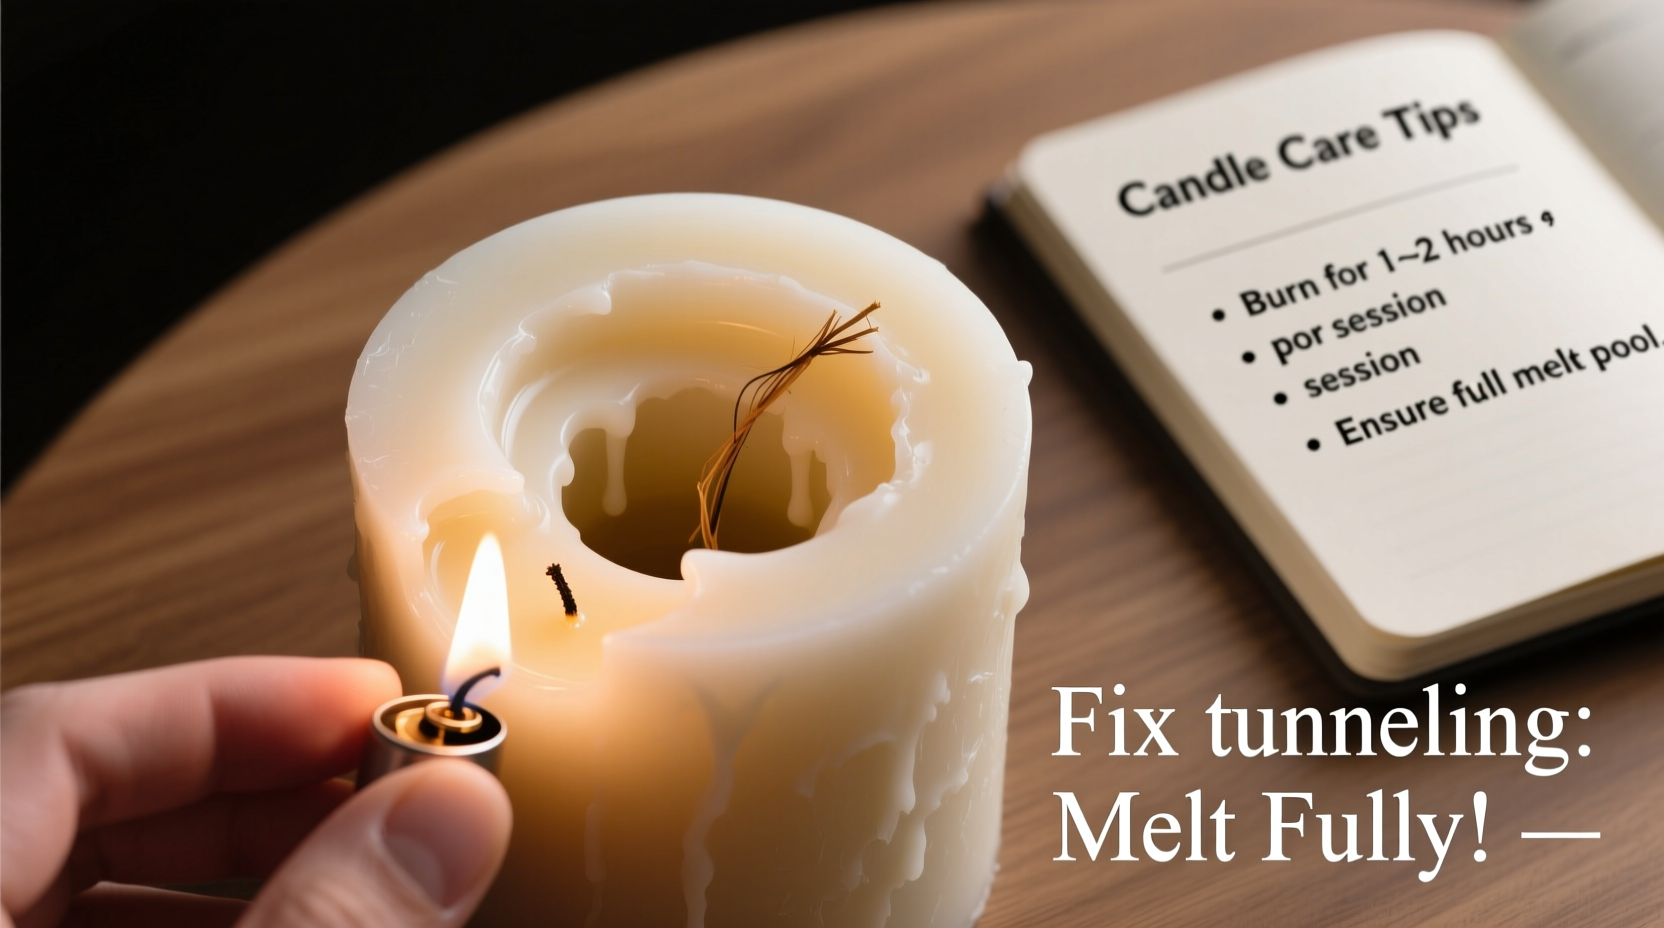
Tunneling occurs when a candle forms a deep, narrow well around the wick with little or no melting at the outer edges. Instead of creating a full melt pool across the surface, the flame consumes wax only in its immediate vicinity. Over time, this creates a cylinder-like hole, trapping usable wax against the container walls.
This behavior stems from the physics of heat distribution. When a candle burns, the flame generates heat that melts the surrounding wax. For an even burn, that heat must spread laterally across the top layer of wax, allowing it to liquefy uniformly. However, if the flame doesn’t generate enough sustained heat—or if the candle is extinguished too early—the outer wax remains solid. Each subsequent burn reinforces this pattern, deepening the tunnel.
Several factors contribute to poor heat dispersion:
- Inadequate first burn: The initial lighting sets the “memory” for future burns. If the first melt pool doesn’t reach the edge of the container, the candle will continue to burn within those same boundaries.
- Short burn times: Burning a candle for less than one hour per inch of diameter prevents proper melt pool development.
- Poor wick selection: A wick that’s too small won’t produce enough flame to melt wax broadly.
- Wax type: Soy wax tends to tunnel more easily than paraffin because it has a higher melting point and requires longer, more consistent burns to achieve full melt pools.
How to Fix a Tunneling Candle
If your candle is already tunneling, don’t throw it away. With the right approach, you can rescue trapped wax and restore even burning.
Method 1: Aluminum Foil Wrap Technique
This method increases heat retention around the edges, encouraging the outer wax to melt.
- Extinguish the candle and let it cool completely.
- Cut a piece of aluminum foil large enough to cover the entire opening.
- Wrap the foil loosely over the top, shaping it to follow the container’s contours while leaving space above the flame.
- Ensure the foil hangs slightly over the sides to trap heat near the glass walls.
- Light the candle and burn for 2–3 hours, monitoring closely.
- Once the outer wax begins to liquefy and join the central pool, remove the foil and let the candle finish melting evenly.
This technique works especially well with glass containers, which retain heat and help conduct warmth to the unmelted wax.
Method 2: Oven Melting (For Stubborn Cases)
When tunneling is severe and the wick is buried, gentle oven heating can reset the wax surface.
- Preheat your oven to 170°F (77°C)—no higher.
- Remove the lid or any metal parts from the candle.
- Place the candle on a baking sheet and put it in the oven for 5–10 minutes.
- Watch carefully until the top layer of wax softens and the edges begin to melt inward.
- Remove and let cool slightly before re-centering the wick if needed.
- Trim the wick to ¼ inch and relight.
Caution: Never leave a candle unattended in the oven, and avoid temperatures that could crack glass or ignite materials.
Method 3: Wick Dipping for Emergency Heat Boost
In cases where the wick is too short to sustain a strong flame, temporarily dipping it into the melted wax can boost combustion.
Dip the lit wick briefly into the pool, then pull it back out. The extra wax coating intensifies the flame momentarily, increasing radiant heat. Use sparingly and never force the wick below the holder.
“Tunneling is rarely about defective candles—it’s usually about burn habits. The first three burns determine whether a candle performs well for its lifetime.” — Daniel Reyes, Master Candle Artisan, Brooklyn Wax Co.
Prevention Checklist: Avoid Tunneling Before It Starts
Preventing tunneling is far easier than fixing it. Follow these steps every time you use a new candle:
- Trim the wick to ¼ inch before each burn.
- Burn for at least one hour per inch of the candle’s diameter (e.g., 3-inch candle = 3 hours).
- Allow the melt pool to reach within ½ inch of the container’s edge before extinguishing.
- Avoid drafts that cause uneven flame movement.
- Never burn a candle for more than 4 consecutive hours.
- Store candles in a cool, dry place away from sunlight to prevent warping or softening.
- Center the wick after each burn while wax is still soft.
Common Mistakes That Cause Tunneling
Even experienced candle users fall into habits that sabotage performance. Here are the most frequent errors—and how to correct them:
| Mistake | Why It Causes Tunneling | How to Fix It |
|---|---|---|
| Burning for only 30–60 minutes | Insufficient time to form a full melt pool; wax “remembers” narrow burn zone. | Track burn time and wait until liquid wax reaches edges. |
| Using fans or placing near vents | Drafts cool one side of the candle, causing lopsided melting. | Relocate to a still area away from airflow. |
| Ignoring wick trimming | Long wicks create smoky, unstable flames that don’t radiate heat evenly. | Trim to ¼ inch before every use. |
| Stacking candles for storage | Pressure deforms tops, leading to uneven initial burns. | Store upright and separately in original packaging. |
| Assuming all waxes behave the same | Soy needs longer burns than paraffin; ignoring this leads to chronic tunneling. | Adjust expectations: soy may require 3–4 hours for first burn. |
Real Example: Rescuing a $40 Luxury Candle
Sarah bought a high-end soy candle marketed for 60-hour burn time. After three uses—each lasting about 45 minutes—she noticed a growing tunnel. Frustrated, she nearly discarded it. Then she researched the foil method.
She wrapped the jar loosely with foil, ensuring ventilation above the flame. On the fourth burn, she lit it and left it for three and a half hours. The foil trapped heat along the glass walls, gradually melting the hardened outer wax. By the end of the session, the melt pool spanned the entire surface.
From then on, Sarah followed proper burn times. The candle lasted 58 hours—close to its promised duration. More importantly, she saved money and reduced waste by correcting her habits instead of blaming the product.
Frequently Asked Questions
Can I prevent tunneling in tea lights or votives?
Tea lights and votives are designed to burn fully within their metal or plastic casings, so tunneling isn’t typically an issue. However, if they extinguish prematurely due to low oxygen or cold drafts, incomplete melting can occur. Ensure they’re placed in open, heat-safe holders and allowed to burn uninterrupted.
Does candle color affect tunneling?
No. While dark dyes may absorb slightly more heat, the difference is negligible. Burn time, wick size, and wax composition matter far more than color.
Is tunneling a sign of a bad candle?
Not necessarily. Many premium candles tunnel simply because users don’t burn them long enough initially. That said, consistently poor performance despite correct usage may indicate a wick that’s too small or poor formulation. Contact the manufacturer if prevention methods fail repeatedly.
Final Thoughts: Take Control of Your Candle’s Life
Candle tunneling isn’t magic—it’s mechanics. Every burn leaves a thermal imprint, and the first few set the standard for all that follow. Once you understand how heat, wax, and wick interact, you gain the power to extend your candle’s life, maximize scent throw, and enjoy every ounce you paid for.
Fixing a tunneled candle takes patience, but the real victory lies in prevention. By committing to proper burn practices, storing candles correctly, and treating each lighting as part of a larger cycle, you transform casual use into mindful ritual.


 浙公网安备
33010002000092号
浙公网安备
33010002000092号 浙B2-20120091-4
Comments
No comments yet. Why don't you start the discussion?