
Candles are more than just sources of light—they're mood setters, scent diffusers, and decorative accents in homes across the world. But nothing undermines that cozy ambiance faster than a candle that burns down the middle, leaving thick walls of unmelted wax along the edges. This phenomenon, known as tunneling, not only shortens a candle’s lifespan but also wastes both wax and fragrance. The good news? Tunneling is almost always preventable with the right knowledge and habits.
Tunneling occurs when a candle creates a narrow well around the wick during each burn, failing to melt wax all the way to the container's edge. Over time, this deep groove makes it difficult for the flame to reach the outer wax, ultimately rendering large portions of the candle unusable. While frustrating, tunneling isn’t random—it’s typically the result of predictable mistakes in how a candle is made, lit, or maintained.
Understanding Candle Burn Mechanics
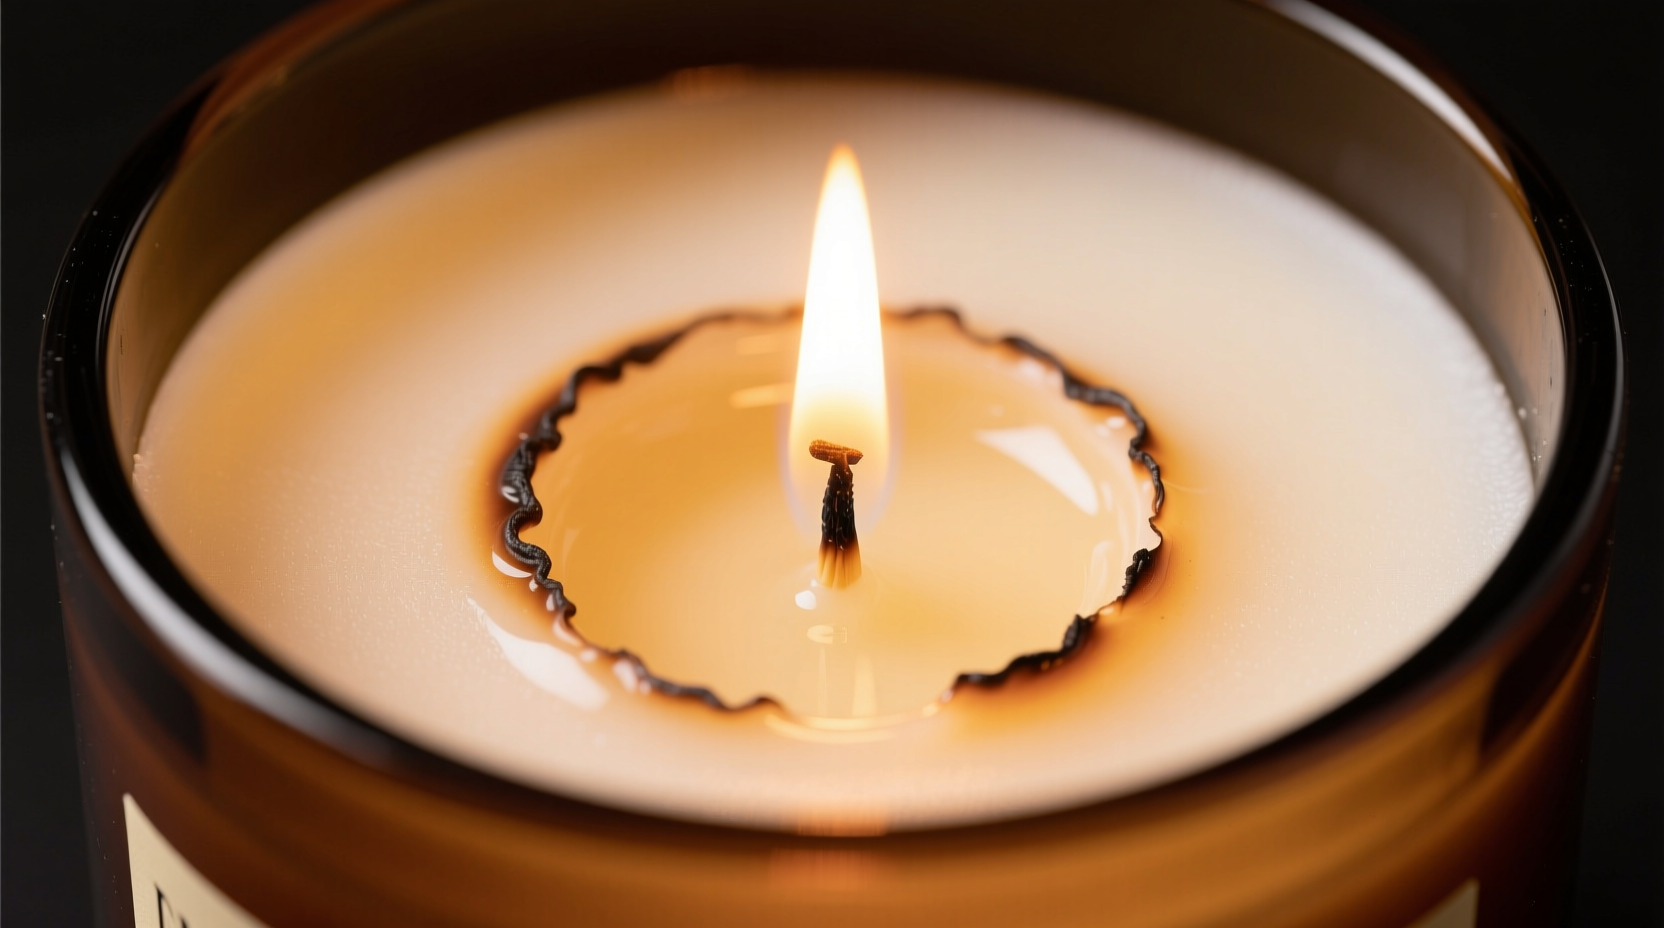
To fully grasp why tunneling happens, it’s essential to understand how a candle burns. When you light a candle, the heat from the flame melts the wax near the wick. This liquid wax is drawn up through the wick via capillary action, where it vaporizes and combusts, sustaining the flame. For an even burn, this melt pool must extend to the edges of the container within the first 1–2 hours of burning—a process called \"memory setting.\"
If the initial burn is too short, the melt pool doesn’t have enough time to spread outward. As a result, the wax “remembers” this limited diameter and continues to burn within those same boundaries on subsequent uses. This sets the stage for tunneling. Soy wax, which is popular for its clean burn and natural sourcing, is especially prone to memory-setting issues due to its lower melting point and softer consistency.
Additionally, the size and type of wick play a crucial role. A wick that’s too small won’t generate enough heat to create a full melt pool. Conversely, a wick that’s too large may cause excessive flickering, sooting, or overheating—none of which contribute to a stable, even burn.
Common Causes of Candle Tunneling
Tunneling rarely stems from a single factor. Instead, it’s often the cumulative effect of several missteps. Below are the most frequent causes:
- Inadequate first burn: Lighting a candle for less than two hours on the first use prevents the wax from melting to the edges, creating a \"memory ring\" that leads to tunneling.
- Poor wick selection: Manufacturers sometimes pair wicks that are too narrow for the wax type or container width, resulting in insufficient heat distribution.
- Low-quality wax blends: Some candles mix paraffin with soy or other additives without proper testing, leading to inconsistent melting behavior.
- Incorrect storage: Exposing candles to cold temperatures can harden wax, making it harder to achieve an even melt pool during burning.
- Frequent extinguishing: Repeatedly lighting and blowing out a candle before it reaches the edges reinforces tunneling patterns.
- Drafty environments: Air currents can cool one side of the candle faster, causing uneven melting and lopsided burn pools.
A real-world example illustrates this well: Sarah bought a premium soy candle in a wide mason jar. Excited to try it, she lit it for 30 minutes each evening over five nights. By the sixth night, the flame was buried deep in a narrow tunnel, surrounded by untouched wax. Despite multiple attempts to correct it, the candle never burned properly again. Her mistake? She didn’t allow a full melt pool during the first burn. Once the memory was set incorrectly, there was little she could do to reverse it.
“Candle performance begins long before the first spark. The initial burn determines everything—from scent throw to total usable life.” — Daniel Reyes, Artisan Candle Maker with 12 years of experience
How to Prevent Candle Tunneling: A Step-by-Step Guide
Preventing tunneling starts with intentionality. Follow these steps every time you light a new candle:
- Trim the wick to ¼ inch before every burn. A properly trimmed wick ensures a controlled flame that generates consistent heat without mushrooming or excessive smoking.
- Burn long enough during the first use. Calculate the required time based on the candle’s diameter—one hour per inch. For example, a 3-inch-wide candle needs at least three hours of uninterrupted burning.
- Avoid drafts. Place the candle away from open windows, fans, or HVAC vents to maintain even heat distribution.
- Use a candle lid or snuffer. When extinguishing, avoid blowing it out, as this disrupts wax temperature balance. A snuffer preserves the melt pool integrity.
- Let the candle cool completely between burns. Wait at least two hours before relighting to allow the wax to re-solidify uniformly.
- Rotate the container (if safe). For candles in clear glass, gently rotating them a quarter turn during burning can help distribute heat evenly if slight unevenness appears.
This routine may seem meticulous, but it pays off. A well-maintained candle can last up to twice as long and deliver a stronger fragrance throw throughout its life.
Do’s and Don’ts of Candle Maintenance
| Do | Don't |
|---|---|
| Allow a full melt pool on the first burn | Light the candle for less than 1–2 hours initially |
| Trim wicks regularly | Ignore long or curled wicks |
| Burn in a draft-free area | Place near air conditioners or open windows |
| Store candles upright in a cool, dry place | Leave them in hot cars or humid bathrooms |
| Use a wick dipper or snuffer | Blow out the flame aggressively |
| Check for debris in the wax (like trimmings) | Leave loose fibers or old matches in the melt pool |
Solutions for Already-Tunneled Candles
Even with the best intentions, tunneling can happen. Fortunately, there are ways to recover a tunneled candle:
- The Foil Method: Wrap aluminum foil loosely around the rim of the container, letting it drape slightly into the tunnel. This traps heat and directs it toward the hardened outer wax, helping it melt over several hours.
- Oven Revival: Place the candle (without the lid or wick) in an oven-safe dish. Heat at 170°F (77°C) for 10–15 minutes until the top layer softens. Remove carefully, let cool, then relight with a trimmed wick.
- Hairdryer Technique: Use a hairdryer on low heat to warm the edges of the candle, rotating it slowly. This softens the outer wax so it can participate in the next burn cycle.
- Wax Redistribution: Carefully scoop out excess melted wax from the tunnel and redistribute it around the edges. This evens out the surface and promotes balanced burning.
Note: Never leave a candle unattended during recovery attempts, and always follow fire safety protocols. Avoid using sharp objects to dig out wax, as this can scratch or crack glass containers.
Choosing Candles That Resist Tunneling
Not all candles are created equal. When shopping, look for features that promote even burning:
- Single wick in medium containers: Candles wider than 3 inches should ideally have multiple wicks to ensure complete melt pools.
- Proper wick centering: Visually inspect the wick. It should be straight and centered, secured with a metal base.
- High-quality wax: Look for brands that use pure soy, coconut-soy blends, or beeswax—materials known for clean, consistent burns.
- Transparent labeling: Reputable companies disclose wax types, wick materials, and recommended burn times.
Some modern candle lines now include “burn-in” instructions printed directly on packaging, acknowledging the importance of first-time use. Brands like Keap, P.F. Candle Co., and Brooklyn Candle Studio emphasize education alongside product design, reducing customer frustration and returns.
FAQ: Common Questions About Candle Tunneling
Can I fix a deeply tunneled candle permanently?
Yes, in most cases. Using the foil method over 2–3 extended burns usually resolves tunneling. However, prevention is far more effective than correction. Once wax structure is compromised, future burns may still show minor inconsistencies.
Does wax type affect tunneling risk?
Absolutely. Soy wax is more prone to tunneling due to its memory-setting properties and lower melting point. Paraffin holds heat better but produces more soot. Coconut-soy blends offer a balanced alternative with excellent scent throw and even melting characteristics.
Is it safe to burn a candle that has tunneled?
Yes, but with caution. Deep tunnels can drown wicks or cause flare-ups when trapped wax finally releases. Always monitor such candles closely and discontinue use if the container becomes excessively hot or the flame behaves erratically.
Final Checklist for Tunnel-Free Burning
- Choose candles with appropriate wick-to-container ratios.
- Inspect wick placement before first use.
- Trim wick to ¼ inch prior to lighting.
- Burn for one hour per inch of diameter during the first use.
- Avoid drafts and air currents.
- Allow wax to fully resolidify between burns.
- Never burn for less than two hours unless finishing the candle.
- Use a snuffer or wick dipper to extinguish flames.
- Store unused candles in a cool, dark place.
- Monitor for signs of uneven melting and intervene early.
Conclusion: Take Control of Your Candle Experience
Candle tunneling isn’t inevitable—it’s a solvable problem rooted in simple oversights. With attention to the first burn, consistent maintenance, and informed product choices, you can enjoy every ounce of your candle exactly as intended. Far from being mere decor, well-cared-for candles become lasting companions, filling your space with steady light and rich aroma for weeks or even months.


 浙公网安备
33010002000092号
浙公网安备
33010002000092号 浙B2-20120091-4
Comments
No comments yet. Why don't you start the discussion?