
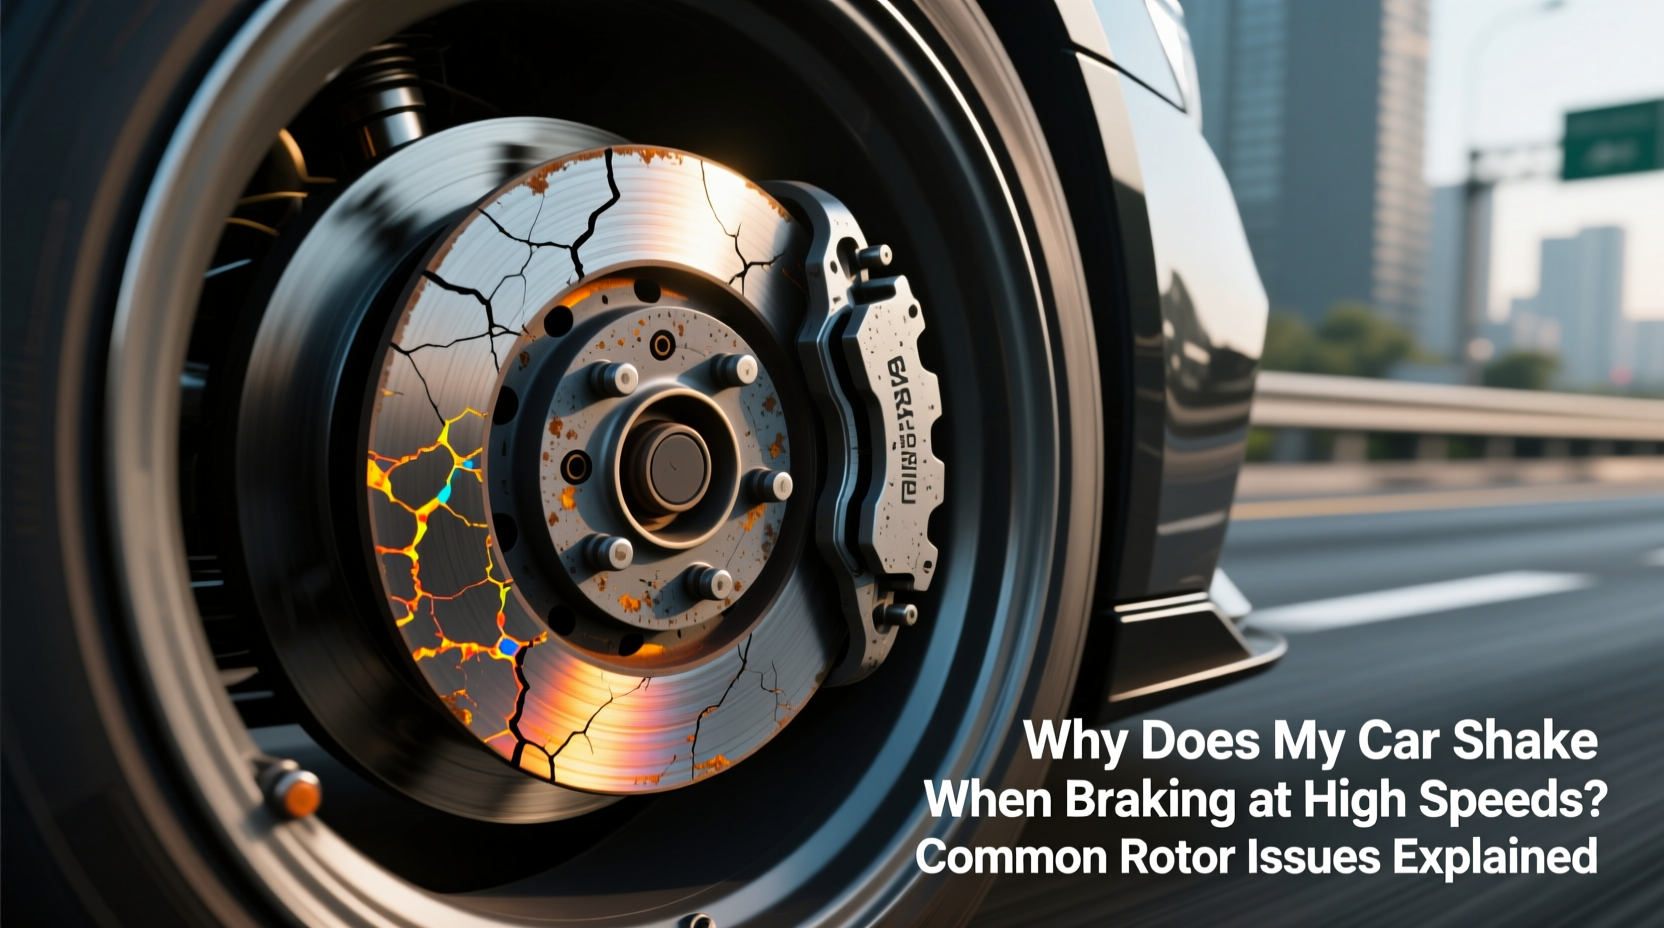
If your steering wheel trembles or your entire vehicle vibrates when you apply the brakes at highway speeds, you're not just imagining things — it's a warning sign. This unsettling sensation is one of the most frequently reported brake-related complaints among drivers, and while it may seem minor at first, it can indicate serious underlying problems with your braking system, particularly the rotors. Left unattended, these issues compromise safety, reduce stopping power, and lead to costly repairs.
This article breaks down the mechanical causes behind brake-induced shaking, focusing on rotor wear patterns, heat damage, installation errors, and other contributing factors. You’ll learn how to identify symptoms early, understand what mechanics look for during inspections, and take proactive steps to maintain smooth, reliable braking performance.
How Braking Systems Work: The Role of Rotors
Modern vehicles use disc brake systems on all four wheels, especially in the front. When you press the brake pedal, hydraulic pressure forces the brake caliper to clamp the brake pads against a metal disc — the rotor — which is attached to the wheel hub. Friction between the pads and rotor slows the wheel, bringing the car to a stop.
The effectiveness of this process depends on several conditions: even pad contact, uniform rotor thickness, balanced mounting, and consistent material composition. Any deviation from ideal geometry or surface condition can result in pulsation, vibration, or shuddering felt through the steering wheel (front rotors) or seat/floorboard (rear rotors).
At high speeds, small imperfections are amplified. A rotor that’s only 0.003 inches out of flatness — thinner than a sheet of paper — can produce noticeable feedback during braking. That’s why precision matters.
Common Rotor Problems That Cause Shaking
Several rotor-specific conditions contribute to brake vibration. Understanding each helps pinpoint whether the issue is repairable, requires replacement, or points to deeper mechanical faults.
Warped Rotors (Thermal Distortion)
One of the most cited reasons for brake shudder is “warped” rotors. However, true warping — where the rotor physically bends under heat — is less common than once believed. More often, uneven deposits of brake pad material build up on the rotor surface due to excessive heat cycling.
When hot spots develop during aggressive braking, such as descending steep hills or repeated hard stops, localized areas expand more than others. Over time, this leads to thickness variation across the rotor face. As the brake pads pass over these uneven zones, they move in and out slightly with each rotation, creating a pulsing effect transmitted through the suspension and steering components.
Glazed Rotors and Pad Transfer
Glazing occurs when both the brake pads and rotors overheat, causing the friction material to melt slightly and deposit a glassy layer on the rotor surface. This creates an inconsistent texture that reduces grip and promotes judder during braking.
Glazing is often misdiagnosed as warping but feels different: instead of rhythmic pulsing, drivers report a grabby, inconsistent bite with occasional skipping sensations. Resurfacing or replacing glazed rotors — along with new pads — usually resolves the problem.
Improper Torque or Lug Nut Sequence
A surprisingly common cause of post-brake-service vibration is improper wheel installation. If lug nuts aren’t tightened in the correct crisscross pattern or to factory torque specifications, the rotor can be distorted by clamping force alone.
Even if the rotor was perfectly round before installation, uneven pressure from overtightened or loose lugs can warp it against the hub. Mechanics sometimes overlook torque wrench calibration or skip using a star pattern, leading to avoidable comebacks.
“Over 30% of brake shudder cases we see after rotor replacement stem from incorrect lug nut tightening.” — Carlos Mendez, ASE-Certified Master Technician
Hub Runout and Mounting Surface Corrosion
The rotor doesn’t float freely; it mounts directly onto the wheel hub. If the hub itself is worn, corroded, or damaged, the rotor cannot sit flush. Even slight runout (lateral movement) at the hub translates into significant rotor wobble when spinning at speed.
Rust buildup between the rotor and hub is another silent culprit. It prevents full contact, allowing microscopic shifting under load. Cleaning the hub surface with a wire brush before installing new rotors is essential — yet frequently skipped during DIY jobs.
Excessive Rotor Wear and Minimum Thickness Violations
All rotors have a minimum thickness specification stamped on their edge. As rotors wear down from friction, they lose structural rigidity and become more prone to heat distortion. Rotors near or below minimum thickness should never be resurfaced — they must be replaced.
Driving with undersized rotors increases the risk of cracking, sudden failure, and severe vibration. Always check thickness with a micrometer during brake inspections.
Diagnosing Brake Vibration: A Step-by-Step Guide
Not every shake means bad rotors. Follow this logical sequence to isolate the root cause:
- Identify when the shake occurs: Only during braking? At specific speeds? Does it worsen over time?
- Determine location: Steering wheel shake typically indicates front rotor issues. Seat/floor vibration suggests rear problems.
- Inspect visually: Remove wheels and examine rotors for scoring, bluing (heat marks), rust patches, or uneven wear patterns.
- Measure thickness variation: Use a micrometer at multiple points around the rotor. Variance exceeding 0.001–0.002 inches warrants action.
- Check lateral runout: With a dial indicator mounted to the suspension, rotate the rotor slowly. Readings above 0.002 inches indicate distortion.
- Examine hubs and hardware: Look for corrosion, pitting, or damage on the mounting surface. Ensure bearings aren't loose.
- Verify torque and installation: Confirm lug nuts were torqued correctly and in proper sequence.
If measurements exceed tolerances, resurfacing may help — but only if sufficient material remains. Otherwise, replacement is necessary.
Do’s and Don’ts of Rotor Maintenance
| Do’s | Don’ts |
|---|---|
| Use a torque wrench when reinstalling wheels | Never tighten lug nuts in a circular pattern |
| Clean hub surfaces before installing new rotors | Don’t reuse old or stretched lug studs |
| Replace brake pads when installing new rotors | Don’t mix different pad types or brands |
| Break in new rotors/pads properly (see below) | Don’t perform aggressive braking immediately after install |
| Inspect rotors annually or every 12,000 miles | Don’t ignore early signs of pulsation |
Real-World Example: Sarah’s Highway Brake Shudder
Sarah, a daily commuter in Colorado, began noticing her Honda Accord vibrating at 65 mph when braking gently on the freeway. The shake disappeared when she released the pedal. She initially dismissed it, assuming it was tire imbalance. After six weeks, the pulsation grew worse, accompanied by a faint metallic squeal.
She visited a local shop, where the technician measured front rotor thickness and found a 0.004-inch variation — well beyond acceptable limits. Further inspection revealed blue streaks on the rotors (indicating overheating) and rust buildup between the rotor and hub. The previous mechanic had installed new pads but failed to clean the hub or torque the lugs properly.
The solution: New rotors, fresh pads, cleaned hubs, and correct reassembly with calibrated torque. Post-repair test drive confirmed complete elimination of vibration. Sarah now schedules annual brake inspections and insists on seeing torque specs applied live.
Expert Tips for Preventing Rotor Problems
- Allow cooling periods after heavy braking: If you’ve been driving aggressively or towing, pull over briefly to let rotors cool gradually rather than parking immediately.
- Avoid cheap aftermarket rotors: Low-quality castings heat unevenly and wear faster. Opt for OEM or reputable brands like Akebono, Brembo, or Power Stop.
- Use correct break-in procedure: After installing new rotors and pads, perform 5–10 moderate stops from 45 mph to 15 mph without coming to a complete stop, allowing the friction layer to transfer evenly.
- Monitor brake fluid condition: Old, moisture-laden fluid reduces braking efficiency and increases heat buildup in the system.
Frequently Asked Questions
Can warped rotors fix themselves over time?
No. Once a rotor has developed thickness variation or permanent deformation from heat, it will not \"heal\" with continued use. In fact, the condition typically worsens. Resurfacing on a lathe can restore flatness — provided there's enough material left — but replacement is often safer and more cost-effective long-term.
Is brake shudder dangerous?
Yes. While mild pulsation might seem like a nuisance, it reflects reduced braking efficiency and compromised control. In emergency situations, inconsistent pad-to-rotor contact can extend stopping distances. Additionally, prolonged vibration stresses suspension components and accelerates wear on bearings and bushings.
Should I replace both front (or rear) rotors at the same time?
Yes. Even if only one rotor shows visible wear, manufacturers recommend replacing them in pairs. Mismatched rotors — differing in thickness, age, or material — create imbalanced braking forces that affect stability and ABS performance. Always replace brake pads simultaneously.
Comprehensive Brake Inspection Checklist
Use this checklist during routine maintenance or when diagnosing brake vibration:
- ✅ Measure rotor thickness at 8+ points around the circumference
- ✅ Check for lateral runout using a dial indicator
- ✅ Inspect for cracks, deep grooves, or heat spotting
- ✅ Clean hub mounting surface of rust and debris
- ✅ Verify lug nut torque and tightening sequence
- ✅ Examine brake pads for even wear and glazing
- ✅ Test caliper slide pins for free movement
- ✅ Confirm no play in wheel bearings
- ✅ Bleed brake system if fluid is dark or contaminated
- ✅ Perform controlled test drive to evaluate brake feel
Conclusion: Take Control of Your Vehicle’s Safety
Brake-induced shaking isn’t something to adapt to — it’s a signal your car needs attention. Whether caused by poor installation, worn components, or thermal stress, ignoring the symptoms risks safety and leads to higher repair bills down the road. By understanding how rotors fail and what to look for, you empower yourself to demand better service and make informed decisions about maintenance.
Don’t wait until the vibration becomes unbearable. Schedule a professional brake inspection if you notice any irregularity during braking. Regular care extends rotor life, improves fuel economy, and ensures your vehicle stops safely every time. Stay alert, stay safe, and keep your braking system in peak condition.


 浙公网安备
33010002000092号
浙公网安备
33010002000092号 浙B2-20120091-4
Comments
No comments yet. Why don't you start the discussion?