
When you press the brake pedal and feel a pulsing vibration through the steering wheel or seat, it’s more than just an annoyance—it’s a warning sign. This sensation often points to a mechanical issue in the braking system, and one of the most common culprits is warped brake rotors. While the term “warped” is widely used, modern engineering has shown that true warping is less frequent than uneven thickness or surface irregularities. Understanding what causes this shaking, how to identify it accurately, and when to act can save you from costly repairs and ensure your safety on the road.
The Science Behind Brake Vibration
Brake systems rely on friction to slow down your vehicle. When you apply the brakes, calipers clamp brake pads against rotating metal discs—rotors—attached to the wheels. For smooth stopping, the rotor surface must be perfectly flat and parallel. If the rotor develops variations in thickness (also known as lateral runout), each rotation creates an inconsistent contact point between pad and rotor. This inconsistency translates into a rhythmic push-back force felt as vibration through the brake pedal, steering wheel, or even the entire chassis.
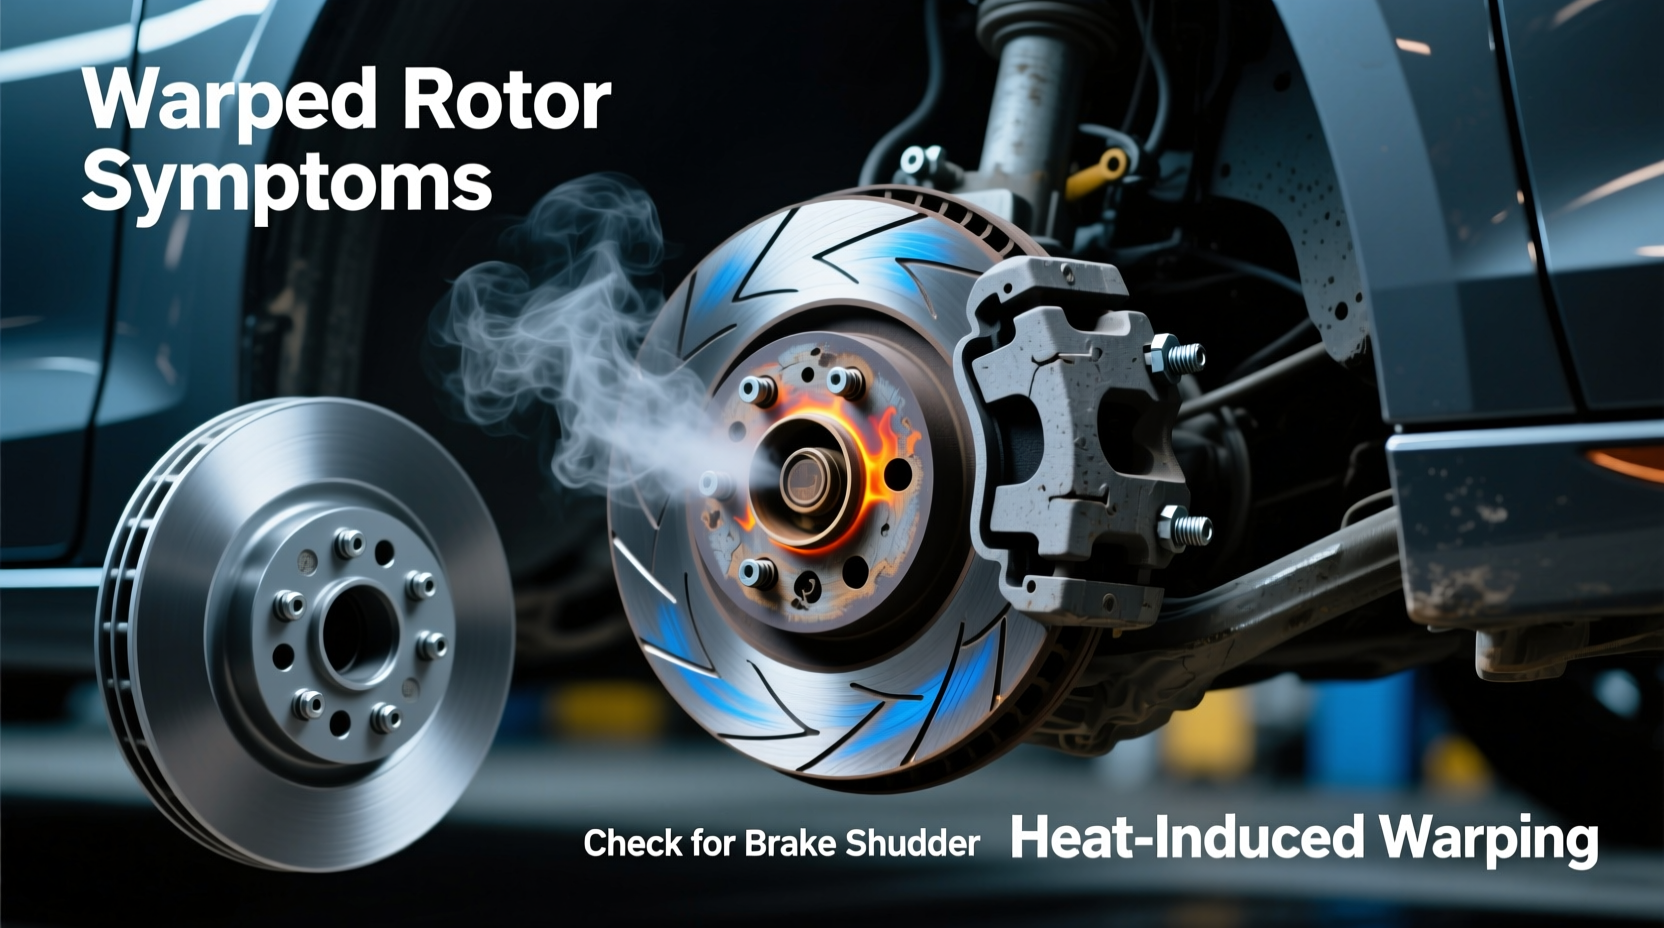
Contrary to popular belief, rotors don’t typically \"warp\" like a bent bicycle rim due to heat alone. Instead, they accumulate deposits of brake material, suffer from uneven wear, or develop hot spots during aggressive braking. These changes create high and low spots on the rotor surface, leading to the same effect as warping: pulsation under braking.
“Modern rotors are engineered to withstand extreme temperatures without deforming. What drivers feel as ‘warped rotors’ is usually thickness variation caused by improper bedding-in or poor-quality components.” — Daniel Reeves, ASE-Certified Master Technician
Common Symptoms of Rotor Issues
Recognizing the signs early helps prevent further damage to other brake components like pads and calipers. Here are key indicators that your rotors may be compromised:
- Steering wheel shake during braking: Especially noticeable at highway speeds, this suggests front rotor issues.
- Pedal pulsation: A rhythmic up-and-down movement in the brake pedal indicates thickness variation.
- Vehicle body shudder: Felt through the seat or floorboard, often linked to rear rotor problems.
- Squealing or grinding noises: May accompany vibration, signaling worn pads or damaged rotor surfaces.
- Longer stopping distances: Reduced friction efficiency due to uneven rotor contact.
Step-by-Step Diagnosis Process
You don’t need a mechanic’s garage to begin diagnosing brake vibration. With basic tools and some patience, you can assess whether warped or uneven rotors are the cause.
- Observe driving conditions: Note speed, intensity, and frequency of the shake. Does it happen only when braking hard? At certain speeds? Only after long drives?
- Inspect visually: Remove the wheels and examine the rotors. Look for shiny patches, scoring, rust buildup, or visible grooves. Use a flashlight for better visibility.
- Check for debris or corrosion: Rust rings around lug holes or uneven discoloration can contribute to imbalance.
- Measure rotor thickness: Using a micrometer, take measurements at multiple points across the surface. Compare them to the manufacturer’s minimum thickness specification stamped on the rotor edge.
- Test lateral runout: Mount a dial indicator against the rotor face and rotate the wheel slowly. Any deviation beyond 0.002 inches (0.05 mm) suggests excessive runout.
- Examine brake pads: Worn, cracked, or glazed pads can exacerbate vibration and should be replaced alongside rotors if needed.
If significant variation is found—or if the rotor is below minimum thickness—it should be replaced. Machining (resurfacing) is sometimes viable but not always recommended, especially with thin or heavily pitted rotors.
Do’s and Don’ts When Dealing with Brake Rotors
| Do’s | Don’ts |
|---|---|
| Replace rotors in axle pairs to maintain balance | Never reuse severely worn or cracked rotors |
| Torque lug nuts evenly using a star pattern | Avoid overtightening or undertightening lug bolts |
| Use OEM or high-quality aftermarket parts | Don’t install cheap, unbranded rotors prone to rapid wear |
| Bed in new brakes properly after installation | Avoid sudden hard stops during the first 200 miles |
| Clean hub surface before installing new rotor | Never skip cleaning rust or debris from the hub |
Real-World Case Study: The Weekend Commuter’s Dilemma
Mark, a software developer living outside Denver, began noticing a slight wobble in his steering wheel every time he braked above 55 mph. Initially dismissing it as road roughness, he soon realized the vibration worsened over several weeks. After reading about potential rotor issues online, he decided to investigate.
Using a torque wrench and dial indicator borrowed from a friend, Mark removed his front wheels and measured both rotors. He discovered one had a lateral runout of 0.004 inches—double the acceptable limit—and visible bluing from overheating. The brake pads showed uneven wear, confirming inconsistent contact.
He opted to replace both front rotors and pads with ceramic-coated aftermarket units designed for better heat dissipation. Following proper bedding-in procedures—six moderate stops from 50 mph with cooling intervals—the vibration disappeared completely. His total cost was $230, far less than the $500+ quote he received from a local shop.
This case illustrates how early detection and informed action can prevent escalation and save money. It also highlights the importance of correct installation practices, which many repair shops rush through.
Prevention and Maintenance Checklist
To avoid recurring brake vibrations and extend rotor life, follow this actionable checklist:
- ✅ Inspect brake components every 12,000 miles or annually
- ✅ Replace pads before they reach minimum thickness (usually 3mm)
- ✅ Clean rotors and hubs during tire rotations
- ✅ Avoid riding the brakes downhill; use engine braking instead
- ✅ Choose premium-grade pads suited to your driving style (e.g., ceramic for daily commuting)
- ✅ Ensure proper lug nut torque (consult owner’s manual)
- ✅ Perform brake bedding-in after any pad or rotor replacement
Frequently Asked Questions
Can warped rotors fix themselves over time?
No. Once a rotor has developed thickness variation or runout, it will not self-correct. Continued use leads to accelerated pad wear and increased stress on suspension components. Resurfacing or replacement is required.
Is it safe to drive with shaking brakes?
Short-term driving is generally safe, but prolonged neglect increases stopping distance and risks damaging calipers, bearings, or ABS sensors. If the shake is severe or worsening, have the brakes inspected immediately.
Why do new rotors sometimes cause vibration right after installation?
This can result from improper installation—such as dirty hub surfaces, uneven lug torque, or failure to bed in the brakes. Always clean the hub mating surface and follow torque specifications precisely. Some aftermarket rotors may also come with protective coating that needs breaking in.
Expert Insights on Modern Brake Systems
Advancements in materials and design have made today’s brake systems more durable than ever. However, performance expectations have risen too. Drivers who frequently tow, commute in hilly areas, or engage in spirited driving place greater thermal stress on their brakes.
“The biggest mistake I see is assuming all rotors are created equal. Economy rotors often use inconsistent castings and lack proper heat treatment. That’s why they degrade faster and contribute to vibration.” — Lena Torres, Brake System Engineer at Midwest Automotive Diagnostics
High-carbon rotors, slot-drilled designs, and zinc-coated finishes offer improved longevity and resistance to corrosion. While they cost more upfront, they reduce long-term maintenance frequency and improve overall braking consistency.
Conclusion: Take Control of Your Vehicle’s Safety
Feeling your car shake when braking isn't something to ignore or adapt to. It's a mechanical message—one that, when understood and acted upon, can preserve your vehicle’s performance and keep you safer on the road. Warped rotors, or more accurately, unevenly worn ones, are a common yet manageable issue. By learning to recognize the symptoms, conducting basic inspections, and following best practices for maintenance and replacement, you gain control over your braking system’s health.
Whether you choose to handle repairs yourself or work with a trusted mechanic, being informed makes all the difference. Don’t wait for the shake to become a jolt. Address it early, invest in quality parts, and prioritize proper procedure. Your safety, comfort, and wallet will thank you.


 浙公网安备
33010002000092号
浙公网安备
33010002000092号 浙B2-20120091-4
Comments
No comments yet. Why don't you start the discussion?